Just like Willy Wonka’s fantastical creations, the Triple Chocolate Mousse Cake represents pure chocolate indulgence at its finest. You’ll discover three distinct layers that’ll transform your dessert game: dark chocolate’s deep intensity, milk chocolate’s familiar comfort, and white chocolate’s sweet finale. While creating this French masterpiece might seem intimidating at first, you’re about to learn the secrets that’ll help you master each silky layer. Let’s uncover what makes this elegant dessert so irresistible.
History of Triple Chocolate Mousse Cake
While the exact origins of Triple Chocolate Mousse Cake remain disputed, this elegant dessert first gained popularity in high-end French patisseries during the 1980s.
You’ll find its roots deeply connected to the classic French chocolate mousse, which dates back to the 17th century.
The modern triple-layered version you know today was likely developed by pastry chefs looking to create a show-stopping dessert that would appeal to chocolate lovers of all kinds.
They cleverly combined dark, milk, and white chocolate mousses into one stunning creation.
The cake quickly spread beyond France’s borders, becoming a staple in upscale restaurants worldwide during the 1990s.
Today, you’ll see countless variations of this dessert, though the basic concept of three distinct chocolate layers remains unchanged.
Great Recipe for Triple Chocolate Mousse Cake
Triple Chocolate Mousse Cake is an elegant dessert that combines three distinct layers of chocolate mousse – dark, milk, and white – creating a stunning visual presentation and progressive sweetness from bottom to top. Each layer requires the same technique but uses different types of chocolate, resulting in a sophisticated dessert that’s sure to impress any chocolate lover.
While this simplified version uses just five key ingredients, it maintains the luxurious texture and flavor of more complex recipes. The process involves carefully layering each mousse and allowing proper setting time between layers, guaranteeing clean, defined sections that create the signature triple-layer appearance.
- 200g dark chocolate
- 200g milk chocolate
- 200g white chocolate
- 600ml heavy cream
- 6 large eggs
Begin by melting the dark chocolate in a double boiler or microwave. Separate the eggs, setting aside the whites. Whip 200ml of cold heavy cream until stiff peaks form. Mix the melted chocolate with 2 egg yolks, then fold in one-third of the whipped cream. Beat 2 egg whites until stiff and carefully fold into the mixture. Pour into a springform pan and refrigerate for 4 hours.
Repeat this process with milk chocolate for the second layer and white chocolate for the final layer, allowing each layer to set for 4 hours before adding the next. After completing all layers, refrigerate for at least 8 hours or overnight.
For best results, verify the springform pan is lined with parchment paper and wrapped in foil to prevent leaking. All ingredients except heavy cream should be at room temperature before starting.
When melting chocolate, stir frequently and avoid overheating to prevent seizing. Clean and dry all utensils thoroughly between layers to prevent chocolate cross-contamination. The cake can be stored in the refrigerator for up to three days, but should be removed 15-20 minutes before serving to allow the mousse to soften slightly.
Cooking Steps
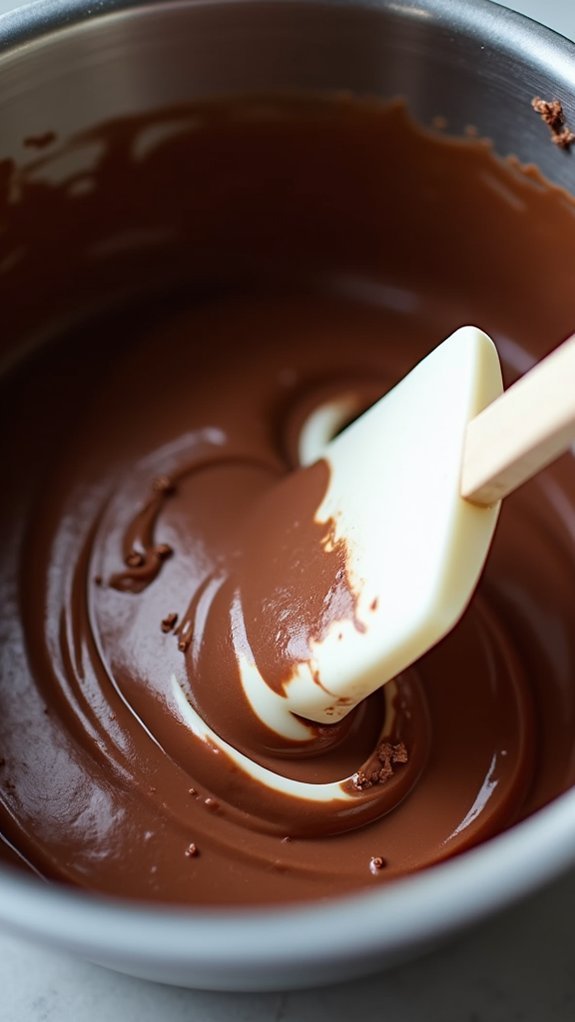
You’ll want to start by melting each chocolate variety separately over a double boiler, keeping a close eye to prevent any scorching or seizing.
For each layer, you’re going to whip the cream until stiff peaks form, then combine your melted chocolate with egg yolks before gently folding in both the whipped cream and beaten egg whites.
Once you’ve created all three distinct mixtures, you’ll layer them from dark to white, making sure to chill thoroughly between each addition – it’s like building a chocolate skyscraper!
step 1. Melt Chocolate Over Steam
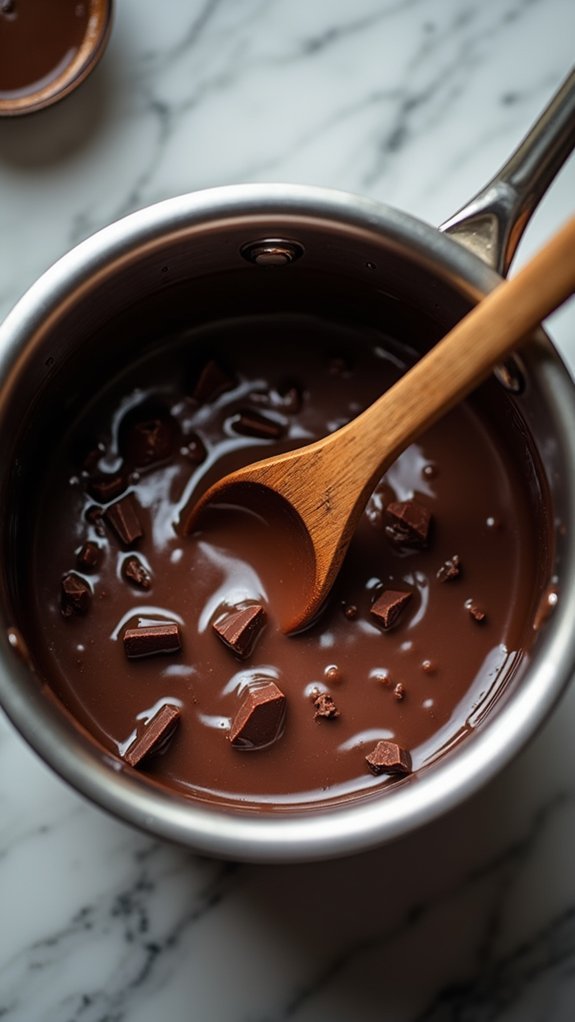
Begin by setting up a double boiler system with about 2 inches of simmering water in a medium saucepan.
Place your heatproof bowl on top, making sure it doesn’t touch the water – you don’t want any steam escaping around the sides!
Break your chocolate into small, even pieces and add them to the bowl.
You’ll want to start with the dark chocolate first, since you’re layering from bottom to top.
Keep the heat at medium-low, and stir occasionally with a rubber spatula until the chocolate is about 75% melted.
Then, remove from heat and continue stirring until completely smooth.
The residual heat will finish the job without risking that dreaded grainy texture.
Repeat this process separately for your milk and white chocolate, being extra careful with the white chocolate as it’s the most sensitive.
step 2. Whip Cream Until Peaks Form
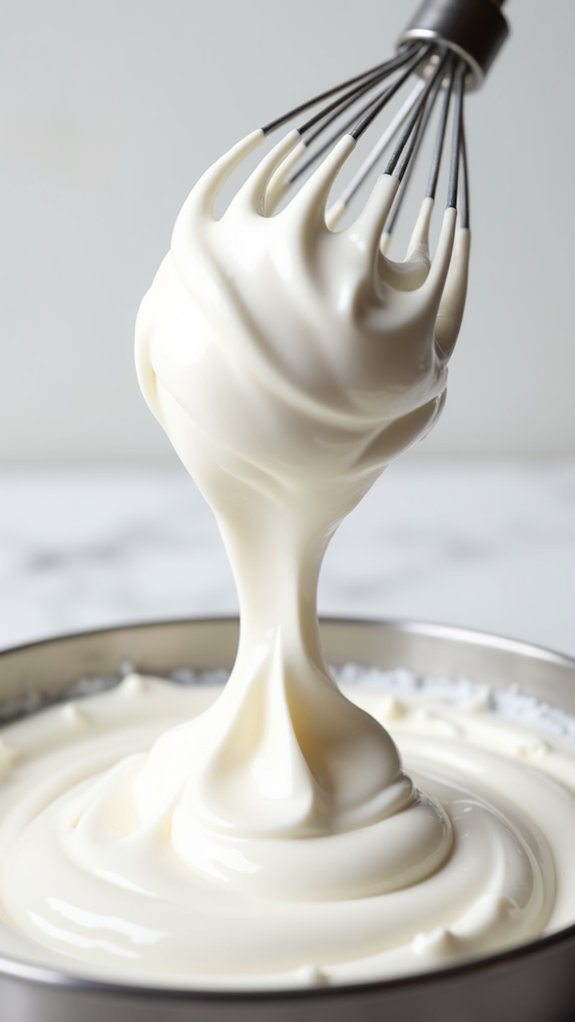
Chilling your bowl and beaters in the freezer for 15 minutes gives you the perfect start for whipping cream.
You’ll need 200ml of cold heavy cream for each chocolate layer, so keep the remaining cream refrigerated until you’re ready.
Pour the cold cream into your chilled bowl and start beating at medium speed. You’ll notice the cream beginning to thicken after about 2 minutes.
When soft peaks form (they’ll flop over when you lift the beaters), increase to high speed. Keep watching carefully – you’re looking for stiff peaks that stand straight up!
Don’t overbeat, or you’ll end up with butter. Test for the right consistency by lifting your beaters – the peaks should hold their shape firmly.
Once you’ve achieved stiff peaks, you’re ready to fold this perfectly whipped cream into your chocolate mixture.
step 3. Mix Yolks With Chocolate
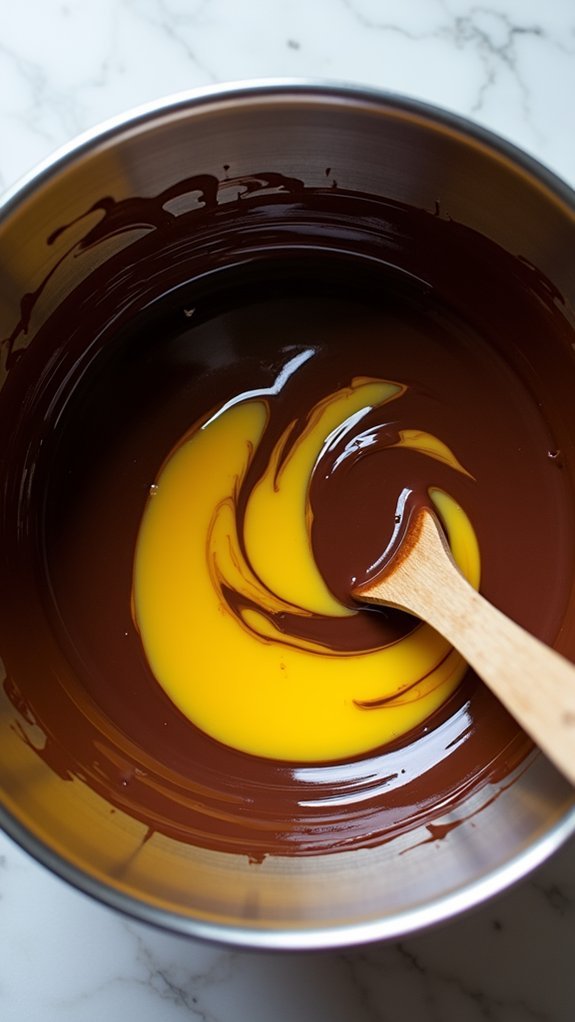
With your perfectly whipped cream standing ready, the next step brings together two key players in our chocolate symphony.
Take your melted chocolate (still warm but not hot, around 110°F) and slowly drizzle it into the egg yolks while whisking continuously.
You’ll want to work quickly but carefully here – nobody wants scrambled eggs in their mousse!
Keep whisking until the mixture is completely smooth and has a glossy sheen. The warmth of the chocolate will gently cook the yolks, creating a safe and silky base for your mousse.
If you notice any tiny lumps forming, don’t panic – just keep whisking vigorously until they disappear.
Test the consistency by lifting your whisk; the mixture should fall back in smooth ribbons that hold their shape for a few seconds.
step 4. Fold Whites Gently Throughout
Mastering the gentle art of folding egg whites transforms your chocolate mixture from dense to delightfully airy.
You’ll want to fold each chocolate layer separately, starting with your dark chocolate mixture at the bottom.
Take your stiffly beaten egg whites and add one-third to the chocolate-yolk mixture first. This lightens the base, making it easier to incorporate the remaining whites.
Using a rubber spatula, cut through the center and sweep up from the bottom in a figure-eight motion. Rotate the bowl as you work, and don’t rush – proper folding takes about 1-2 minutes per layer.
You’ll know you’re done when no white streaks remain, but the mixture still looks fluffy and light. Don’t overmix, or you’ll deflate those precious air bubbles!
step 5. Layer and Chill Overnight
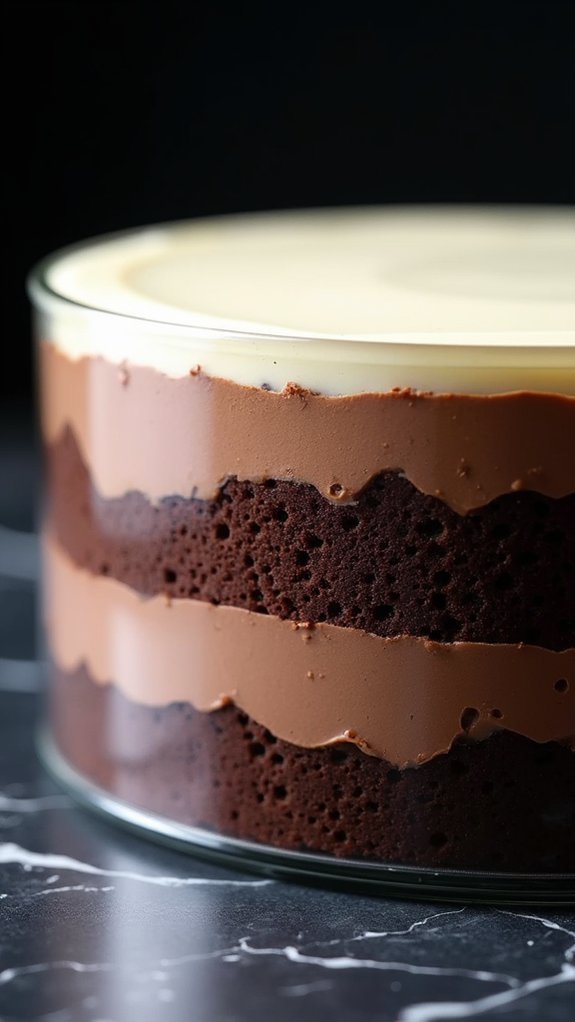
The layering process demands patience and precision as each chocolate mousse level builds upon the last to create that show-stopping triple-decker effect.
You’ll start by pouring the dark chocolate layer into your springform pan, smoothing it evenly with an offset spatula.
After refrigerating for 4 hours, add your milk chocolate layer, taking care not to disturb the set dark chocolate beneath.
Repeat the chilling process, then top with the white chocolate mousse. The final overnight chill (at least 8 hours) is essential – don’t rush this step!
You’ll know each layer is properly set when it feels firm to a gentle touch.
Pro tip: Keep your spatula clean between layers, and dip it in hot water before smoothing each level for that picture-perfect finish.
Final Thoughts on Triple Chocolate Mousse Cake!
Although Triple Chocolate Mousse Cake requires patience between layers, you’ll find the end result absolutely worth the wait.
This elegant dessert will impress your guests while secretly being quite manageable to make. Remember to store your masterpiece in the refrigerator, where it’ll keep fresh for up to three days – if it lasts that long!
You’ll discover that the key to success lies in the details: room temperature ingredients, properly melted chocolate, and those essential chilling times between layers.
Don’t rush the process; each hour of waiting builds the foundation for those perfectly defined layers. When you finally slice into your creation, you’ll reveal three distinct bands of chocolate luxury that perfectly showcase your baking prowess.