You might think Southern chocolate cobbler is just another dessert, but this Southern classic has a magical way of creating its own warm, pudding-like sauce while baking. When you’re craving comfort food with minimal effort, this self-saucing marvel transforms basic pantry staples into a decadent treat that’ll have everyone asking for seconds. The real secret lies in how you layer the ingredients – and there’s a fascinating story behind why Depression-era cooks developed this clever technique.
History of Southern Chocolate Cobbler
While the exact origins of Southern Chocolate Cobbler aren’t well documented, this self-saucing pudding cake emerged as a Depression-era dessert when home cooks needed to create satisfying sweets with minimal ingredients.
You’ll find that this humble dessert shares similarities with traditional British puddings, but it’s distinctly American in its use of cocoa powder rather than chocolate bars.
During the 1930s, resourceful Southern cooks discovered that by carefully layering simple ingredients and adding hot water, they could create a magical two-textured dessert.
The recipe spread through church cookbooks and family gatherings, becoming a staple at potlucks across the South.
You might know it by other names too – Chocolate Pudding Cake, Hot Fudge Sundae Cake, or even “the dessert that makes its own sauce!”
Best Recipe for Southern Chocolate Cobbler
Southern Chocolate Cobbler transforms basic pantry ingredients into a magical self-saucing dessert that’s both comforting and indulgent. This beloved Southern treat features a cake-like top layer that conceals a rich, warm chocolate sauce underneath, creating a perfect harmony of textures in every spoonful.
The beauty of this recipe lies in its simplicity and the way it seemingly defies gravity during baking. As the batter cooks, it rises to the top while the boiling water and cocoa mixture sinks to create a velvety sauce below, resulting in a dessert that’s greater than the sum of its parts.
Ingredients:
- 1 cup self-rising flour
- 1 cup granulated sugar
- 1/2 cup unsweetened cocoa powder, divided
- 1 cup milk
- 1/2 cup melted butter
- 1 cup boiling water
Preheat oven to 350°F (175°C) and grease a 9-inch square baking dish. In a mixing bowl, combine flour, sugar, and 1/4 cup of cocoa powder. Add milk and melted butter, stirring until the batter is smooth and well combined. Pour the batter into the prepared baking dish.
In a separate bowl, mix the remaining 1/4 cup cocoa powder with the boiling water until smooth, then gently pour this mixture over the batter without stirring. Bake for 30-35 minutes until the top is set but still slightly jiggly in the center.
The key to perfect chocolate cobbler is timing and temperature. Let the dessert rest for 15 minutes after baking to allow the sauce to thicken slightly. The top should be cake-like but still have some give when pressed gently.
Avoid overbaking, as this will result in less sauce. Room temperature ingredients work best, except for the boiling water, which must be very hot to create the proper sauce consistency. Serve warm for the best experience, as the sauce will continue to thicken as it cools.
Cooking Steps
You’ll want to start by preheating your oven to 350°F while gathering your ingredients for an organized baking session!
Next, combine your dry ingredients in a mixing bowl, then stir in the milk and melted butter until you’ve got a smooth batter that’s ready for your greased baking pan.
Finally, you’ll create that signature cobbler magic by pouring the cocoa-water mixture over your batter – don’t stir it, just let it work its chocolate charm as it bakes!
step 1. Preheat Baking Temperature First
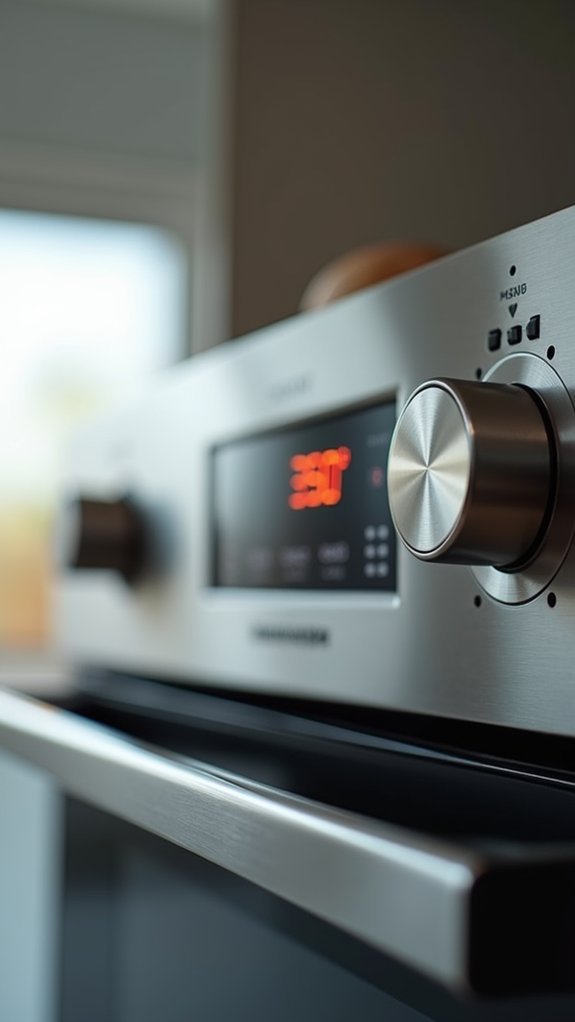
The first essential step in creating this chocolate cobbler masterpiece is preheating your oven to 350°F (175°C).
You’ll want to do this before mixing any ingredients, as it guarantees your oven reaches the perfect temperature for that magical transformation from batter to cobbler.
While your oven’s heating up, you can gather your ingredients and prepare your baking dish.
This temperature is vital – it’s not too hot to burn the top before the bottom sauce forms, but hot enough to create that perfect cake-like crust.
Think of it as the “Goldilocks zone” for chocolate cobbler!
If your oven runs a bit hot or cold, you might need to adjust by 25 degrees in either direction.
Just watch for that slightly jiggly center during the final minutes of baking.
step 2. Mix Dry Ingredients Together

Once your oven’s preheating, begin by combining 1 cup of self-rising flour, 1 cup of granulated sugar, and 1/4 cup of unsweetened cocoa powder in a large mixing bowl.
You’ll want to whisk these dry ingredients thoroughly to break up any cocoa powder lumps – nobody wants chocolate clumps in their cobbler!
Using a wire whisk or fork, stir the mixture until it takes on a uniform brown color throughout.
If you spot any stubborn flour pockets or cocoa clusters, simply press them against the side of the bowl.
The key is achieving a perfectly blended dry base that’ll give your cobbler that signature cake-like top layer.
Take your time with this step – proper mixing now means a better texture later.
step 3. Add Milk and Butter
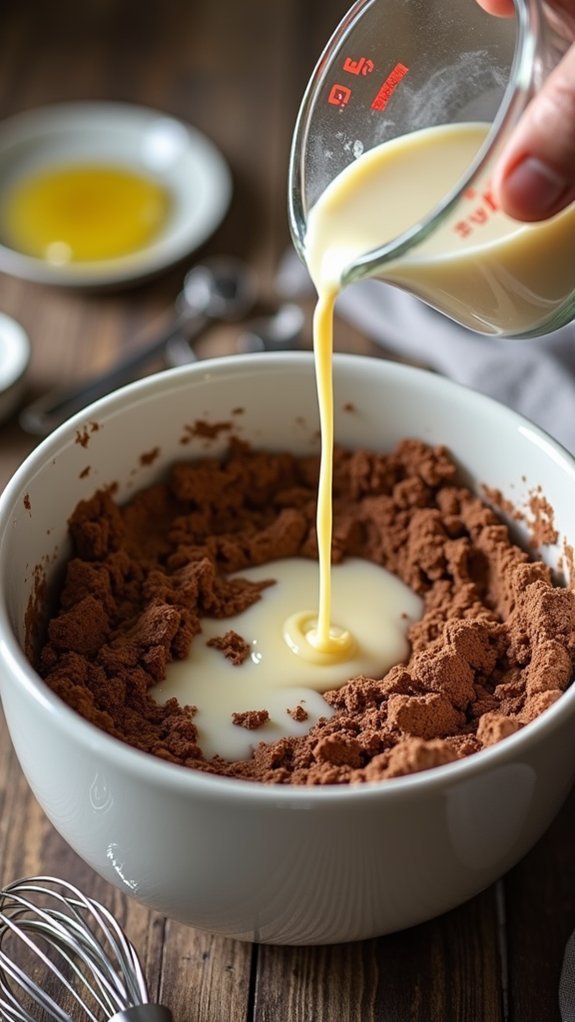
Now that your dry ingredients are perfectly blended, grab your measuring cup and pour 1 cup of milk into the mixture while stirring steadily.
Keep stirring until you’ve worked out any lumps – nobody wants to bite into a flour pocket later!
Next, measure out 1/2 cup of melted butter and add it to your bowl.
The butter should be warm but not hot enough to scramble eggs (if we were using them!).
Mix everything together until you’ve got a smooth, chocolatey batter that’s about the consistency of cake mix.
Don’t worry if it seems a bit thin – that’s exactly what you want.
Make sure you’ve scraped down the sides of the bowl with your spatula to incorporate all the dry ingredients.
Your batter should look uniform and glossy, ready for the next step.
step 4. Pour Batter Into Pan
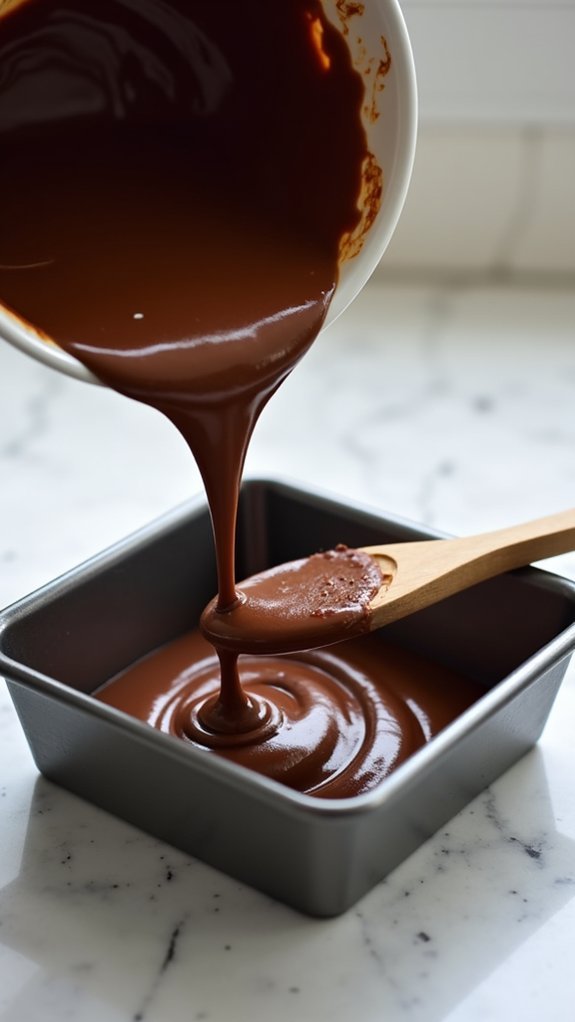
Grabbing your greased 9-inch square baking dish, carefully pour your smooth chocolate batter into the pan, making sure it spreads evenly to all corners.
You’ll want to tilt the pan slightly if needed to help the batter reach those stubborn edges – we’ve all been there with that one uncooperative corner!
For the best results, use a rubber spatula to gently smooth the surface of your batter.
Don’t worry about making it perfectly level, as the magic happens during baking when the layers separate themselves.
The batter should be about 1 inch deep in your pan, giving it enough room to rise and create that signature cobbler texture.
Once you’ve got your batter situated, you’re ready for the next essential step – adding the hot cocoa mixture!
step 5. Add Cocoa-Water Mixture Over Top

Before you pour the hot mixture, combine your remaining 1/4 cup cocoa powder with 1 cup of boiling water, stirring until smooth and glossy.
Now comes the fun part – carefully pour this hot cocoa mixture over your batter in the baking dish.
Don’t worry if it looks a bit messy; that’s exactly what you want! The liquid will seem to flood the pan, but resist the urge to stir it in. This separate layer is what creates the cobbler’s signature sauce.
You’ll notice the cocoa-water mixture sitting on top of your batter like a dark chocolate lake. That’s perfect!
During baking, this liquid will work its magic, sinking down to create that incredible fudgy sauce while the top becomes a tender cake layer.
Final Thoughts on Southern Chocolate Cobbler
Southern Chocolate Cobbler stands as a proof to simple ingredients creating extraordinary results. And this is one flavor pack you are going to love. And you might also want to consider having this warm with a scoop of your favorite ice cream!
You’ll find this dessert is incredibly forgiving, even if you’re new to baking.
When you’ve mastered the basic recipe, you can experiment with additions like a dash of espresso powder or vanilla extract.