You might be surprised to learn that No-bake eggnog cheesecake combines two beloved desserts that emerged centuries apart – ancient Roman cheesecake and medieval English eggnog. Today’s no-bake version lets you create this festive fusion without ever touching your oven! If you’ve been searching for a stress-free holiday dessert that’ll impress your guests, this creamy, nutmeg-spiced treat delivers all the traditional flavors while saving you precious time during the busy season. Let’s explore how to craft this modern holiday classic No-Bake Eggnog Cheesecake!
History of No-Bake Eggnog Cheesecake
While eggnog itself dates back to medieval Britain, the no-bake eggnog cheesecake emerged as a festive dessert innovation during the 1960s convenience food movement.
You’ll find that this dessert gained popularity when home cooks were looking for simpler holiday recipes that didn’t require oven time.
The combination of traditional eggnog flavors with the newly popular no-bake cheesecake created a perfect match!
As refrigerators became common household appliances, you could easily set your dessert without heating up the kitchen.
Recipe for No-Bake Eggnog Cheesecake
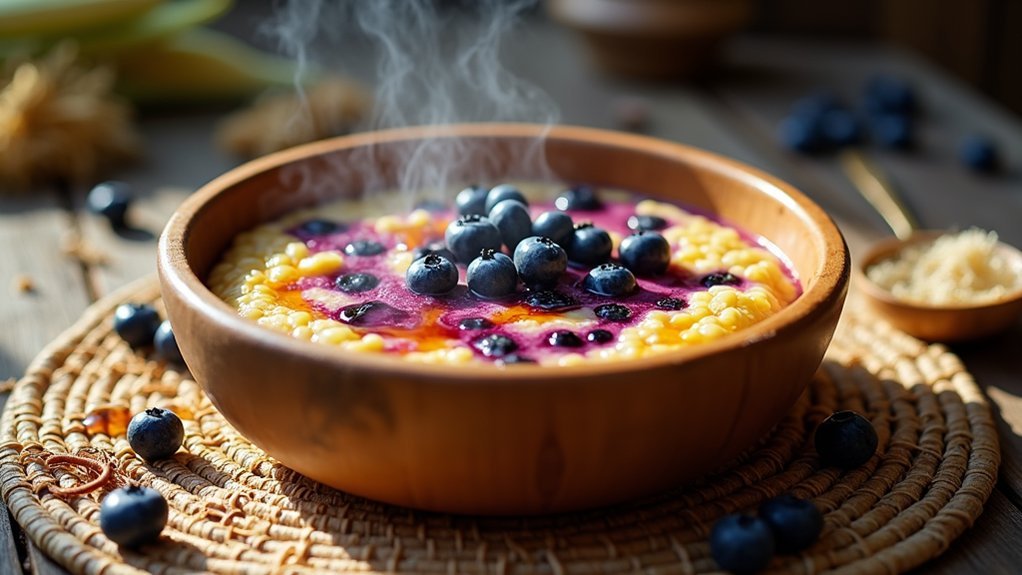
No-bake eggnog cheesecake is a festive dessert that perfectly captures the flavors of the holiday season. This creamy, rich dessert combines the smooth texture of traditional cheesecake with the distinctive taste of eggnog, creating a delightful fusion that’s bound to impress guests at any winter gathering.
The beauty of this recipe lies in its simplicity and convenience. Since it requires no baking, you can prepare it ahead of time and let it set in the refrigerator, making it an ideal choice for busy holiday schedules. The graham cracker crust provides a perfect foundation for the velvety eggnog filling, while the nutmeg garnish adds both visual appeal and authentic eggnog flavor.
- 2 cups graham cracker crumbs
- 1/2 cup melted butter
- 24 oz cream cheese, softened
- 1 cup granulated sugar
- 1 cup eggnog
- 2 tsp vanilla extract
- 1/4 tsp ground nutmeg
- 2 envelopes unflavored gelatin
- 1/4 cup cold water
- Whipped cream for garnish
- Additional ground nutmeg for topping
Mix graham cracker crumbs with melted butter and press into a 9-inch springform pan. I personally like to use soft butter rather than melted. But give it a try and see how it works for you! In a large bowl, beat cream cheese until smooth, then add sugar, eggnog, vanilla, and nutmeg. Dissolve gelatin in cold water, heat until clear, then cool slightly. Fold gelatin mixture into cream cheese mixture until well combined. Pour into prepared crust, smooth the top, and refrigerate for at least 6 hours or overnight.
Before serving, garnish with whipped cream and a sprinkle of nutmeg. For best results, confirm all ingredients are at room temperature before mixing to prevent lumps in the filling. The cheesecake can be stored in the refrigerator for up to 5 days. If the gelatin begins to set before being fully incorporated, briefly warm the mixture over a double boiler. Avoid using low-fat cream cheese or eggnog as this can affect the texture and setting of the cheesecake.
Cooking Steps
You’ll start by crushing graham crackers into fine crumbs that look like sand for your perfect cheesecake base!
Next, blend your cream cheese until it’s silky smooth, then mix in the eggnog and seasonal spices until you’ve got a well-incorporated filling.
Finally, pour your creamy mixture into the prepared crust and let it chill overnight in the fridge (at least 8 hours) until it’s completely set and firm to the touch.
step 1. Crush Graham Crackers Finely
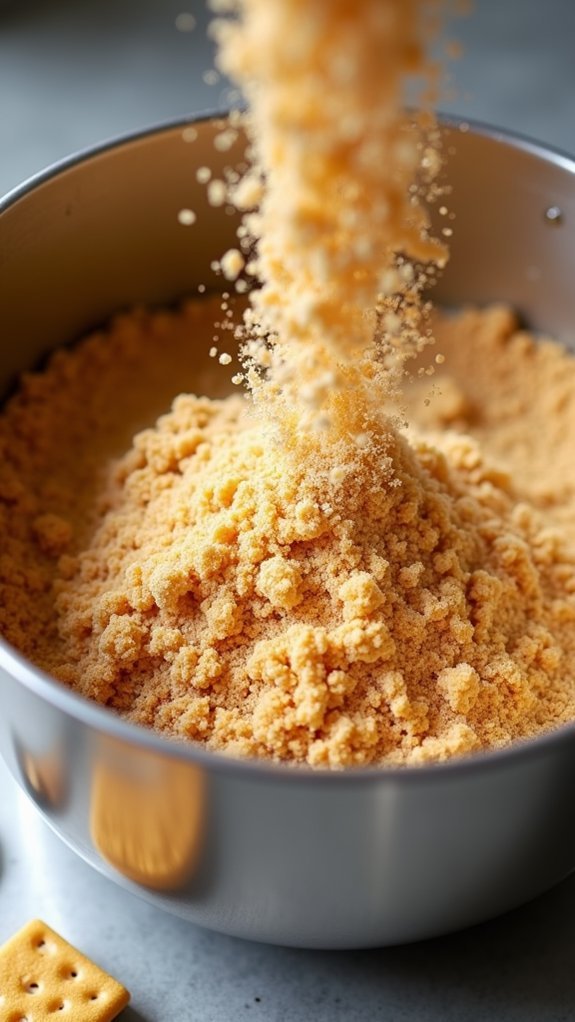
Crushing graham crackers into fine crumbs forms the essential foundation for your eggnog cheesecake’s buttery crust.
You’ll need about 24 graham crackers (or 1½ cups of pre-crushed crumbs) to create the perfect base.
Method 1: Place whole graham crackers in a food processor and pulse until you achieve a fine, sandy texture – about 30 seconds should do it!
Check that there aren’t any large pieces hiding at the bottom.
Method 2: If you don’t have a food processor, place the crackers in a sealed zip-top bag and crush them with a rolling pin.
Work methodically from edge to center until the crumbs are uniformly fine. (This method’s perfect for releasing any holiday stress!)
Remember: Your crumbs should be about the size of coarse sand for the best crust stability.
step 2. Mix Cream Cheese Until Smooth
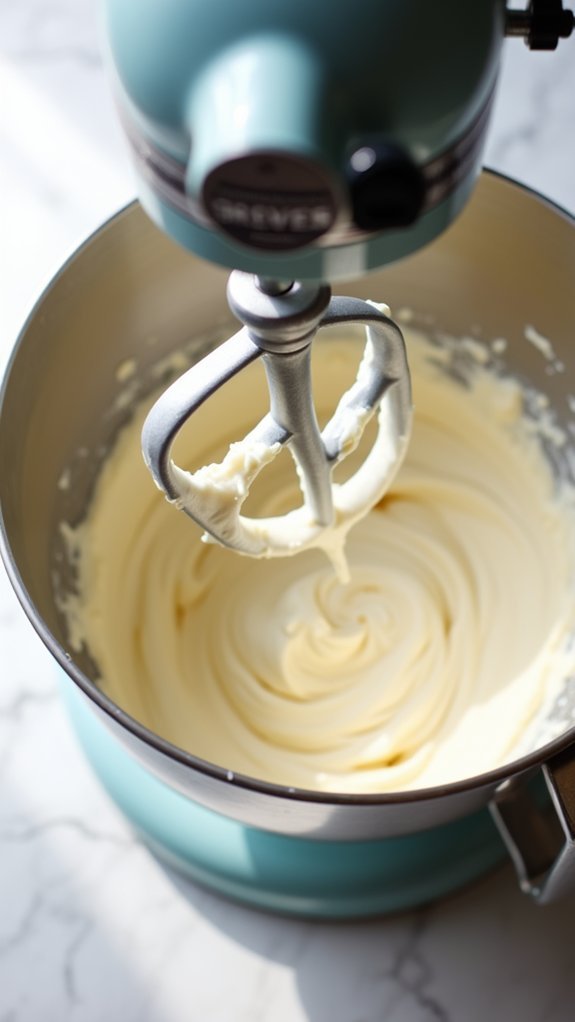
Start with perfectly softened cream cheese for the smoothest, silkiest cheesecake filling that’ll melt in your mouth.
You’ll need three 8-ounce blocks of cream cheese at room temperature (65-70°F) – and yes, the temperature matters!
Place the cream cheese in a large mixing bowl and beat with an electric mixer on medium speed for 2-3 minutes.
You’re looking for a completely lump-free consistency that’s light and fluffy.
Scrape down the sides of the bowl every minute or so – those sneaky cream cheese chunks love to hide along the edges!
Pro tip: If you spot any tiny lumps, they’ll show up in your final cheesecake.
Keep beating until the mixture’s as smooth as silk, and don’t rush this step.
Your patience here will make the difference between a good cheesecake and a spectacular one.
step 3. Blend Eggnog and Spices
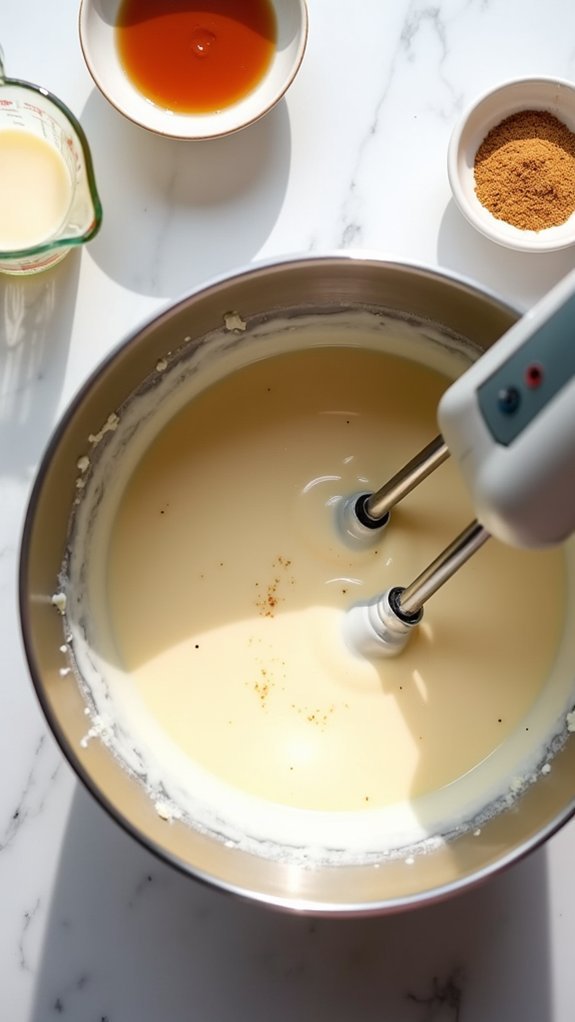
Once your cream cheese reaches that perfect silky texture, it’s time to infuse the filling with rich holiday flavors.
Pour in 1 cup of chilled eggnog and add your festive spice blend: 1 teaspoon ground nutmeg, ½ teaspoon cinnamon, and ¼ teaspoon allspice.
Using your electric mixer on medium speed, blend these ingredients for 2-3 minutes until they’re fully incorporated.
You’ll know you’re on the right track when the mixture looks uniformly creamy with tiny speckles of spices throughout.
Don’t worry if it seems a bit loose – it’ll firm up nicely in the fridge!
Pro tip: If you’re feeling fancy, use fresh-grated nutmeg instead of pre-ground.
Just remember to grate it directly over the bowl so you don’t lose any of that aromatic goodness to your countertop.
step 4. Pour Into Prepared Crust
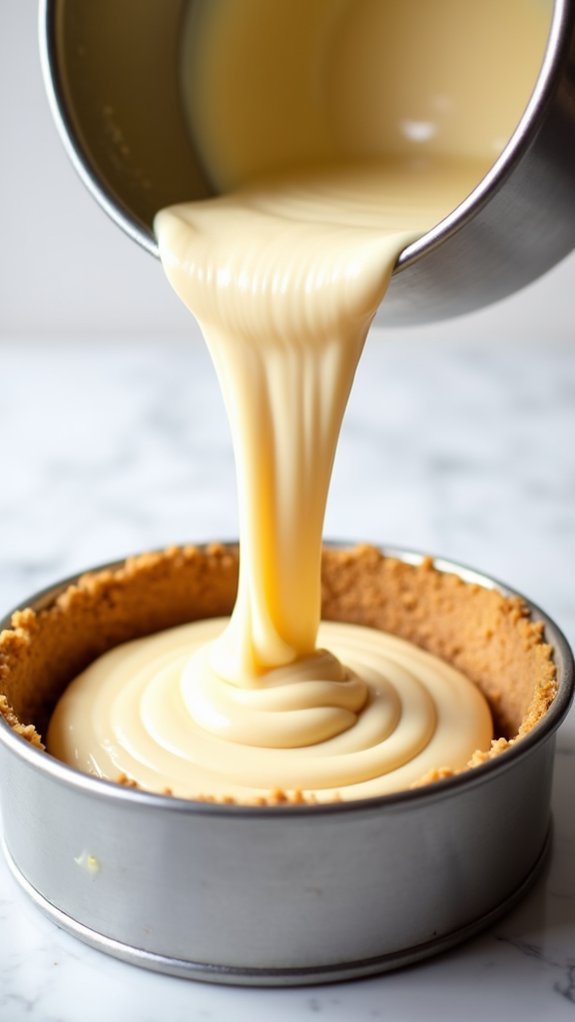
The smooth eggnog filling is ready to meet its graham cracker home! Carefully pour your creamy mixture into the prepared crust, making sure to spread it evenly from edge to edge.
Using an offset spatula or the back of a spoon, smooth the top surface until it’s perfectly level. You’ll want to tap the pan gently against your counter 3-4 times to release any trapped air bubbles – those little troublemakers can disrupt your cheesecake’s silky texture!
For best results, leave about 1/4 inch of space between the filling and the top edge of your crust. This prevents overflow and gives you that classic cheesecake look.
If you notice any drips on the pan’s sides, just wipe them clean with a paper towel before chilling.
step 5. Chill Overnight Until Firm
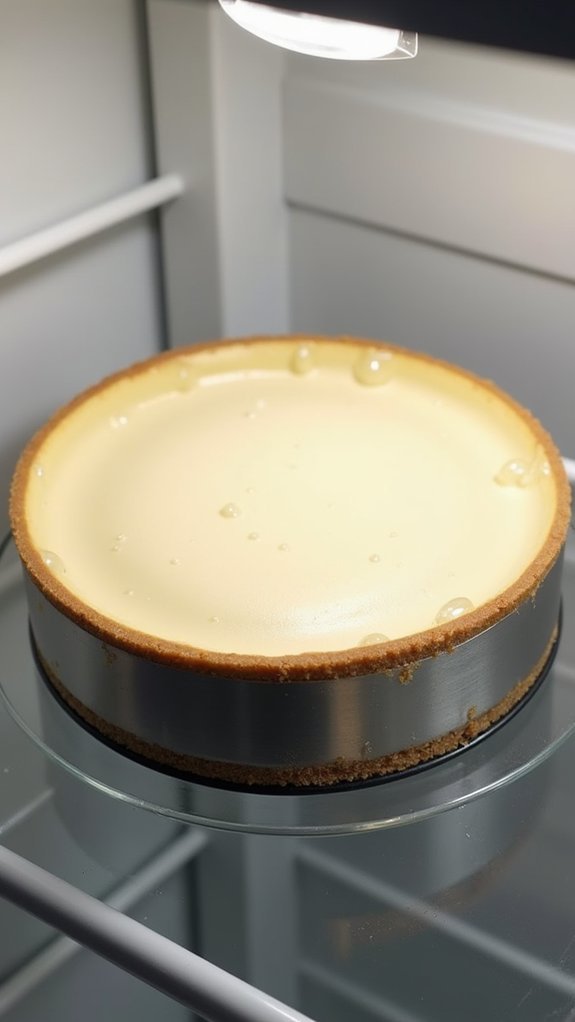
Protecting your no-bake masterpiece requires proper chilling time, so you’ll need to refrigerate the cheesecake for at least 8 hours or overnight.
Cover the springform pan with plastic wrap, making sure it doesn’t touch the surface of the filling.
Place the covered cheesecake on a level shelf in your refrigerator, away from strong-smelling foods. You’ll know it’s properly set when the surface feels firm to a gentle touch and the sides pull away slightly from the pan.
Don’t be tempted to rush this step – patience is key for that perfect slice! And now that you have created your own masterpiece its time to share you No-Bake Eggnog Cheesecake with family and friends. If you made any changes to the recipe please let us know what works well so we can try also.
Once fully chilled, run a warm knife around the edge of the pan before releasing the springform collar.
For the cleanest cuts, dip your knife in hot water and wipe it clean between each slice.
Final Thoughts
Making this no-bake eggnog cheesecake brings holiday cheer to your dessert table without the hassle of turning on your oven!
You’ll love how the creamy texture and festive eggnog flavor create the perfect holiday dessert that’ll impress your guests.
You can make this cheesecake up to three days ahead, which is perfect for busy holiday schedules.
If you’re serving it at a party, you’ll want to keep it refrigerated until about 15 minutes before slicing. The filling will be easier to cut when it’s slightly softened.
Don’t forget to garnish with a sprinkle of nutmeg and maybe some whipped cream just before serving.
Trust me – your family won’t believe this restaurant-quality dessert didn’t require any baking!