Don’t let the fancy name fool you – hot fudge pudding cake isn’t complicated at all! You’ll find this vintage dessert combines two irresistible layers into one pan: a fluffy chocolate cake on top and a rich, gooey fudge sauce underneath. While it might look like magic when it comes out of the oven, you’re actually creating a simple scientific reaction with everyday pantry ingredients. Let’s explore how this 1940s comfort food classic transforms into your new go-to dessert miracle.
History of Hot Fudge Pudding Cake
While the exact origins of Hot Fudge Pudding Cake remain somewhat unclear, this beloved dessert gained popularity in American households during the 1940s and 1950s as homemakers sought recipes using simple pantry ingredients.
You’ll find this cake mentioned in numerous community cookbooks from the era, often labeled as “self-saucing pudding” or “chocolate surprise cake.”
During World War II, when rationing made elaborate desserts challenging, this cake’s minimal ingredients made it a practical choice for families. The recipe’s popularity soared when major food companies began printing it on their cocoa powder containers.
Today, you’re following in the footsteps of generations of home bakers who’ve delighted in watching this magical dessert transform in the oven.
It’s a reflection of the ingenuity of home cooks who created something extraordinary from ordinary ingredients!
Recipe for the best Hot Fudge Pudding Cake
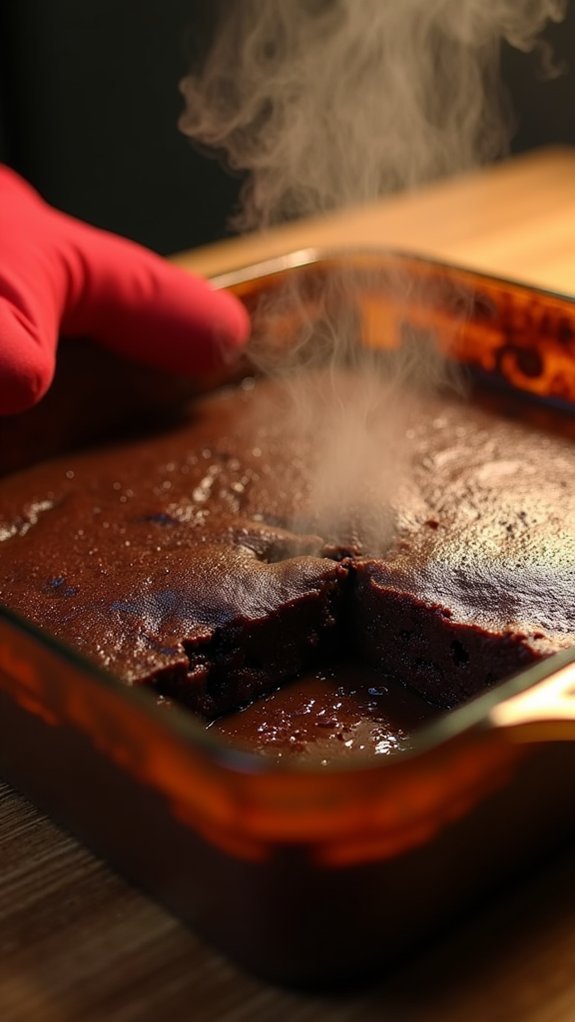
Hot Fudge Pudding Cake is a self-saucing dessert that magically separates into two distinct layers during baking. The top transforms into a moist chocolate cake while the bottom becomes a rich, warm fudge sauce, creating an indulgent dessert that’s perfect for any occasion.
This simple yet impressive dessert requires minimal effort and basic pantry ingredients, making it an excellent choice for last-minute entertaining or satisfying chocolate cravings. The beauty of this recipe lies in its ability to create its own sauce during the baking process, eliminating the need for additional toppings.
- 1 cup all-purpose flour
- 1 cup granulated sugar
- ½ cup unsweetened cocoa powder, divided
- 2 teaspoons baking powder
- ¼ teaspoon salt
- ½ cup milk
- 4 tablespoons butter, melted
- 2 cups very hot water
Preheat oven to 350°F (175°C). In a 9×9-inch baking dish, mix flour, ½ cup sugar, ¼ cup cocoa powder, baking powder, and salt. Stir in milk and melted butter until just combined.
In a separate bowl, combine remaining sugar and cocoa powder, then sprinkle evenly over the batter. Pour hot water over the entire mixture without stirring. Bake for 35-40 minutes until the top is set but still slightly soft when touched.
For best results, serve the pudding cake while still warm, as the sauce will thicken upon cooling. The success of this recipe depends on using very hot water and avoiding overbaking – the top should be set but slightly wobbly when gently shaken.
Test for doneness at the 35-minute mark, as baking times may vary depending on your oven. Let the cake rest for 15 minutes before serving to allow the sauce to thicken slightly.
Cooking Steps
So lets get started making one of the best if not the most flavorful Hot Fudge Pudding Cake that you will ever try. You can stick to the recipe 100% or veer off in any direction you like. But we feel that this Hot Fudge Pudding Cake will be perfect as it its.
Let’s begin by preheating your oven to 350°F and mixing the flour, half cup of sugar, and ¼ cup cocoa powder in your baking dish until well combined.
Next, you’ll blend the melted butter with the remaining sugar and cocoa powder, then stir this mixture into your dry ingredients just until they’re combined.
Finally, pour the hot water (it needs to be very hot!) over everything without stirring, then pop it in the oven for 35-40 minutes until the top is set but still slightly wobbly when gently shaken.
step 1. Preheat 350°F
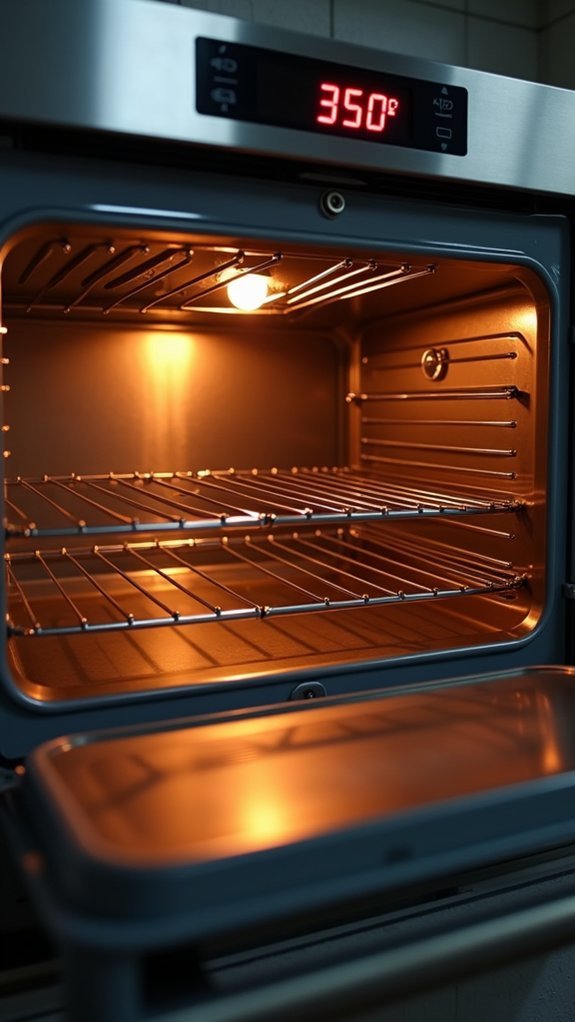
Before diving into any mixing or measuring, you’ll need to preheat your oven to 350°F (175°C). This temperature is essential for creating that perfect balance between cake and fudge layers, so don’t skip this step!
While your oven’s warming up, you can gather your ingredients and equipment. The preheating process typically takes 10-15 minutes, which gives you plenty of time to prep everything else.
You’ll know your oven’s ready when it beeps or the indicator light turns off.
If you’re using a dark metal or glass baking dish, you might want to reduce the temperature by 25 degrees to prevent over-browning.
Just remember, an accurately preheated oven is key to achieving that magical separation of cake and fudge sauce layers!
step 2. Mix Dry Ingredients

The initial mixing step forms the foundation of your pudding cake’s incredible transformation.
In a medium baking dish, combine 1 cup of all-purpose flour, 1/2 cup of granulated sugar, and 1/4 cup of unsweetened cocoa powder.
You’ll want to whisk these ingredients thoroughly until they’re well-blended with no cocoa powder lumps hiding in the mix.
Make sure you’re only using half of your total sugar and cocoa powder measurements at this stage – you’ll need the rest later!
Give the dry mixture a quick taste test if you’d like (we won’t tell), but remember that this is just the base layer.
The magic happens when you add the remaining ingredients and that hot water creates your signature fudgy bottom layer during baking.
step 3. Blend Melted Butter Mixture
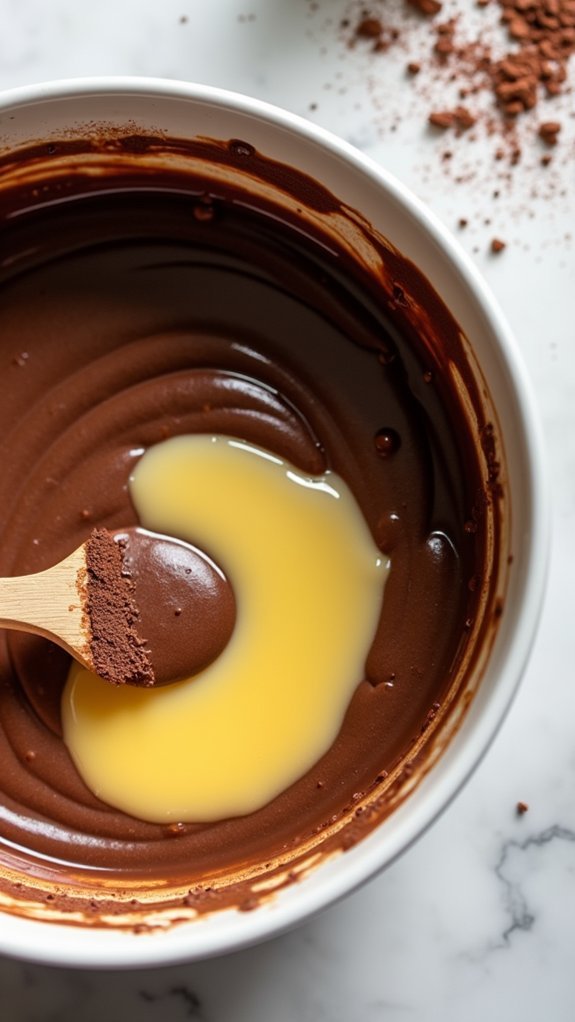
Now that your dry ingredients are perfectly combined, it’s time to create the rich butter mixture that’ll bring your pudding cake to life!
Take your melted butter and combine it with the remaining 1/2 cup of sugar and 1/4 cup of cocoa powder in a separate bowl. You’ll want to whisk these ingredients until they’re completely smooth – no cocoa clumps allowed! The mixture should look like a thick, glossy chocolate sauce.
Next, carefully fold this butter mixture into your flour mixture in the baking dish. Don’t overmix; you’re just aiming to combine them until they’re barely incorporated.
Think of it like creating a marbled effect – a few gentle strokes will do the trick! The batter might look a bit lumpy, but don’t worry – that’s exactly how it should be.
step 4. Pour Water Over Batter
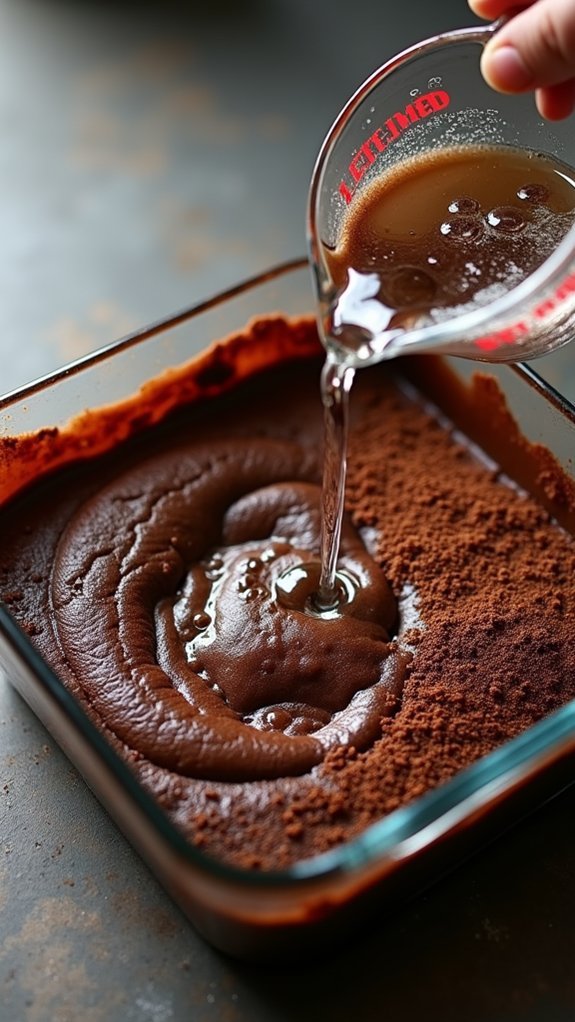
As your chocolate batter sits ready in the baking dish, it’s time for the step that creates the magical pudding effect! You’ll need 2 cups of very hot water for this essential transformation.
Carefully pour the hot water over your chocolate mixture, making sure to distribute it evenly across the entire surface.
Don’t worry if it looks like soup – that’s exactly what you want! Here’s the most important part: resist the urge to stir. The water needs to settle naturally on top of your batter to create those distinct layers while baking.
The hot water will work its magic in the oven, sinking through the batter to create a rich fudge sauce on the bottom while the top becomes a perfect chocolate cake.
Trust the process – it really works!
step 5. Bake Until Wobbly
Slide your pudding cake into a preheated 350°F oven, where it’ll transform from a soupy mixture into a decadent two-layered dessert.
Keep an eye on the cake as it bakes for 35-40 minutes, watching for those telltale signs of doneness.
You’ll know it’s ready when the top layer has set but still maintains a slight wobble when you gently shake the pan – think of it as doing a little dessert dance!
Don’t worry if it seems a bit jiggly; that’s exactly what you want. The bottom should remain delightfully saucy, while the top develops a cake-like consistency.
Whatever you do, don’t overbake! An extra few minutes can make your fudgy sauce disappear faster than cake at a birthday party.
Once baked, let it rest for 15 minutes before serving.
Final Thoughts
While making Hot Fudge Pudding Cake might seem intimidating at first, you’ll find it’s one of the most forgiving and rewarding desserts you can master.
With just five pantry staples and minimal effort, you’re creating pure chocolate magic in your kitchen.
Remember that timing is everything with this dessert. You’ll want to serve it warm, ideally within 30 minutes of pulling it from the oven.
As the cake cools, the sauce will gradually thicken – which isn’t bad, just different!
Don’t worry if your first attempt isn’t picture-perfect; even slightly imperfect pudding cakes are delicious.
The beauty of this recipe is its rustic charm and the way it transforms simple ingredients into something that’ll make your guests think you’re a dessert wizard!