You’ve probably wondered what to do with all that leftover turkey after the big feast. Well, creamed turkey isn’t just another leftovers solution – it’s a transformation that’ll make you forget you’re eating yesterday’s bird! This classic comfort dish emerged from resourceful American kitchens, combining tender chunks of turkey with a velvety cream sauce that turns simple ingredients into something truly special. Let’s explore how this humble recipe became a post-holiday tradition worth mastering. So lets get to making some Creamed Turkey of our own!
History of Creamed Turkey
While the exact origins of creamed turkey remain unclear, this resourceful dish emerged in American kitchens during the early 20th century as home cooks sought creative ways to use leftover poultry. You’ll find this comfort food mentioned in countless community cookbooks and newspaper columns from the 1920s and 1930s.
During the Great Depression, you would’ve seen creamed turkey regularly appearing on dinner tables as families worked to stretch their food budgets. The dish gained even more popularity after World War II, when convenience cooking became trendy.
Home economists of the era promoted it as an economical way to feed a growing family. Today, you’ll still find this classic recipe being passed down through generations, especially during the post-Thanksgiving season when leftovers abound.
Creamed Turkey Recipe
Creamed turkey is a beloved comfort food that breathes new life into leftover turkey meat. This classic dish transforms simple ingredients into a rich, creamy masterpiece that’s perfect for post-holiday meals or anytime you want a warming, satisfying dinner.
The beauty of this recipe lies in its simplicity and versatility. The velvety sauce envelops tender pieces of turkey, creating a dish that can be served over toast points, biscuits, rice, or even pasta, making it an adaptable option for any meal of the day.
- 2 cups cooked turkey, chopped
- 2 cups heavy cream
- 4 tablespoons butter
- 4 tablespoons all-purpose flour
- 1 teaspoon salt
Melt butter in a large skillet over medium heat and whisk in flour, cooking for two minutes to create a roux. Gradually add heavy cream while whisking continuously to prevent lumps. Cook and stir until the sauce thickens, approximately 5-7 minutes.
Add chopped turkey and salt, stirring gently until the meat is heated through and evenly coated with sauce. Continue simmering for 3-5 minutes until thoroughly hot.
For optimal results, ensure turkey pieces are cut uniformly for even heating, and watch the sauce consistency closely – it should coat the back of a spoon when ready. If the sauce becomes too thick, thin it with additional cream or milk.
Test for seasoning before serving, as leftover turkey’s salt content can vary. Store any leftovers in an airtight container in the refrigerator for up to three days, reheating gently to maintain the creamy texture.
Cooking Steps
You’ll want to start by melting the butter in your skillet until it’s bubbling before whisking in the flour to create a smooth paste.
Next, pour in the cream while stirring constantly – this’ll help prevent those pesky lumps that nobody wants in their sauce!
Once your sauce has thickened, you’re ready to add the turkey pieces and let everything simmer together until it’s perfectly combined and heated through.
step 1. Melt Butter Until Bubbling
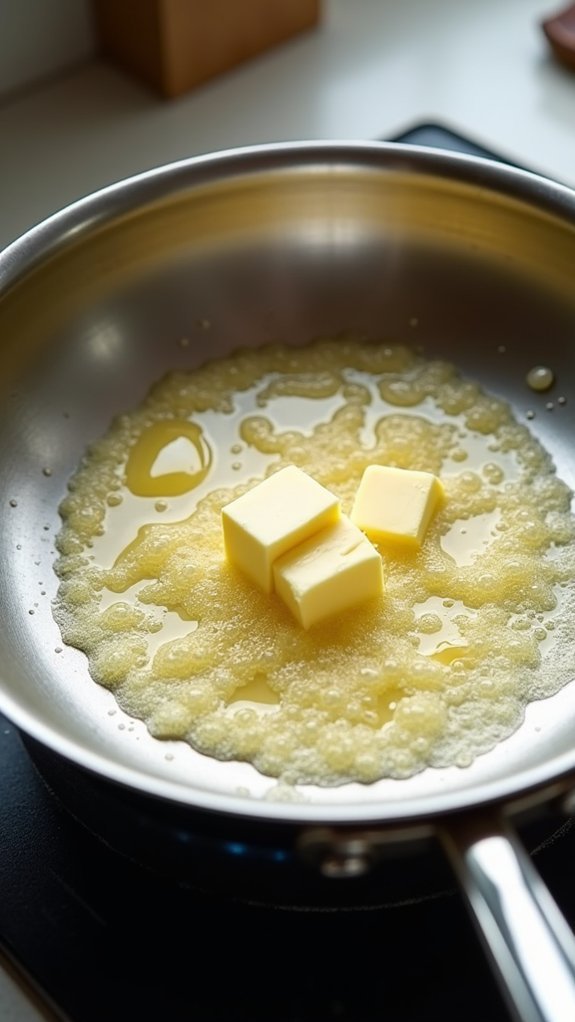
Begin your creamed turkey journey by melting 4 tablespoons of butter in a large skillet over medium heat. You’ll want to watch for the butter to start bubbling gently around the edges – that’s your cue it’s ready for the next step!
Keep a close eye on your butter as it melts, swirling the pan occasionally to ensure even heating. The ideal temperature should be around 350°F, where the butter will bubble steadily but not brown.
You’ll notice tiny foam bubbles forming on the surface, which is exactly what you want. If your butter starts browning, simply lower the heat – no need to start over!
Once you see consistent bubbling across the surface and the butter has completely liquefied, you’re ready to move forward with adding your flour.
step 2. Whisk In Flour Slowly
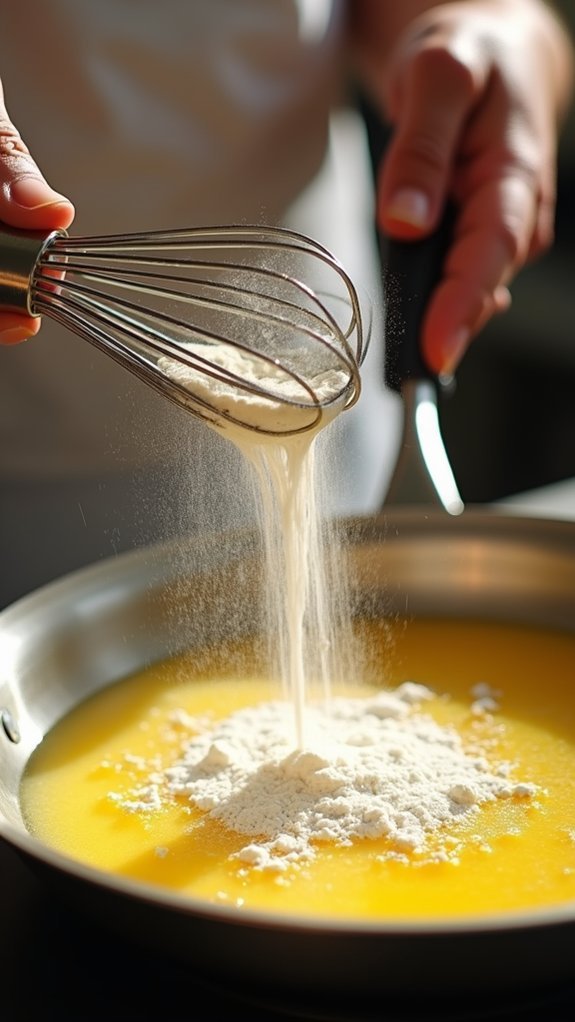
After your butter reaches the perfect bubbling stage, gradually sprinkle the 4 tablespoons of all-purpose flour into the pan while whisking continuously.
You’ll want to maintain a steady hand here – think of it as giving your arm a mini workout!
The flour-butter mixture will start forming what chefs call a “roux,” which will become the thickening base for your creamy sauce.
Keep whisking at a moderate pace for about two minutes, making sure there aren’t any lumps hiding in the corners of your pan.
You’ll notice the mixture taking on a slightly golden color and giving off a nutty aroma – that’s exactly what you want!
If you see any flour clumps, break them up with the whisk before moving on to the next step.
step 3. Pour Cream While Stirring
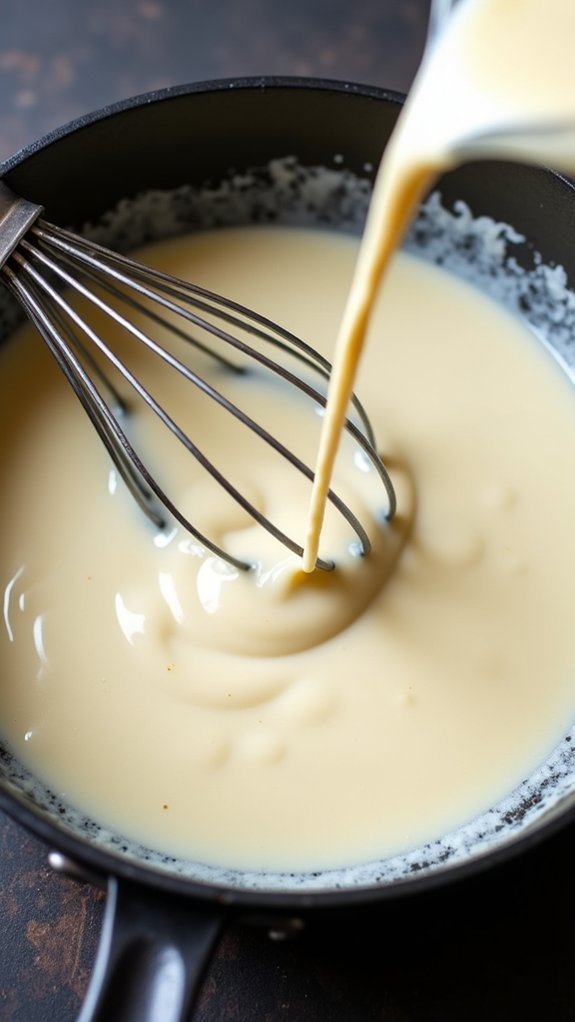
Now that your roux has reached that perfect golden stage, the heavy cream takes center stage in this culinary performance.
You’ll want to pour the cream in a steady, thin stream while keeping your whisk moving constantly – think of it as a kitchen dance where your whisk leads!
Pour about 1/4 cup of cream at a time, whisking vigorously to incorporate each addition before adding more.
You’ll notice the mixture gradually becoming smoother and more liquid.
Don’t panic if you see a few small lumps at first; they’ll work themselves out as you continue whisking.
Keep going until all two cups of cream are incorporated into your roux.
The sauce should start to thicken nicely as it heats through, transforming into that silky-smooth consistency we’re after.
step 4. Add Turkey Pieces Carefully
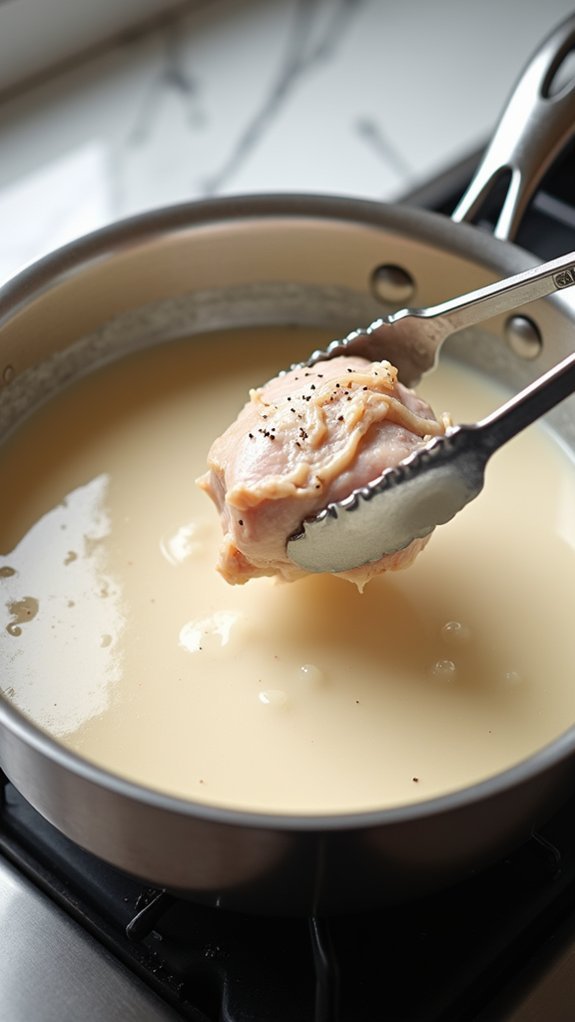
With your silky-smooth cream sauce ready to go, it’s time to introduce your chopped turkey pieces into the mix!
Using a wooden spoon or silicone spatula, gently fold the 2 cups of turkey into your thickened sauce, being careful not to break up the meat chunks.
Keep the heat at medium-low as you incorporate the turkey. You’ll want to stir slowly and deliberately, ensuring each piece gets evenly coated with the creamy sauce.
Watch for the turkey to start releasing small wisps of steam – that’s your signal it’s warming through nicely!
Give everything a careful taste test now, adding more salt if needed. The turkey should be completely heated and the sauce should maintain its smooth, velvety consistency without becoming grainy or separated.
step 5. Simmer Until Fully Combined
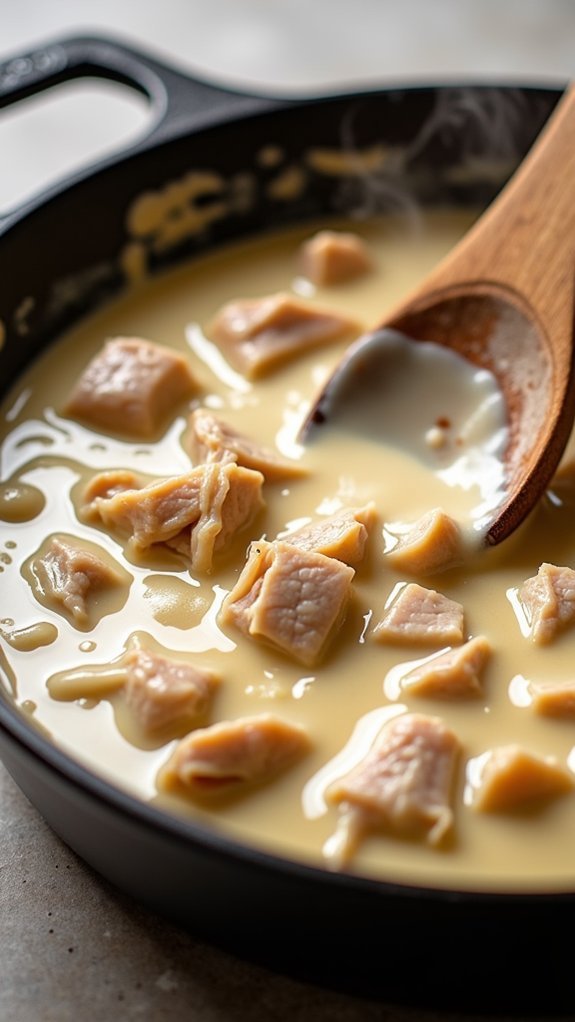
Once your turkey and sauce have come together, let the mixture simmer gently for 3-5 minutes until everything’s perfectly unified.
You’ll notice the sauce becoming slightly thicker and the turkey pieces getting evenly coated in the creamy mixture.
Keep the heat at medium-low during this final simmer – you don’t want the sauce to break or the turkey to become tough.
Give it an occasional gentle stir to prevent any sticking to the bottom of the pan.
You’ll know it’s ready when the sauce is silky smooth and clings beautifully to the meat.
If you draw a wooden spoon through the mixture, it should leave a clear path that slowly fills back in.
Final Thoughts for Creamed Turkey
While creamed turkey might seem like a simple comfort food, this versatile dish proves that leftovers can become something truly special.
You’ll find yourself reaching for this recipe long after the holiday season has passed!
Once you’ve mastered this basic version, don’t be afraid to make it your own.
Try adding sautéed mushrooms, peas, or your favorite herbs. You can even transform it into a casserole by topping it with breadcrumbs and baking until golden.
Remember that the key to success lies in that perfectly thickened sauce – it should be rich and velvety, never gloppy or thin.
Whether you’re serving it over toast points for brunch or nestled in a bread bowl for dinner, this creamed turkey will become your go-to comfort food solution.