You’re about to discover a cake that perfectly marries the bright tartness of cranberries with the cozy warmth of traditional gingerbread. The name of this amazing sounding desert is Cranberry Gingerbread Cake! So lets keep going and get this made.
This colonial-inspired recipe isn’t your typical holiday dessert – it’s a clever twist that’ll make your kitchen smell like a New England bakery. While most bakers stick to either gingerbread or cranberry treats, you’ll find that combining these two classics creates something uniquely memorable. Let’s explore how these contrasting flavors come together to create your new favorite winter dessert.
History of Cranberry Gingerbread Cake
The delightful pairing of cranberries and gingerbread has roots stretching back to early American colonial times.
You’ll find that both ingredients were readily available to settlers, with cranberries growing wild in New England’s bogs and ginger being a common import from the West Indies.
During the 1700s, you’d have seen colonial bakers combining these ingredients in various ways, though not quite in the cake form we recognize today.
They’d often mix dried cranberries into their gingerbread loaves, which were typically denser and spicier than modern versions.
Recipe for the best Cranberry Gingerbread Cake
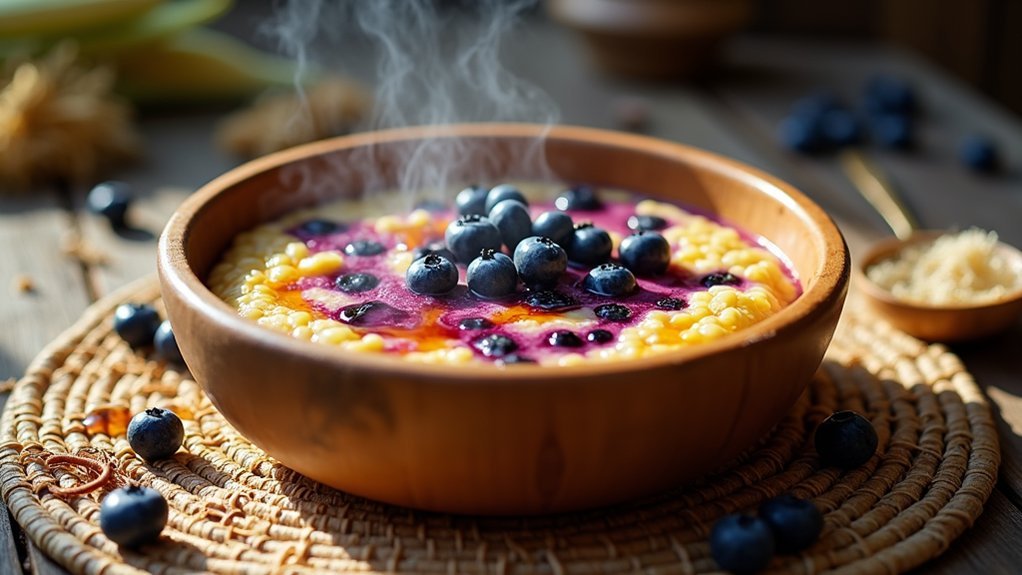
Cranberry gingerbread cake combines the festive tartness of cranberries with the warm, spicy notes of traditional gingerbread. This seasonal dessert brings together molasses, ginger, cinnamon, and other aromatic spices that create the signature gingerbread flavor profile while fresh cranberries add bright bursts of flavor and a beautiful visual element.
The beauty of this cake lies in its versatility – it can be served as a casual afternoon treat with tea or dressed up with whipped cream and sugared cranberries for an elegant holiday dessert. The combination of dark, rich gingerbread and tart cranberries creates a perfect balance that appeals to those who prefer desserts that aren’t overly sweet.
- 2½ cups all-purpose flour
- 2 teaspoons ground ginger
- 1½ teaspoons ground cinnamon
- 1 teaspoon baking soda
- ½ teaspoon salt
- ½ teaspoon ground nutmeg
- ¼ teaspoon ground cloves
- ¾ cup unsalted butter, softened
- 1 cup dark brown sugar
- 2 large eggs
- 1 cup molasses
- 1 cup hot water
- 2 cups fresh cranberries
- ¼ cup granulated sugar
Preheat oven to 350°F and grease a 9×13-inch baking pan. Mix dry ingredients in one bowl. In a separate bowl, cream butter and brown sugar until fluffy, then beat in eggs and molasses. Gradually add dry ingredients to wet ingredients, alternating with hot water. Toss cranberries with granulated sugar and fold into batter. Pour into prepared pan and bake for 45-50 minutes until a toothpick inserted in the center comes out clean. Cool completely before serving.
For best results, fresh cranberries should be used rather than frozen ones, as frozen berries can release excess moisture during baking. The cake can be made up to two days in advance and stored in an airtight container at room temperature.
If the top of the cake browns too quickly during baking, cover loosely with aluminum foil. The cake pairs wonderfully with orange-scented whipped cream or vanilla ice cream.
Cooking Steps for Cranberry Gingerbread Cake
First, you’ll want to preheat your oven to 350°F and mix all your dry ingredients in a large bowl until they’re well combined.
Next, fold your fresh cranberries into the mixture, making sure they’re evenly distributed before you add in your wet ingredients!
Finally, pour the completed batter into a thoroughly greased 9×13 inch baking pan, ensuring you’ve scraped down the sides of the mixing bowl to get every last bit.
step 1. Preheat Oven to 350°F
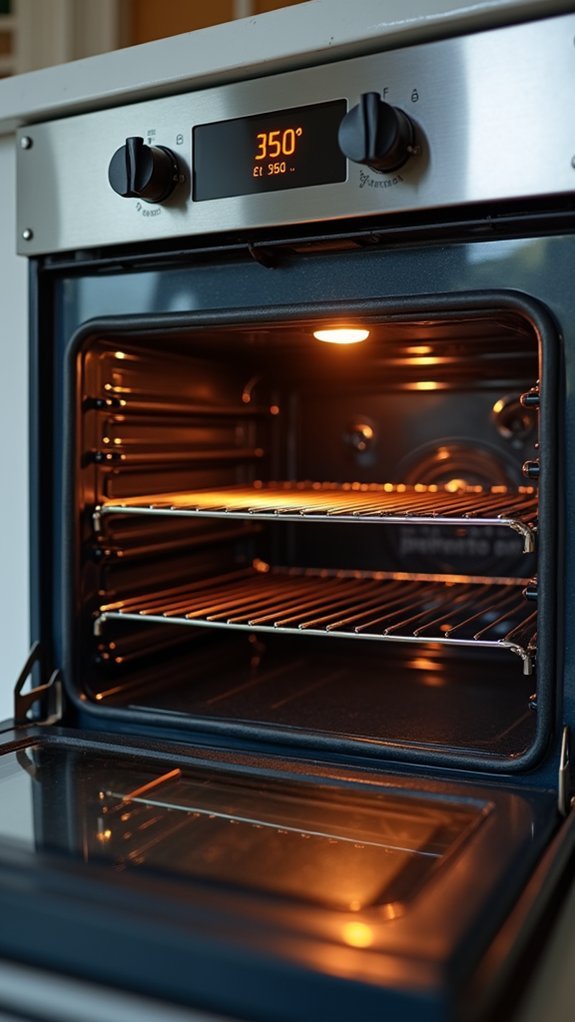
Before diving into our delightful gingerbread creation, you’ll need to preheat your oven to 350°F (175°C). This temperature is essential for achieving that perfect balance between a moist interior and slightly crispy edges.
While your oven’s warming up (and making your kitchen feel extra cozy), there’s a quick way to verify the temperature accuracy. Place an oven thermometer on the middle rack and wait 15 minutes. If you don’t have one, don’t worry – most modern ovens are fairly reliable!
For best results, position your oven rack in the center position. This guarantees even heat distribution and prevents the bottom of your gingerbread from getting too dark.
step 2. Mix Dry Ingredients Together
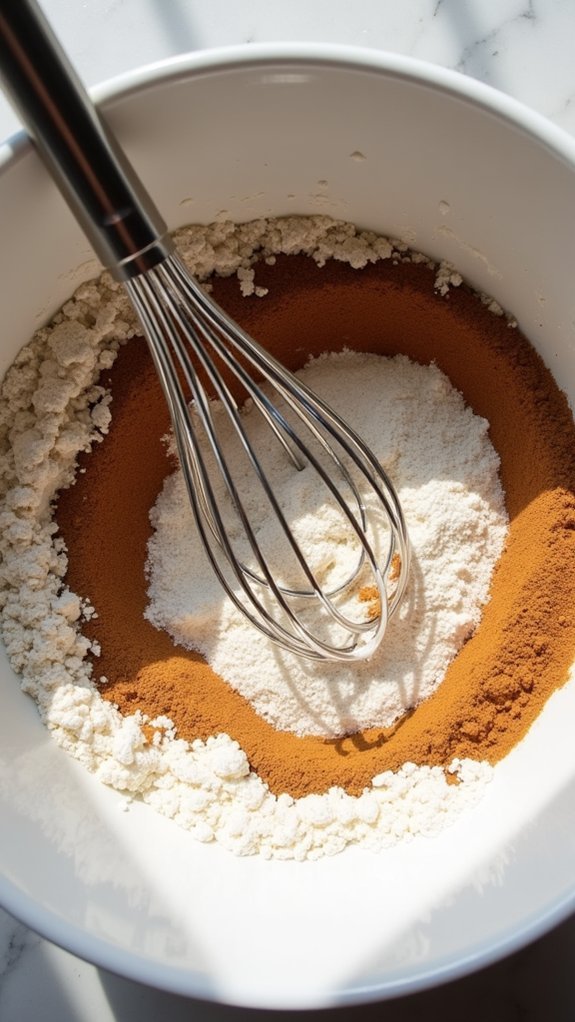
While your oven reaches the perfect temperature, let’s get started with the foundation of our gingerbread masterpiece – the dry ingredients!
In a large mixing bowl, combine:
- 2½ cups all-purpose flour
- 2 teaspoons ground ginger
- 1½ teaspoons ground cinnamon
- 1 teaspoon baking soda
- ½ teaspoon ground nutmeg
- ½ teaspoon salt
- ¼ teaspoon ground cloves
Using a whisk (your best friend for evenly distributed spices!), stir these ingredients together until they’re well combined.
You’ll want to break up any flour clumps – nobody likes biting into a pocket of baking soda. The mixture should look uniformly light brown from all those warm spices.
Take a moment to inhale that gorgeous holiday aroma; it’s like December in a bowl!
step 3. Add Cranberries Into Mixture
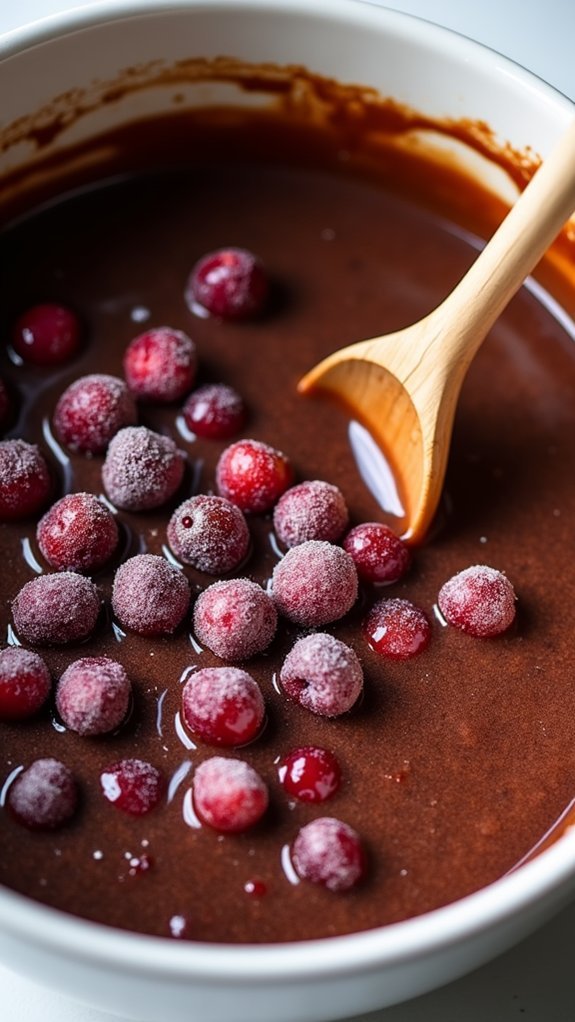
The next magical addition to your gingerbread batter comes from two cups of fresh cranberries, washed and patted dry.
Here’s how you’ll incorporate these tart little gems:
- Toss the cranberries with 1 tablespoon of flour to prevent them from sinking in your batter.
- Using a rubber spatula, gently fold the coated cranberries into your mixture with three to four broad strokes.
- Don’t overmix – you’ll want some cranberries floating near the top for that picture-perfect finish!
Pro tip: If you’re using frozen cranberries, don’t thaw them first. Add them while still frozen, but work quickly to prevent the batter from becoming too cold.
And remember, those tiny white spots on cranberries aren’t mold – they’re nature’s sparkly sugar coating!
step 4. Pour in Wet Ingredients
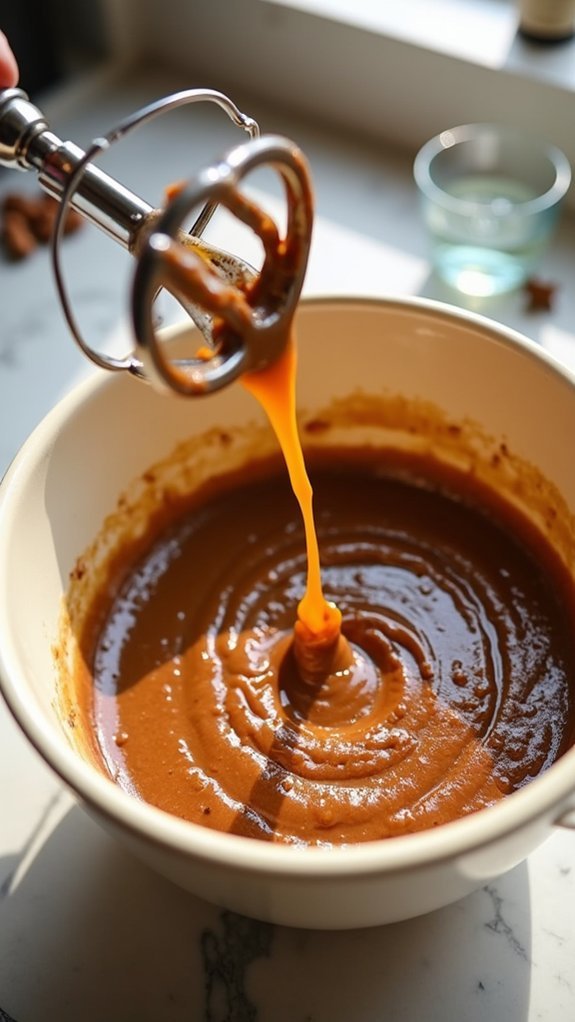
Mixing in your wet ingredients requires a methodical approach to achieve that perfect gingerbread consistency.
Pour in 1 cup of molasses, ¾ cup buttermilk, and 2 lightly beaten eggs into your flour mixture.
You’ll want to add these gradually while mixing at medium speed – no one wants flour clouds in their kitchen!
Next, stream in ½ cup of melted butter and 2 tablespoons of fresh ginger.
The batter should become smooth and glossy, similar to chocolate cake batter.
Keep mixing until you’ve incorporated all wet ingredients completely, about 2-3 minutes.
You’ll know you’re done when the batter pulls away slightly from the sides of the bowl and there aren’t any dry spots hiding at the bottom.
Don’t overmix though – we’re making cake, not bread!
step 5. Pour Into Greased Pan
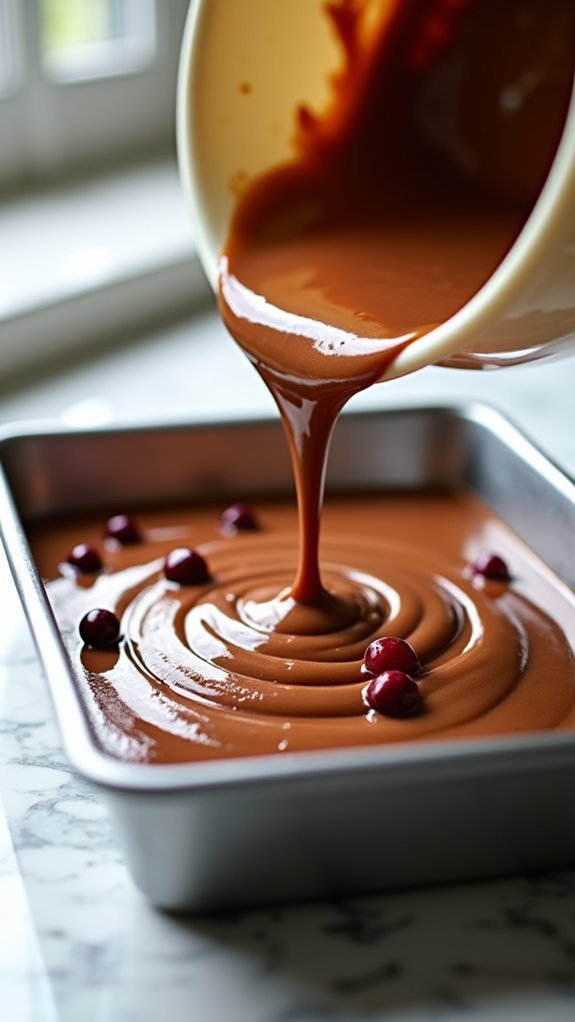
Now that your batter has reached the perfect consistency, prepare a 9×13-inch baking pan for its new tenant!
Grease your pan thoroughly with butter or non-stick cooking spray, making sure to coat the corners where cake likes to stick.
Don’t forget the sides – they’re just as important as the bottom! For extra protection against sticking, you can line the pan with parchment paper, leaving a slight overhang on the long sides.
Pour the gingerbread batter into your prepared pan, using a rubber spatula to scrape every last delicious drop from the bowl.
Gently tap the pan on your counter 2-3 times to release any air bubbles hiding in the batter.
Finally, use your spatula to smooth the top into an even layer – this will guarantee uniform baking and a professional-looking finish.
Final Thoughts on Cranberry Gingerbread Cake
By combining tart cranberries with warm gingerbread spices, you’ll create a festive holiday cake that’s sure to become a family favorite!
This recipe offers the perfect balance between sweet and tart flavors, while the molasses provides that classic gingerbread depth you’re looking for. In fact these flavors in Cranberry Gingerbread Cake will most likely send your tastebuds into overdrive. And its not just a holiday desert either.
You’ll find it’s an excellent choice for holiday gatherings or cozy winter afternoons with a cup of tea. Don’t worry if a few cranberries sink to the bottom – that’s perfectly normal and creates a lovely surprise when you slice into it!
Store your cake in an airtight container at room temperature for up to 3 days, or freeze for up to 2 months.
For an extra special touch, serve it slightly warm with a dollop of whipped cream or vanilla ice cream.