While cream puffs might seem like an everyday dessert, they transform into magical holiday treats with a few festive twists. Especially when you try out these Christmas Cream Puffs! You’ll find that these light-as-air pastries filled with rich seasonal creams can elevate your Christmas dessert spread from ordinary to extraordinary. If you’ve ever wanted to master the art of choux pastry or create a showstopping holiday dessert, you’re about to discover just how achievable these elegant French-inspired confections can be.
History for the Christmas Cream Puffs
While the exact origins of Christmas cream puffs remain somewhat unclear, these delightful pastries emerged as holiday treats in European bakeries during the 1800s.
You’ll find their roots in French choux pastry, which bakers would transform into festive shapes during the Christmas season.
As you’d explore bakeries in France and Germany in the late 19th century, you’d discover cream puffs decorated with powdered sugar to resemble snowballs.
By the early 1900s, you’d notice these treats gaining popularity across America, where they’d become a cherished part of holiday dessert tables.
You’ll be interested to know that Victorian-era cookbooks often featured cream puffs as the centerpiece of Christmas gatherings, complete with seasonal variations like peppermint cream filling and chocolate drizzle.
Recipe for the best Christmas Cream Puffs
Christmas Cream Puffs are a delightful holiday dessert that combines light, airy choux pastry with rich, creamy filling and festive decorations. These elegant pastries create a stunning presentation on any holiday dessert table and can be customized with different fillings and toppings to suit various tastes.
Traditional cream puffs become holiday-worthy with the addition of seasonal flavors like peppermint, eggnog, or vanilla bean, and can be decorated with powdered sugar, chocolate drizzle, or colored sprinkles to match the Christmas theme. The pastries can be made ahead of time and assembled just before serving, making them perfect for holiday entertaining. But we are not sticking with tradition here. And you might want to try adding some of your own special changes when you make your Christmas Cream Puffs.
Ingredients:
- 1 cup water
- 1/2 cup butter
- 1/4 teaspoon salt
- 1 cup all-purpose flour
- 4 large eggs
- 2 cups heavy whipping cream
- 1/4 cup powdered sugar
- 1 teaspoon vanilla extract
- Powdered sugar for dusting
- Red and green sprinkles
- Melted chocolate for drizzling
Preheat oven to 400°F. Bring water, butter, and salt to a boil in a medium saucepan. Add flour all at once, stirring vigorously with a wooden spoon until mixture forms a smooth ball. Remove from heat and let cool for 5 minutes. Beat in eggs one at a time until fully incorporated.
Pipe or spoon mixture onto parchment-lined baking sheets in 1.5-inch mounds. Bake for 25-30 minutes until golden brown. While cooling, whip cream with powdered sugar and vanilla until stiff peaks form. Cut cooled puffs horizontally, fill with whipped cream, and decorate with powdered sugar, sprinkles, and chocolate drizzle.
For best results, verify eggs are at room temperature before incorporating them into the dough. The pastries should be completely cool before filling to prevent the cream from melting.
Unfilled puffs can be stored in an airtight container for up to 2 days, or frozen for up to 1 month. For crispier puffs, poke a small hole in the bottom of each baked shell to allow steam to escape while cooling.
Cooking Steps
You’ll want to start by mixing your flour in a medium bowl while heating milk to a rolling boil in a separate saucepan.
Next, you’ll carefully combine your sugared puff mixture with the heated milk, making sure to stir continuously until it forms a smooth, glossy consistency.
Once your dough reaches the right texture, pipe it onto a parchment-lined baking tray in 2-inch rounds and pop them into your preheated 375-degree oven – they’ll be ready to transform into festive holiday treats!
step 1. Begin by Mixing Flour
To begin crafting these delectable cream puffs, you’ll need to precisely measure out 1 cup of all-purpose flour into a medium mixing bowl.
Make sure you’ve sifted the flour first – those pesky lumps aren’t invited to this holiday party!
Next, add 1/4 teaspoon of salt to your flour and whisk them together until well combined.
You’ll want to keep this mixture close at hand, as it’ll be incorporated into your wet ingredients later. The proper measurement here is essential – too much flour will make your puffs heavy, while too little will result in flat, sad-looking pastries.
Pro tip: If you’re working in a humid kitchen, consider measuring out an extra tablespoon of flour to compensate for the moisture in the air.
step 2. Heat Milk Until Boiling
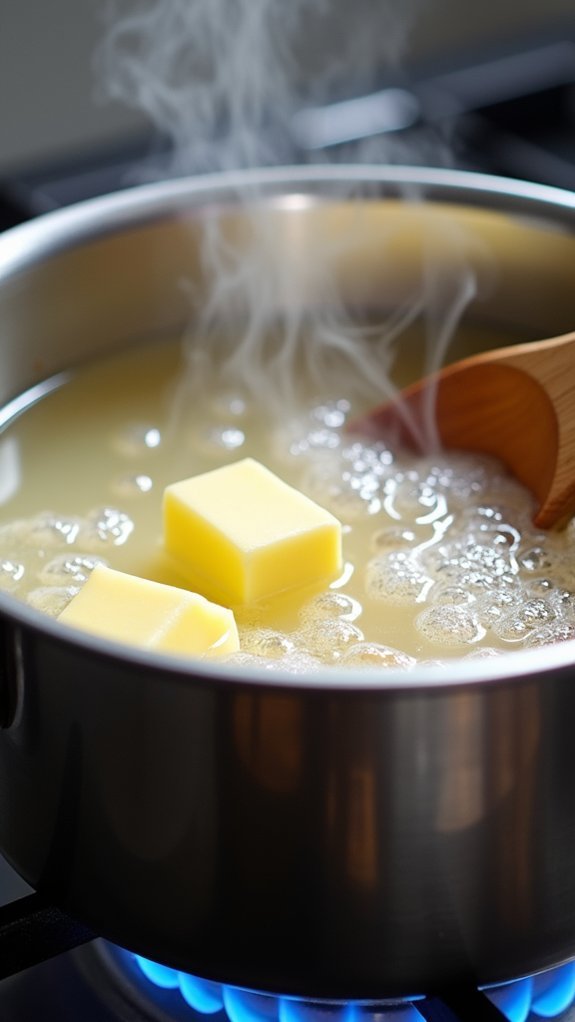
Pour whole milk and butter into a medium saucepan over medium-high heat, combining 1 cup of milk with 1/2 cup (1 stick) of unsalted butter.
Keep your eyes on the mixture – it’s not the time to check your phone! As the liquid heats, you’ll notice the butter beginning to melt and incorporate into the milk.
Watch carefully for signs of boiling, which include small bubbles forming around the edges of the pan and steam rising from the surface.
You’ll want the mixture to reach a gentle, rolling boil (around 212°F/100°C). Don’t walk away during this step, as milk can quickly boil over and create quite the mess on your stovetop.
Once you see those steady bubbles breaking the surface consistently, you’re ready to move on to the next step!
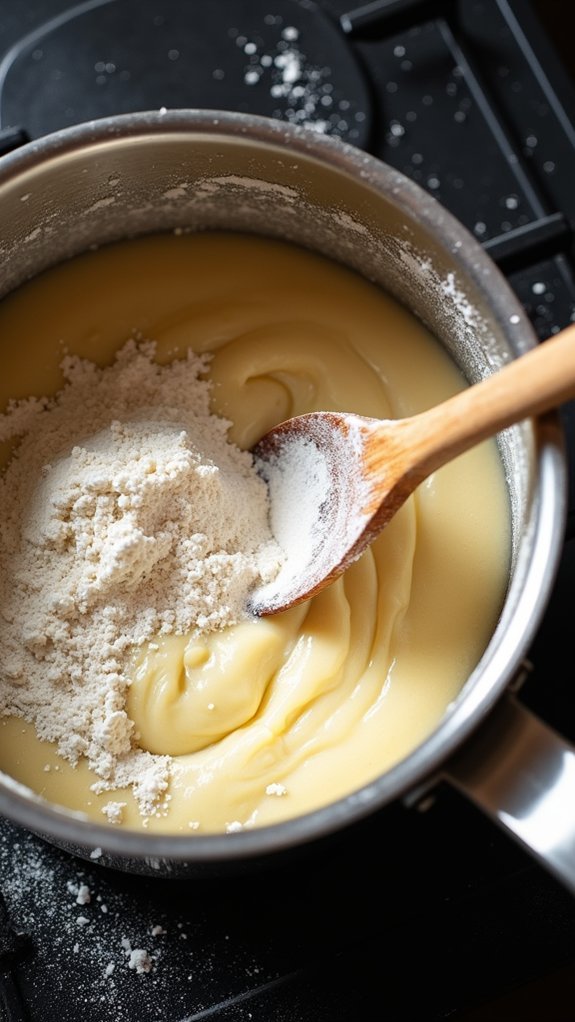
step 3. Add Sugared Puff Mixture
With your boiling milk-butter mixture ready, swiftly add your pre-mixed dry ingredients: 1 cup all-purpose flour, 2 tablespoons granulated sugar, and 1/4 teaspoon salt.
Using a wooden spoon, stir the mixture vigorously until it forms a smooth, thick paste that pulls away from the sides of the pot.
You’ll know you’re on the right track when your arm gets a mini-workout! Continue stirring for about 1 minute over medium-low heat to cook out the raw flour taste.
Transfer the dough to your stand mixer’s bowl and let it cool for 5 minutes – just enough time to check your phone or reorganize your measuring cups.
Once cooled, you’ll be ready for the next exciting step: adding the eggs that’ll transform this paste into perfectly puffable dough!
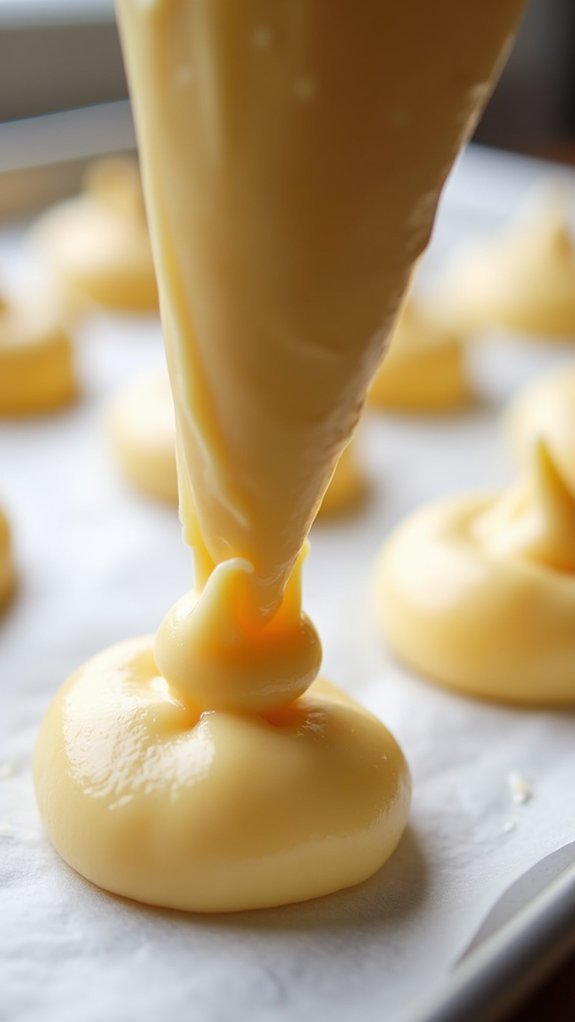
step 4. Pipe Dough Onto Tray
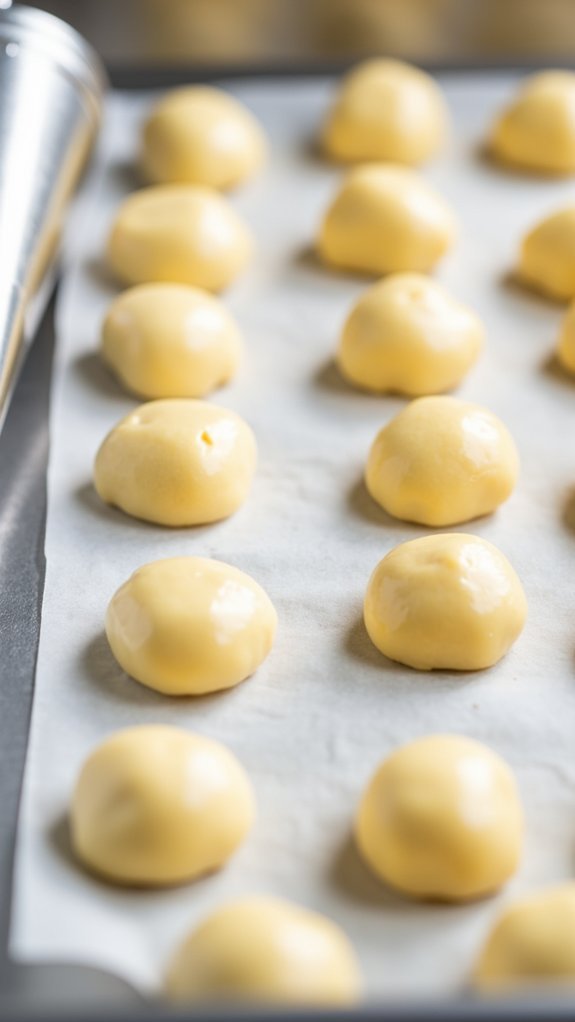
Grab your pastry bag fitted with a 1/2-inch round tip and fill it with your cooled choux pastry dough. Line two baking sheets with parchment paper and secure the corners with small dabs of dough to prevent shifting.
Hold your pastry bag at a 90-degree angle about 1 inch above the baking sheet. Pipe 1.5-inch rounds, keeping them about 2 inches apart – they’ll need room to puff up!
Apply even pressure while piping, and release pressure while making a quick circular motion to prevent peaks from forming. You’re aiming for smooth, round mounds that look like chocolate kisses.
Use a dampened finger to gently pat down any pointy tops. You’ll want to pipe about 24 puffs total – don’t worry if the first few look a bit wonky, you’ll get the hang of it!
step 5. Bake at 375 Degrees
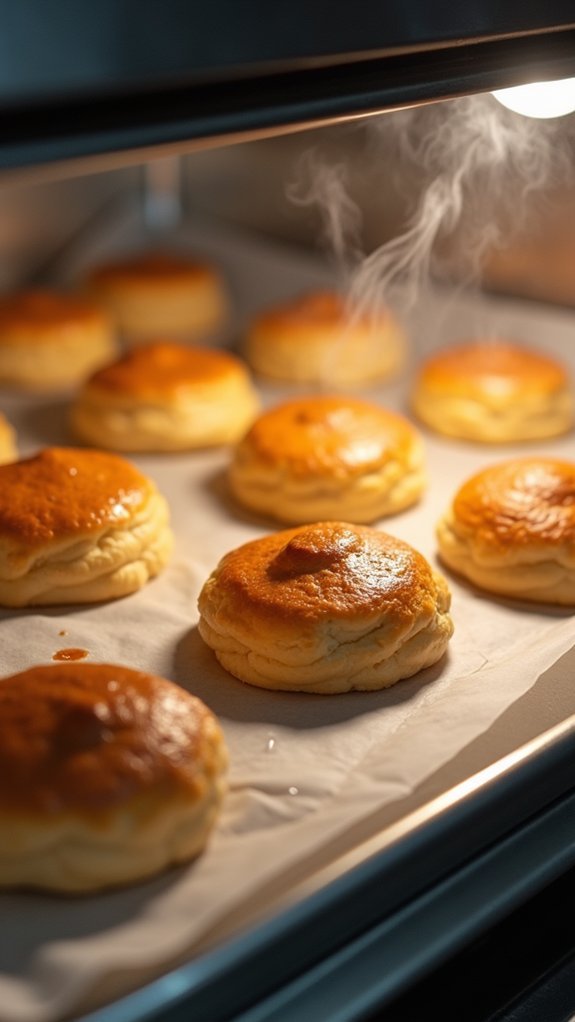
Once your choux pastry mounds are ready for baking, preheat your oven to 375°F (190°C).
Place the baking sheet on the middle rack, where you’ll get the most even heat distribution.
Bake the cream puffs for 30 minutes without opening the oven door – no peeking, or your puffs might deflate like a sad balloon!
You’ll know they’re done when they’ve turned a rich golden brown and feel light and hollow when gently tapped. The exterior should be crisp and firm to the touch.
If you notice any pale spots after 25 minutes, rotate the baking sheet 180 degrees for even browning.
Once done, remove from the oven and immediately pierce each puff’s side with a small knife to release steam.
Let them cool completely on a wire rack.
Final Thoughts
These delightful Christmas cream puffs will absolutely steal the show at your holiday gatherings!
You’ll love how the light, airy shells perfectly complement the rich, creamy filling, creating a dessert that’s both elegant and comforting.
Don’t be intimidated by their fancy appearance – you’ve just mastered a classic French pastry! While they do require attention to detail, the results are worth every minute of effort.
Store your finished cream puffs in an airtight container in the refrigerator for up to three days, though they’re best served within 24 hours of filling.
For an extra festive touch, you can dust them with powdered sugar or drizzle with melted chocolate just before serving.