Have you ever heard of Chocolate Delight Dessert? You are about to!
Just when you thought chocolate couldn’t get any better, this classic French dessert proves otherwise! You’ll find that Chocolate Delight Dessert combines the pure decadence of dark chocolate with the lightness of whipped cream, creating a heavenly mousse that’s surprisingly simple to make. While professional pastry chefs have perfected this recipe over generations, you don’t need their expertise to create this impressive dessert. Want to discover the secret behind its silky-smooth texture and rich flavor profile? Starting to see why its called Chocolate Delight Dessert ?
History of Chocolate Delight Dessert
While the exact origins of this chocolate dessert are unclear, its roots can be traced to classic French chocolate mousse recipes from the early 1800s.
You’ll find that French chefs originally served chocolate mousse as an elegant finish to elaborate meals in Paris’s finest restaurants.
Over time, home cooks adapted these fancy restaurant recipes into simpler versions that didn’t sacrifice flavor.
By the 1950s, you’d commonly find variations of this dessert in American cookbooks, often calling for readily available ingredients.
The modern version you’re making today streamlines the traditional technique while maintaining that perfectly silky texture.
And here’s a fun fact – earlier recipes often called for coffee or liqueur, but today’s version lets the pure chocolate flavor shine through!
Hot Recipe
Chocolate Delight Dessert is a luxurious dessert that transforms simple ingredients into an elegant treat. The combination of dark chocolate and heavy cream creates a silky-smooth texture while the eggs add richness and structure to this decadent dessert.
This no-bake chocolate dessert requires minimal effort but delivers maximum impact. The key to its success lies in the quality of chocolate used and the careful tempering process when combining hot and cold ingredients to achieve the perfect consistency.
- 8 oz dark chocolate (70% cocoa)
- 2 cups heavy cream
- 3 large eggs
- 1/4 cup granulated sugar
- 1 teaspoon vanilla extract ( don’t be afraid to double this )
Break the chocolate into small pieces and melt in a double boiler over simmering water. Heat 1 cup of cream until almost boiling, then pour over the melted chocolate, stirring until smooth. In a separate bowl, whisk eggs with sugar until pale and creamy. Slowly fold the chocolate mixture into the egg mixture to prevent scrambling. Add vanilla extract, then fold in the remaining cream, which should be whipped to soft peaks.
Pour into individual serving dishes or a large bowl and refrigerate for at least 4 hours or overnight until set.
For ideal results, verify all ingredients are at room temperature before starting, except for the cream used for whipping. When melting chocolate, keep water away from the chocolate to prevent seizing. The dessert can be made up to 3 days in advance and stored in the refrigerator, covered with plastic wrap.
Remove from refrigerator 15 minutes before serving to allow flavors to fully develop. If desired, garnish with fresh berries, whipped cream, or chocolate shavings just before serving.
Cooking Steps
You’ll start by melting the dark chocolate pieces in a double boiler until smooth while heating the cream to just below boiling point.
Next, you’ll whisk those eggs with sugar until they’re pale and fluffy – think morning clouds in your mixing bowl!
Finally, you’ll combine the chocolate-cream mixture with the eggs, fold in that whipped cream until everything’s silky smooth, and pour your creation into serving dishes for its beauty rest in the fridge.
step 1. Melt Dark Chocolate Pieces
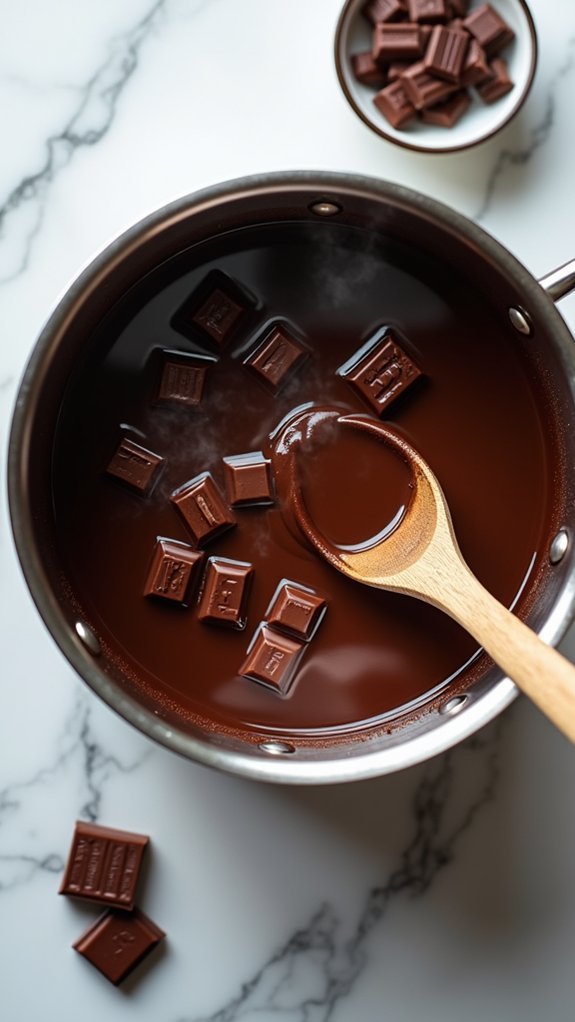
Before diving into the chocolate melting process, you’ll need to break your 8 ounces of dark chocolate into small, uniform pieces about 1/2-inch in size. This will guarantee even melting and prevent scorching.
Set up your double boiler by filling the bottom pot with about 2 inches of water. Place your chocolate pieces in the top pot, making sure the bottom doesn’t touch the water. Heat the water until it’s just simmering – you’ll see gentle bubbles forming.
Keep a close eye on your chocolate as it begins to soften. Stir occasionally with a rubber spatula, and you’ll notice it transforming from solid pieces to glossy liquid.
Don’t let any water droplets get into the chocolate – even a tiny splash can make it seize up!
step 2. Heat Cream Until Bubbling
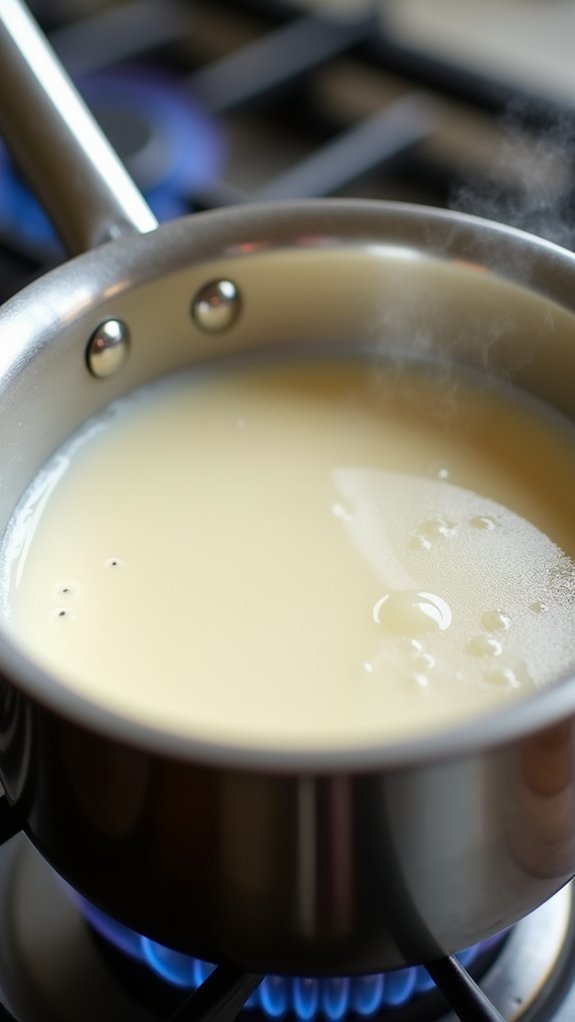
While the chocolate gently melts, turn your attention to heating 1 cup of heavy cream in a small saucepan over medium heat.
You’ll want to watch the cream carefully – it should reach just below the boiling point, when tiny bubbles start forming around the edges.
Keep stirring occasionally to prevent a skin from forming on top of the cream. You’ll know it’s ready when you see steam rising and those telltale bubbles along the pan’s edges, typically around 180°F (82°C).
Don’t let it come to a full boil! If you see large bubbles forming in the center, quickly remove it from the heat.
Pro tip: If you’re using a candy thermometer, aim for that sweet spot between 175-185°F.
No thermometer? No problem – those small bubbles are your visual cue!
step 3. Whisk Eggs Until Foamy
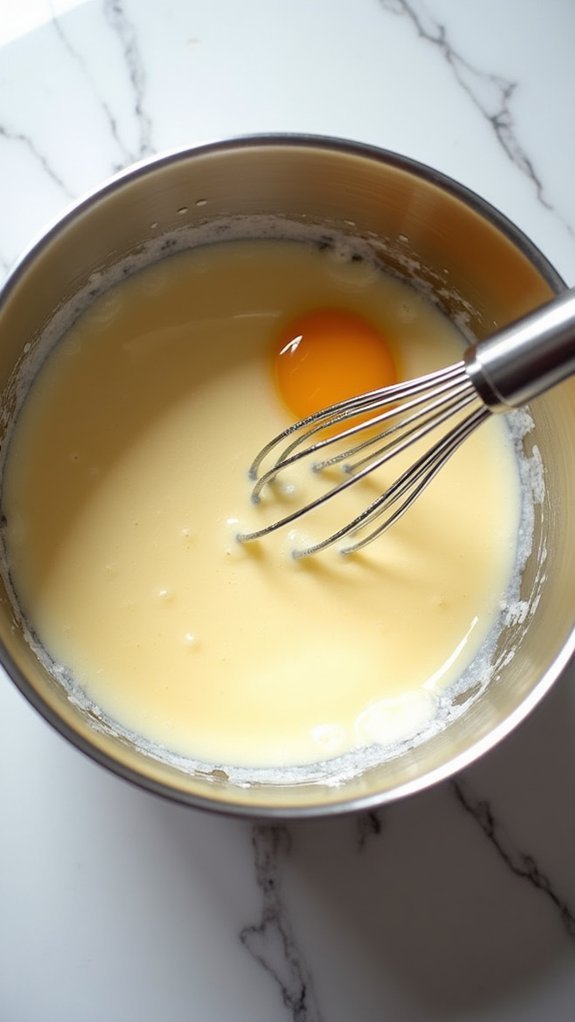
With the hot cream ready, let’s shift our focus to preparing the eggs for this luxurious chocolate creation.
In a medium-sized bowl, crack your 3 large eggs carefully – no one wants to play “find the shell” later!
Break out your whisk and add 1/4 cup of granulated sugar to the eggs.
You’ll want to whisk vigorously until the mixture becomes pale yellow and slightly foamy, which typically takes about 2-3 minutes.
Don’t worry if your arm gets a little tired – consider it your pre-dessert workout!
You’ll know you’ve reached the right consistency when you lift the whisk and the mixture forms ribbons that slowly dissolve back into the bowl.
This proper egg-sugar mixture creates the silky texture that makes this dessert so irresistible.
step 4. Combine and Mix Chocolate-Cream Mixture
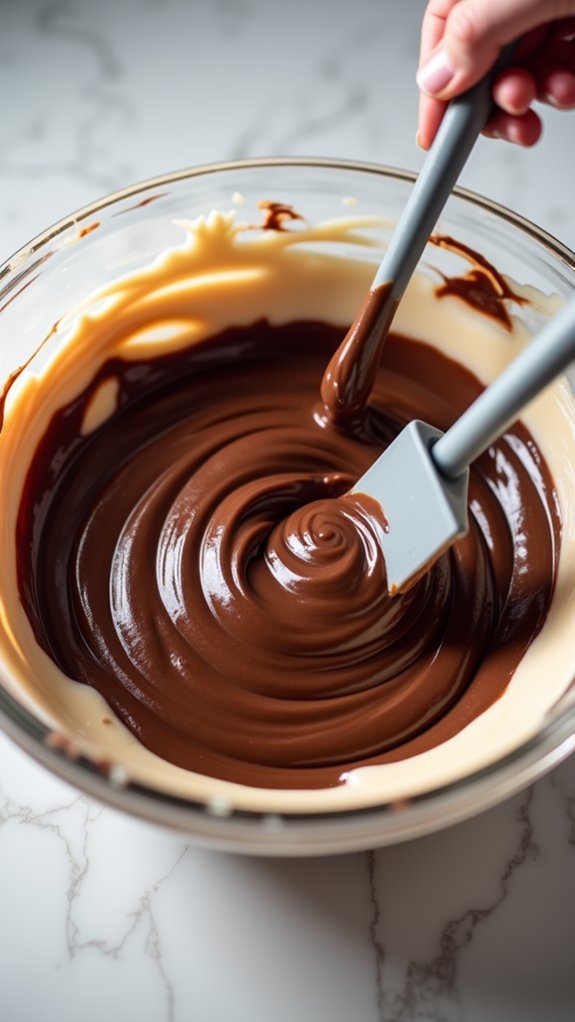
The magical moment of combining your chocolate and cream mixtures has arrived! Pour your tempered chocolate-cream blend into the egg mixture in a slow, steady stream while gently folding with a rubber spatula.
You’ll want to maintain a delicate touch here – think of it as introducing two shy friends who need a careful introduction!
Once combined, fold in your whipped cream using broad, sweeping motions from bottom to top. Keep folding until you see a uniform color throughout the mixture, but don’t overmix.
The final texture should be silky smooth and luxuriously glossy, with no visible streaks of white cream or dark chocolate. If you notice any lumps, gently press them against the side of the bowl with your spatula until they disappear into the mixture.
step 5. Pour Into Serving Dishes
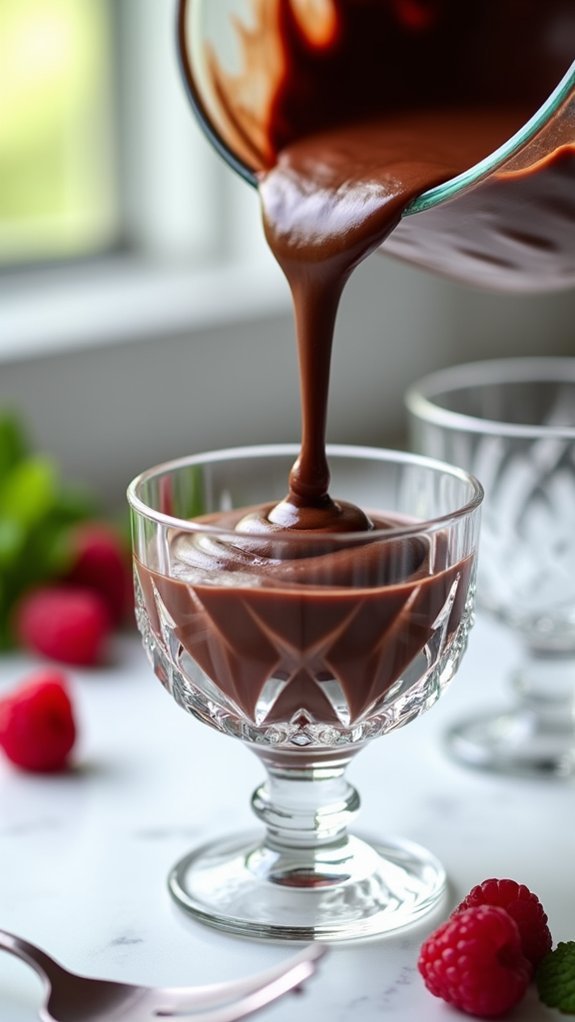
Now that your silky chocolate mixture is ready, selecting appropriate serving vessels sets the stage for a stunning presentation. Choose 6-8 oz ramekins, dessert glasses, or small bowls that’ll showcase the dessert’s rich layers.
Carefully pour the mixture into your chosen vessels, leaving about 1/2 inch of space at the top. You’ll want to divide it evenly – each serving should be approximately 4-5 oz.
Gently tap each container on the counter a few times to release any air bubbles that might be trapped inside. Don’t worry if you spill a bit on the rims; just wipe them clean with a damp paper towel for that professional finish.
Cover each dish with plastic wrap, making sure it doesn’t touch the surface of the dessert – nobody wants a chocolate-covered wrapper! And that is IT! Chocolate Delight Dessert at your finger tips at least for the next few minutes. I am sure these will fly right out of the fridge. So get ready to make another batch of Chocolate Delight Dessert!
Final Thoughts
Whether you’re an experienced chef or a novice in the kitchen, this Chocolate Delight Dessert proves that creating an impressive dessert doesn’t require professional training.
With just five ingredients and straightforward steps, you’ll have a luxurious treat that’ll wow your guests every time.
Remember to give the dessert its full 4-hour setting time, and don’t skip the 15-minute rest before serving – it really makes a difference in bringing out those rich chocolate notes.
You can make this up to three days ahead, making it perfect for busy schedules. Just keep it well-wrapped in the fridge, and you’re all set!
From dinner parties to family gatherings, this foolproof recipe delivers restaurant-quality results without the fuss.
Please do not forget to experiment with this recipe for Chocolate Delight Dessert. If you improve it, let us know.