Want to try the best ever Chocolate Chip Cookie Brownies? Just like choosing between your two best friends for a road trip companion, picking between brownies and chocolate chip cookies can feel impossible – so why not have both? You’re about to discover how these two beloved treats came together to create the ultimate dessert mashup that’s been making bake sales more exciting since the 1990s. Let’s explore how you can transform your kitchen into a bakery wonderland where cookies and brownies live in perfect, layered harmony.
Chocolate Chip Cookie Brownies History
While the exact origin of combining brownies and chocolate chip cookies remains unclear, the concept emerged during America’s dessert fusion craze of the 1990s.
You’ll find that creative bakers started experimenting with “hybrid desserts” as home baking gained popularity through TV cooking shows and early food blogs.
The trend really took off when major brands began releasing boxed mixes specifically designed for layered brownie-cookie treats.
By the early 2000s, you’d see these decadent squares popping up in bakeries across the country, often labeled as “brookies” or “cookie brownies.”
The dessert’s popularity soared because it solved a common dilemma – when you can’t decide between cookies or brownies, why not have both!
Today, you’ll find countless variations of this beloved mashup in cookbooks and online recipes.
Recipe for succulent Chocolate Chip Cookie Brownies
Chocolate Chip Cookie Brownies offer the ideal combination of two classic desserts in one delectable treat. By layering fudgy brownie batter with chocolate chip cookie dough, this recipe creates a dessert that satisfies multiple sweet cravings simultaneously.
Using pre-made mixes as the foundation, this simplified version delivers bakery-quality results with minimal effort. The contrast between the dense, chocolatey brownie base and the buttery cookie top creates an irresistible texture that will please both brownie and cookie enthusiasts.
- 1 box brownie mix
- 1 package chocolate chip cookie mix
- 3 eggs
- 1 cup vegetable oil
- 1/4 cup water
Preheat oven to 350°F (175°C) and grease a 9×13-inch baking pan. Prepare brownie mix according to package directions using half of the eggs, oil, and water listed above. Pour brownie batter into the prepared pan.
Next, prepare cookie mix using the remaining eggs, oil, and water. Drop spoonfuls of cookie dough evenly across the brownie batter. Bake for 35-40 minutes, or until a toothpick inserted into the center comes out with a few moist crumbs.
For best results, allow the pan to cool completely before cutting into squares, as this guarantees both layers set properly. The edges tend to be crispier than the center pieces, so monitor baking time closely if you prefer uniform texture throughout.
These bars can be stored in an airtight container at room temperature for up to 5 days, or frozen for up to 3 months. When frozen, thaw at room temperature for 2-3 hours before serving.
Cooking Steps
Lets really get to making our own Chocolate Chip Cookie Brownies. All you need to do is follow the steps below. If you make changes, make notes and share them with us later!
You’ll want to start by preheating your oven to 350°F and spreading the brownie layer evenly in your greased 9×13-inch pan.
Next, you’ll carefully drop spoonfuls of prepared cookie dough across the brownie batter’s surface, creating a rustic pattern that’ll make your dessert look bakery-worthy.
After 35-40 minutes of baking (when that toothpick comes out nearly clean), you’ll have a two-in-one treat that’s sure to disappear fast!
step 1. Preheat Oven 350˚F/175˚C
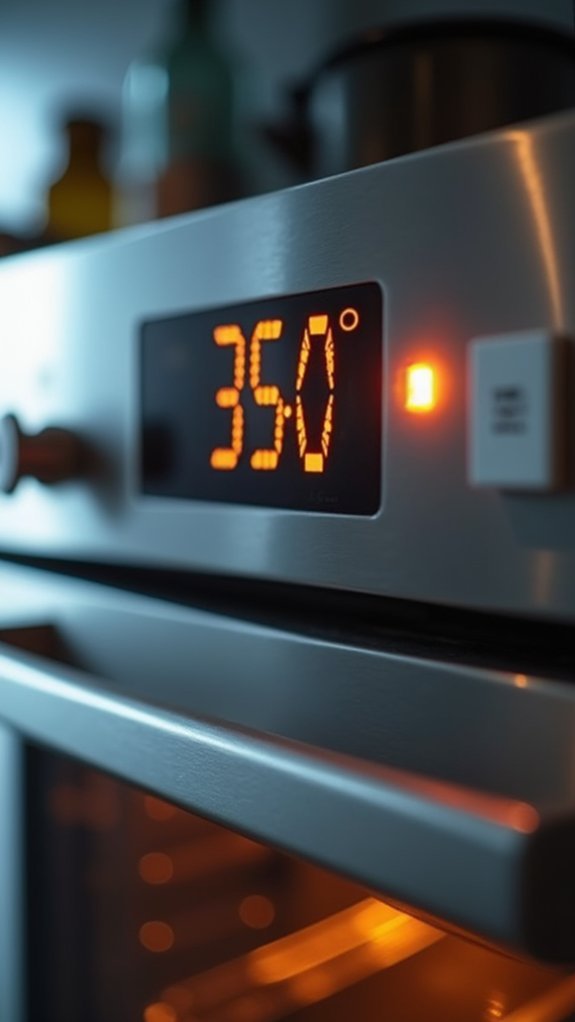
Before diving into any mixing or measuring, start by preheating your oven to 350°F (175°C) to guarantee it reaches the proper temperature. This vital first step makes certain your cookie brownies will bake evenly from the start.
While your oven heats up, you’ll have the perfect amount of time to gather your ingredients and prepare your baking pan. Most ovens take about 10-15 minutes to reach the right temperature – just enough time to line your 9×13-inch pan with parchment paper or give it a good coating of non-stick spray.
Don’t be tempted to pop your batter in early; a properly preheated oven is key to achieving that perfect balance between fudgy brownie base and chewy cookie top. Your patience will definitely pay off!
step 2. Prepare Brownie Layer First
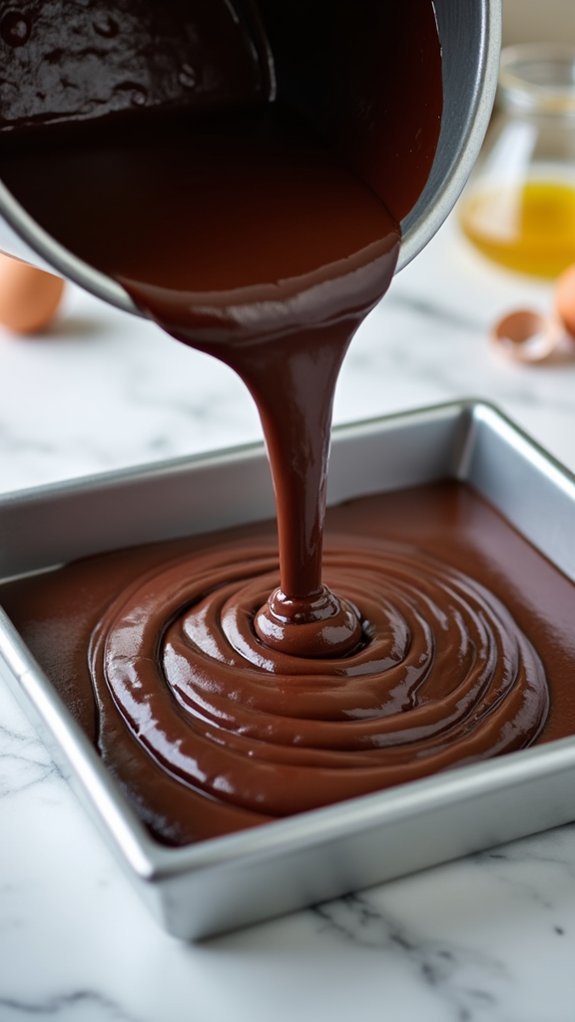
Start by mixing the brownie layer, which forms the rich, fudgy foundation of this hybrid dessert. In a large bowl, combine half of your total eggs, oil, and water with the brownie mix according to package directions.
You’ll want to mix until the batter is smooth but don’t overdo it – nobody likes tough brownies!
Pour your brownie batter into your greased 9×13-inch pan, making sure it spreads evenly to all corners. Use a rubber spatula to smooth the top, ensuring you’ll have a level surface for your cookie layer.
The brownie batter should be thick enough to hold its shape but still spreadable – if it seems too thick, add a tablespoon of water. Don’t worry about making it perfect; the cookie layer will hide any minor imperfections!
step 3. Add Cookie Dough Layer
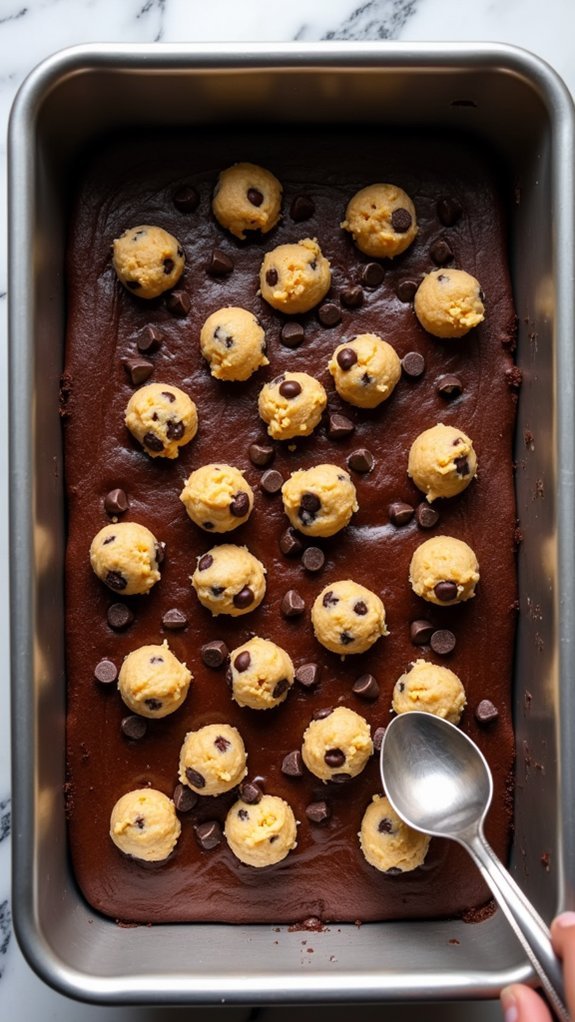
The next layer transforms these brownies into an irresistible hybrid dessert! Once you’ve spread your brownie batter evenly, it’s time to create the cookie layer that’ll make everyone ask for your secret recipe.
Mix the chocolate chip cookie dough according to your package directions, using the remaining eggs, oil, and water.
Don’t worry about making it look perfect – that’s part of the charm! Drop generous spoonfuls of the cookie dough across the brownie batter, spacing them about 2 inches apart. You’ll want to use about 12-15 dollops total to guarantee good coverage.
Pro tip: If the cookie dough feels too stiff, warm it between your palms for a few seconds before dropping it onto the brownie layer. This makes it easier to work with!
step 4. Bake 35-40 Minutes

Now that your cookie-brownie creation is assembled, it’s time to watch the magic happen in your preheated 350°F oven!
Place your pan on the middle rack and set your timer for 35 minutes. You’ll know your bars are nearly done when your kitchen fills with that irresistible chocolate-cookie aroma!
To test for doneness, insert a toothpick into the center – it should come out with just a few moist crumbs. If it’s still too wet, give it another 3-5 minutes.
Keep in mind that the edges will bake faster than the center, which is perfectly normal.
Don’t worry if the top looks slightly underdone when you remove it from the oven – it’ll continue to set as it cools.
step 5. Cool on Wire Rack
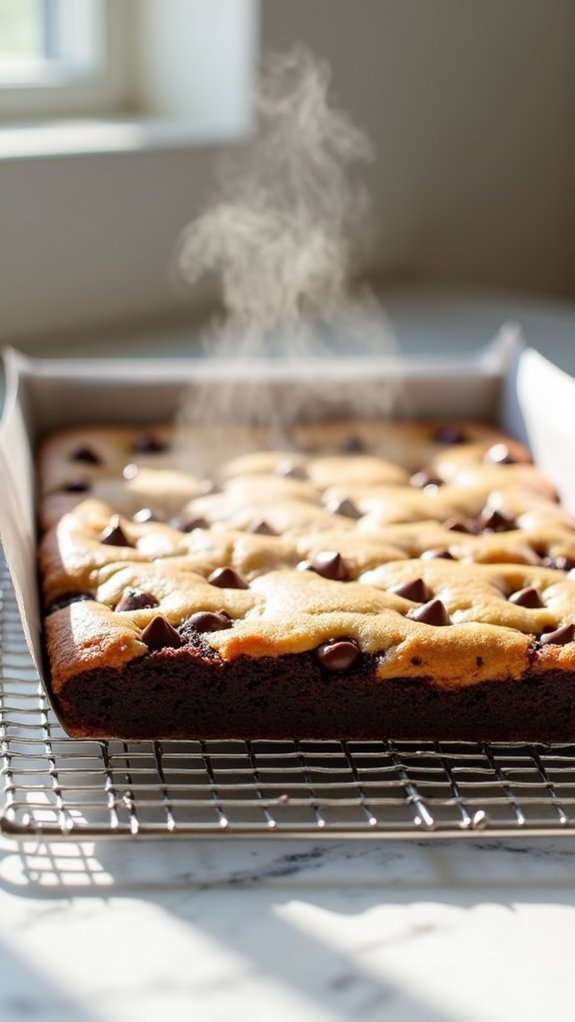
Fresh from the oven, your chocolate chip cookie brownies need proper cooling time to achieve that perfect texture and clean-cut appearance.
Place the baking pan on a wire rack and let it cool at room temperature for at least 2 hours.
You’ll notice the brownies continue to set as they cool, which is essential for achieving those picture-perfect squares.
Don’t rush this step – even if the tempting aroma makes you want to dig right in!
Once the pan feels completely cool to the touch, run a sharp knife along the edges to loosen them from the pan.
For the cleanest cuts, dip your knife in hot water and wipe it clean between slices.
The wire rack allows air to circulate underneath, preventing condensation from making the bottom soggy.
Final Thoughts on Chocolate Chip Cookie Brownies
By combining two cherished dessert classics into one irresistible treat, these chocolate chip cookie brownies offer the perfect solution when you can’t decide between cookies or brownies.
You’ll love how the fudgy brownie base complements the chocolate chip cookie top layer, creating a delightful texture contrast in every bite.
While they’re delicious right out of the oven, you’ll get the best results by letting them cool completely before cutting.
These treats will stay fresh for up to 5 days in an airtight container at room temperature, though they rarely last that long!
If you’re planning ahead, you can freeze them for up to 3 months – just wrap them well in plastic wrap and foil.
They’re perfect for bake sales, potlucks, or simply treating yourself to the best of both worlds.