You’re about to discover how a simple twist on traditional tiramisu can create something truly special. Cherry Tiramisu! That is right. We said Cherry.
When you combine plump, sweet cherries with the classic Italian layers of coffee-soaked ladyfingers and creamy mascarpone, you’ll get a dessert that’s both familiar and exciting. While the original tiramisu has won hearts for generations, this cherry variation adds a bright, fruity dimension that’ll make you wonder why you haven’t tried it sooner. Let’s explore how this modern spin came to be.
History of Cherry Tiramisu
While traditional tiramisu has been an Italian staple since the 1960s, cherry tiramisu emerged as a delightful variation in the early 1990s.
You’ll find that this fruity twist was first created in Northern Italy’s Veneto region, where local chefs wanted to incorporate the area’s famous cherries into classic desserts.
If you’ve wondered about its origins, you can thank pastry chef Mario Rossetti, who experimented with adding cherry liqueur and fresh cherries to the classic recipe at his Venice café.
The combination proved so popular that you’d soon find cherry tiramisu appearing on menus across Italy.
Cherry Tiramisu Recipe
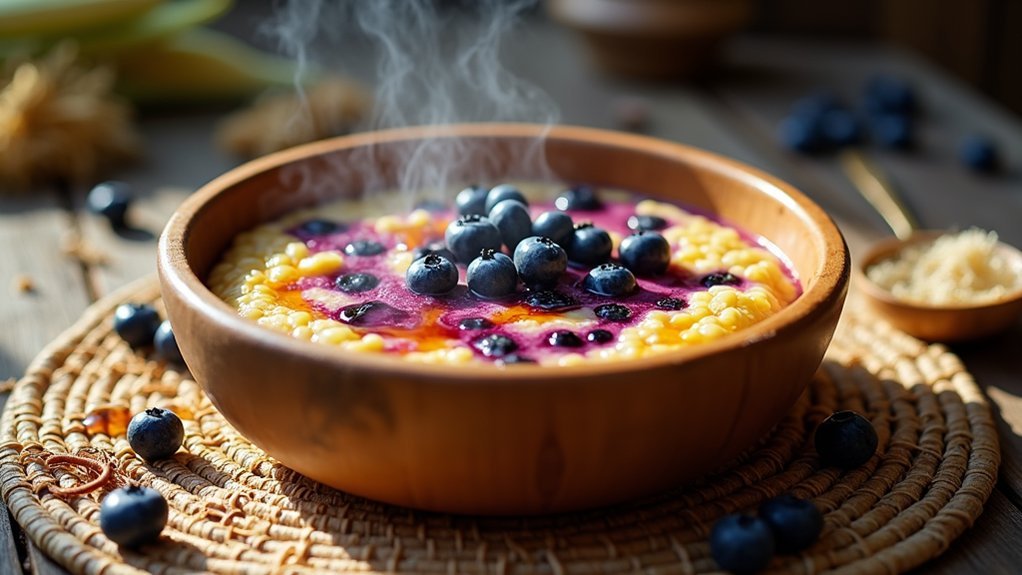
Cherry Tiramisu is a delightful twist on the classic Italian dessert, combining the rich flavors of traditional tiramisu with the sweet-tart taste of cherries. This variation maintains the signature coffee-soaked ladyfingers and mascarpone cream while introducing a fruity layer that adds both color and complexity to the dessert.
The preparation of Cherry Tiramisu requires careful attention to the layering process and temperature control to achieve the perfect texture. While the traditional tiramisu uses cocoa powder as a finishing touch, this version incorporates both cocoa and fresh cherries as garnish, creating an elegant presentation that’s perfect for special occasions or seasonal entertaining.
- 16 oz mascarpone cheese
- 3 large eggs, separated
- 2/3 cup granulated sugar
- 24-30 ladyfinger cookies
- 1 cup strong brewed coffee, cooled
- 2 cups fresh or frozen pitted cherries
- 1/4 cup cherry liqueur
- Unsweetened cocoa powder for dusting
- Fresh cherries for garnish
- 1 cup heavy whipping cream
- 1 teaspoon vanilla extract
Begin by preparing the cherry mixture by cooking pitted cherries with sugar until softened, then mix with cherry liqueur and set aside to cool.
Meanwhile, whip the egg whites until stiff peaks form, and in a separate bowl, beat the egg yolks with sugar until pale. Fold the mascarpone into the yolk mixture, then gently incorporate the whipped egg whites and whipped cream.
Dip each ladyfinger briefly in the cooled coffee and create a single layer in your serving dish, top with half the mascarpone mixture, add the cherry mixture, then repeat the layers ending with the mascarpone cream.
Refrigerate for at least 6 hours or overnight, then dust with cocoa powder and garnish with fresh cherries before serving.
For best results, verify all ingredients are at room temperature before starting, except for the heavy cream which should be cold for ideal whipping.
Avoid over-soaking the ladyfingers as they can become too soft and compromise the dessert’s structure. If using frozen cherries, thaw and drain them thoroughly before use to prevent excess liquid from making the dessert soggy.
The dessert can be made up to 2 days in advance and kept refrigerated, but add the cocoa powder and fresh cherry garnish just before serving.
Cooking Steps for the best Cherry Tiramisu
You’ll start by whipping the mascarpone cheese until it’s silky smooth, then carefully fold in your homemade cherry syrup until you’ve got a beautiful pink mixture.
Next, you’ll dip each ladyfinger into the remaining cherry syrup before creating your first layer in the serving dish.
Finally, you’ll spread half of the cherry-mascarpone mixture over the soaked ladyfingers, repeat the layers, and finish with a generous dusting of cocoa powder on top!
step 1. Mixing Mascarpone Until Smooth
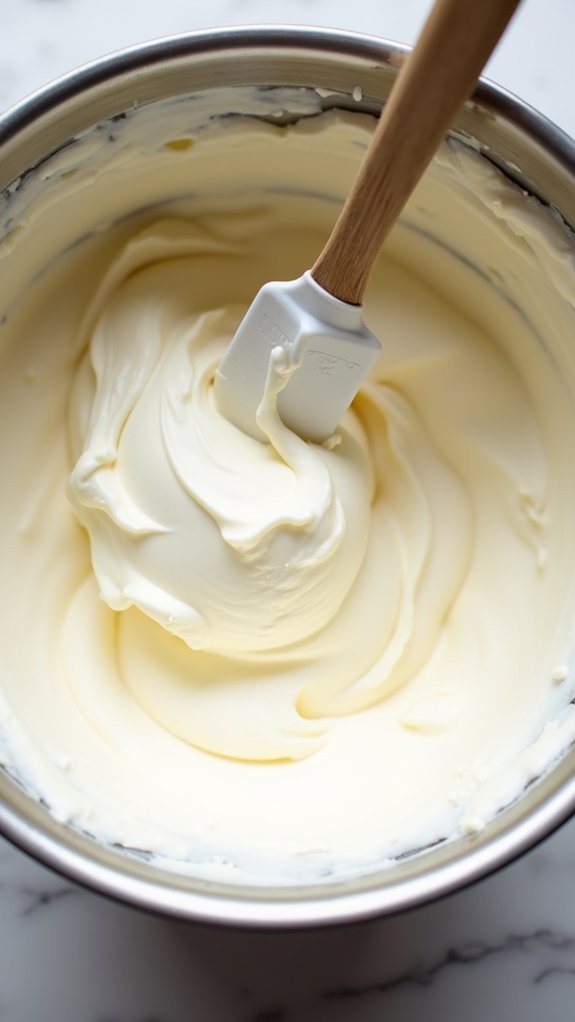
Begin this essential step by placing 16 ounces of mascarpone cheese in a large mixing bowl at room temperature.
Let it sit for about 15 minutes – nobody likes wrestling with cold, stubborn cheese!
Using your electric mixer’s medium speed setting, beat the mascarpone until you’ve worked out all the lumps and bumps.
You’ll know it’s ready when the texture becomes silky smooth and slightly fluffy, typically after 2-3 minutes.
Don’t overbeat it though, or you’ll end up with cheese soup!
If you notice any stubborn lumps, stop the mixer and use a rubber spatula to scrape down the sides of the bowl.
Then continue mixing until the consistency resembles thick whipped cream.
The mascarpone should hold soft peaks when you lift the beater.
step 2. Adding Cherry Syrup
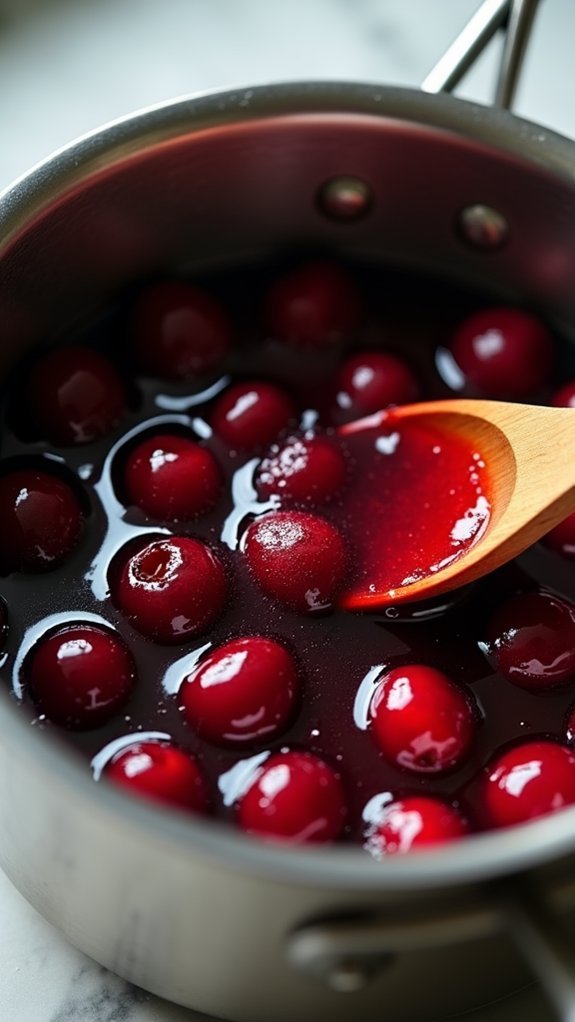
While the mascarpone sets aside, let’s prepare our vibrant cherry syrup that’ll give this dessert its signature twist!
- In a medium saucepan, combine:
- 2 cups pitted dark cherries
- ¾ cup granulated sugar
- ½ cup water
- 1 tablespoon lemon juice
- Bring the mixture to a gentle simmer over medium heat, stirring occasionally until the sugar dissolves completely.
You’ll know it’s ready when the cherries start releasing their gorgeous ruby-colored juices!
3. Let the syrup simmer for 8-10 minutes until it thickens slightly.
Don’t worry if it seems a bit runny – it’ll continue to thicken as it cools.
4. Strain the syrup into a bowl, reserving both the cherries and liquid separately.
Allow both to cool to room temperature.
step 3. Layering Soaked Ladyfingers
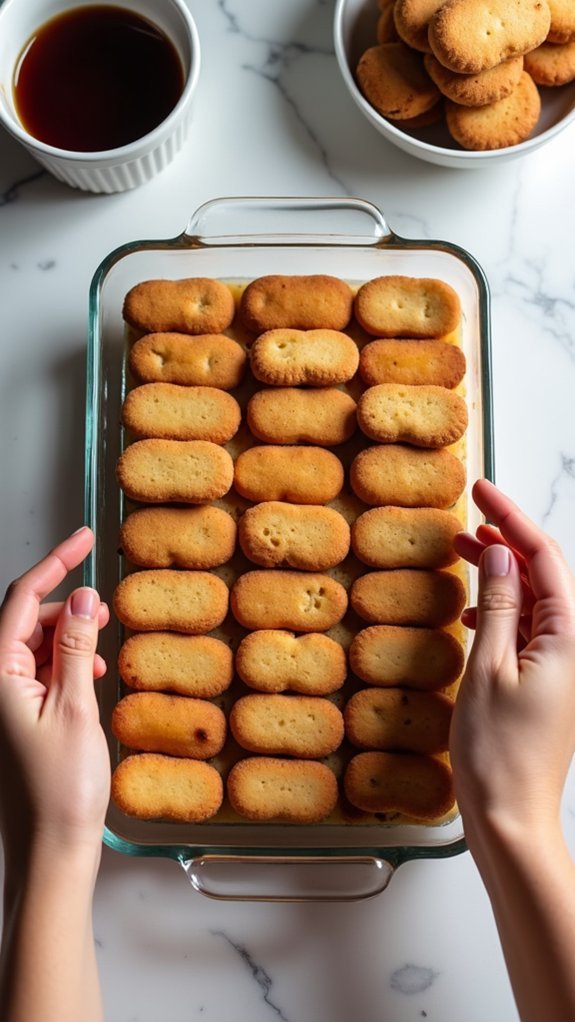
Now that our components are ready, it’s time for the most satisfying part – creating those beautiful layers that’ll make your cherry tiramisu a showstopper!
- Take your 9×13-inch dish and place a single layer of soaked ladyfingers, cut side up. You’ll need about 12-14 cookies to cover the bottom.
- Remember, those ladyfingers are like tiny sponges – arrange them snugly but don’t squish them together.
- If you’ve got any gaps, don’t panic! Just cut smaller pieces to fill them in.
- Press down gently with a spatula to guarantee even distribution of the cherry syrup. You’ll notice the cookies becoming slightly more compact, but that’s exactly what you want.
- Your first layer should look uniform and level, ready for the mascarpone mixture that’s coming next!
step 4. Spreading Cherry-Cheese Mixture

With your ladyfinger base perfectly positioned, let’s move on to spreading that luscious cherry-cheese mixture!
1. Using a rubber spatula, dollop half of your cherry-mascarpone mixture onto the soaked ladyfingers. You’ll need about 2½ cups for this layer.
2. Gently spread the mixture from the center outward, ensuring even coverage.
Don’t worry if some ladyfingers peek through – they’re just playing hide and seek!
3. Add ½ cup of pitted cherries, distributing them evenly across the surface. Press them slightly into the cheese mixture.
4. Smooth the top with your spatula using long, steady strokes. The surface should be level, like a cream-colored canvas ready for its next layer.
Pro tip: If your mixture feels too firm, let it sit at room temperature for 5-10 minutes before spreading.
step 5. Dusting With Cocoa Powder
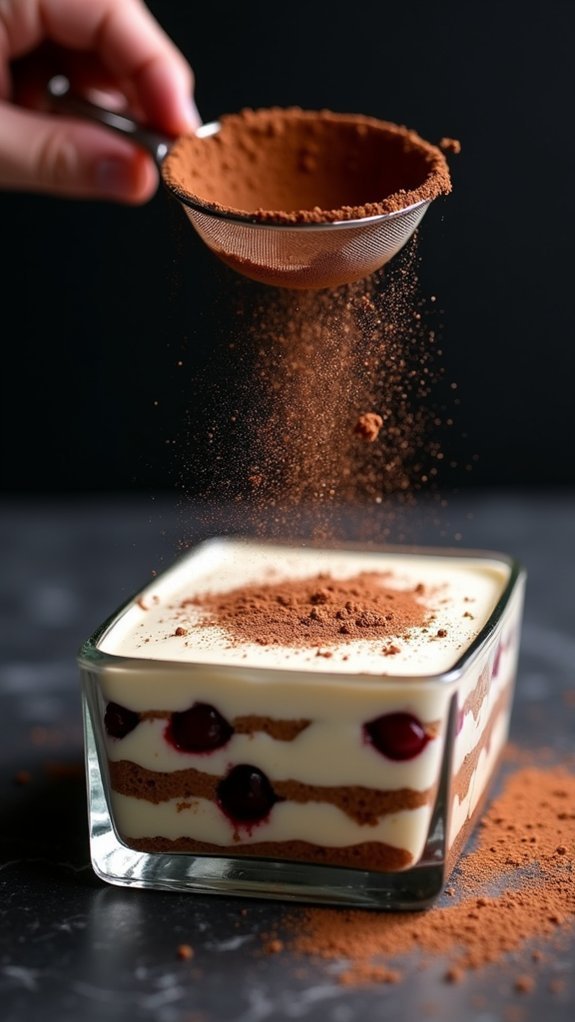
Since your cherry tiramisu layers are perfectly arranged, the time has come to add that classic cocoa powder finish!
Using a fine-mesh sieve held about 6 inches above your dessert, gently tap 2-3 tablespoons of unsweetened cocoa powder to create an even dusting across the top layer.
You’ll want just enough to cover the surface without making it too bitter – think light snowfall rather than blizzard! For the most professional look, avoid any heavy clumps or bare spots.
Pro tip: Place a piece of parchment paper around the edges of your serving dish before dusting. This’ll catch any stray cocoa powder and keep your presentation pristine.
Once you’re done, carefully remove the paper, and you’ll have perfectly clean edges that’ll make your dinner guests think you’re running a five-star restaurant!
Some Final Thoughts
This delightful cherry tiramisu puts a fruity spin on the classic Italian dessert you’ve come to know and love. By incorporating sweet cherries and a hint of almond extract, you’ve created a unique dessert that’ll impress your guests while staying true to traditional tiramisu elements.
You can make this recipe up to 24 hours in advance, making it perfect for dinner parties or holiday gatherings. Store it in the refrigerator, covered with plastic wrap, and the flavors will continue to develop beautifully. Also try some variations of your own. I think a Cherry Vanilla tiramisu would be tasty as well.
Your cherry tiramisu will stay fresh for up to 3 days, though the ladyfingers may soften slightly over time. For the best presentation and taste, serve it within the first 48 hours – if your family doesn’t devour it all on day one!