You’ve probably wondered what happens when you combine the bright tartness of rhubarb with sweet cherries in a pie. It’s a flavor pairing that’s less common than traditional cherry or rhubarb pies, but it’s become a hidden gem among home bakers. And that is why this recipe of Cherry Rhubarb Pie will make your quake in your shoes!
While the origins trace back to 19th-century American farmhouses, today’s version offers a perfect balance of sweet and tart wrapped in buttery pastry. Let’s explore how this ruby-red classic can become your new signature dessert.
Cherry Rhubarb Pie History
While the exact origins of cherry rhubarb pie remain unclear, this delightful combination emerged during the 1800s in American farmhouse kitchens.
You’ll find that pioneer women often paired tart rhubarb with whatever fruits were available, and cherries proved to be an exceptional match.
By the late 1800s, you’d commonly see this pie featured in county fairs and church socials across the Midwest.
The recipe’s popularity grew as more families started growing both rhubarb and cherry trees in their home gardens.
If you’d visited a Michigan farmhouse in 1890, you might’ve spotted this pie cooling on a windowsill!
Today’s version hasn’t changed much from those early recipes – you’re still using the same basic ingredients that your great-grandmother would’ve recognized, though you’ve got more convenient options for the fruit.
Cherry Rhubarb Pie Recipe
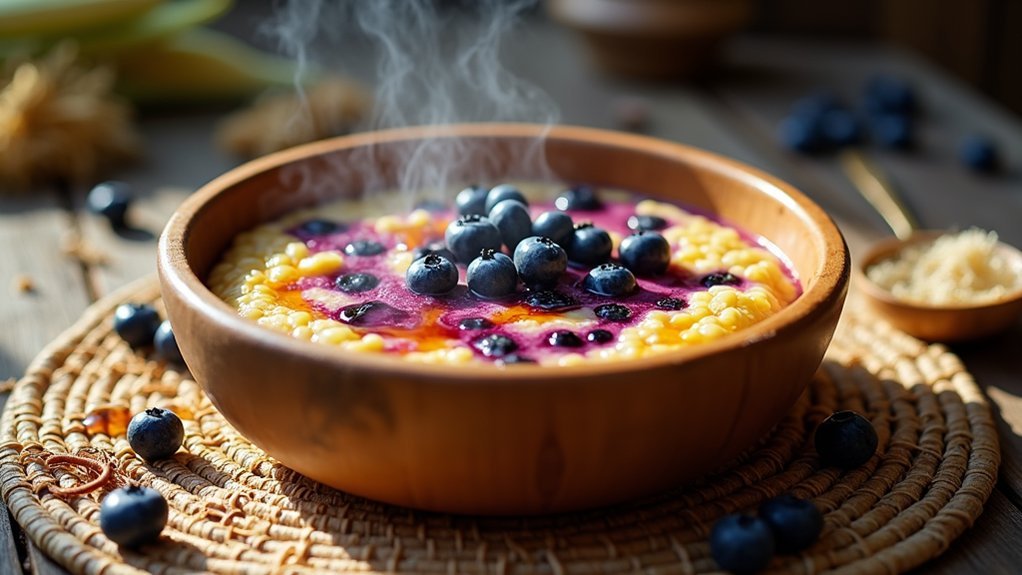
Cherry Rhubarb Pie combines the tartness of fresh rhubarb with the sweet, vibrant flavors of cherries, creating a perfect balance in this classic dessert. The ruby-red filling nestled between flaky, golden-brown crusts makes for an impressive presentation that’s especially popular during spring and early summer when rhubarb is in season.
This pie recipe features a homemade double crust that envelops the fruit filling, allowing the natural juices to thicken and create a luscious interior. The addition of cherries not only enhances the color but also provides natural sweetness that complements the rhubarb’s natural tang, reducing the amount of added sugar needed.
Ingredients:
- 4 cups chopped rhubarb
- 2 cups pitted fresh cherries
- 1¼ cups granulated sugar
- ¼ cup cornstarch
- ¼ teaspoon salt
- 1 tablespoon lemon juice
- 1 teaspoon vanilla extract
- 2 tablespoons butter
- 2 pie crusts (homemade or store-bought)
- 1 egg (for egg wash)
- 1 tablespoon coarse sugar (for topping)
Combine the chopped rhubarb and pitted cherries in a large bowl with sugar, cornstarch, salt, lemon juice, and vanilla extract. Let the mixture stand for 15 minutes.
Line a 9-inch pie dish with the bottom crust, pour in the filling, and dot with butter. Cover with the top crust, crimp edges, and cut slits for venting. Brush with egg wash, sprinkle with coarse sugar, and bake at 425°F for 45-50 minutes until golden brown and bubbling.
For best results, allow the pie to cool completely for at least 3 hours before serving to guarantee the filling sets properly. To prevent the edges from browning too quickly, cover them with aluminum foil halfway through baking.
If using frozen rhubarb, thaw and drain excess liquid before mixing with other ingredients. The pie can be stored at room temperature for up to 2 days or refrigerated for up to 5 days.
Cooking Steps
You’ll start by mixing flour and butter to create your pie crust, then gently fold in the fresh cherries and chopped rhubarb until they’re evenly distributed.
Next, pour your sugary filling mixture over the fruit, and don’t forget to crimp those edges with a fork for that classic homemade look!
Finally, pop your pie into a preheated 375-degree oven and let the magic happen – your kitchen’s about to smell amazing.
step 1. Mix Flour and Butter
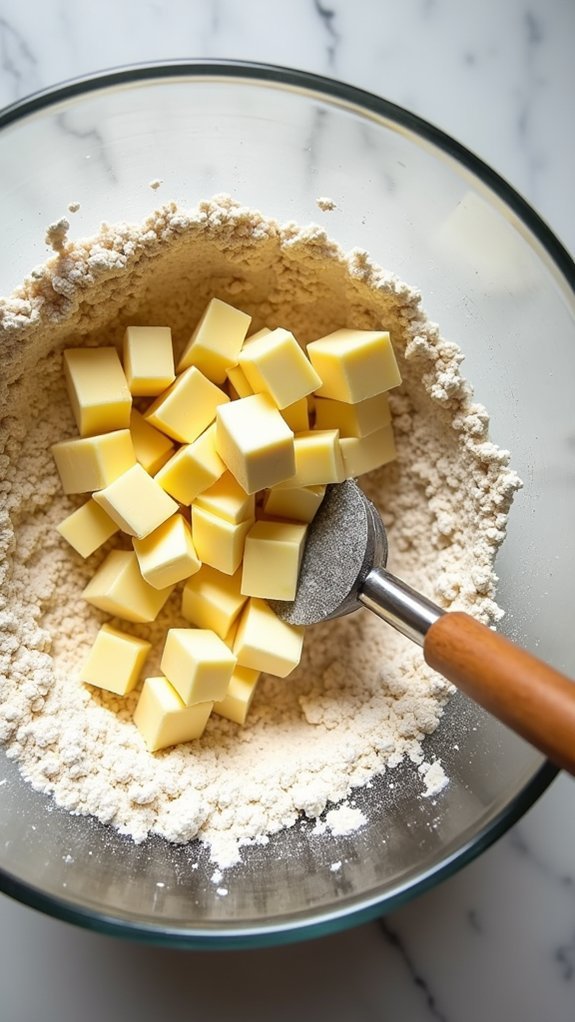
Begin crafting your pie’s delicate crust by combining 2½ cups all-purpose flour and 1 cup cold, cubed butter in a large mixing bowl.
You’ll want your butter straight from the fridge – no room temperature shortcuts here!
Using your fingertips or a pastry cutter, work the butter into the flour until you’ve got pea-sized crumbs.
Don’t overwork it; you’re not kneading bread! These little butter chunks will create those flaky layers you’re after.
If you notice the butter starting to soften, pop the bowl in the refrigerator for 10 minutes.
When the mixture resembles coarse sand with some larger butter pieces remaining, you’ve hit the sweet spot.
Your arm might be tired (welcome to the baker’s workout!), but trust me – this attention to detail will pay off in your final crust.
step 2. Add Cherries and Rhubarb
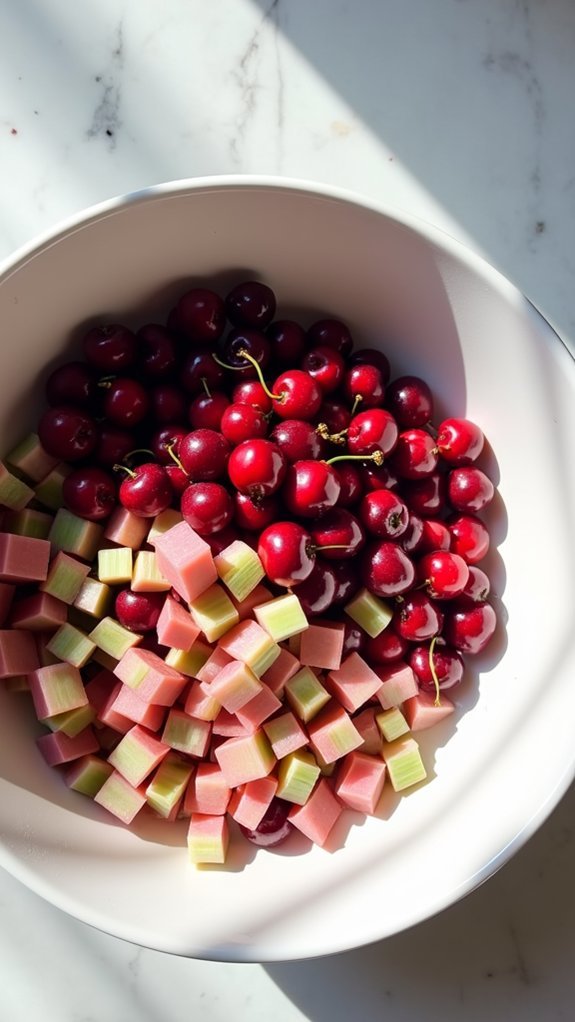
Fresh summer fruits deserve star treatment, so let’s prepare our vibrant filling with 4 cups of pitted sweet cherries and 2 cups of chopped rhubarb stalks.
In a large mixing bowl, combine your cherries and rhubarb with 1¼ cups of granulated sugar, 3 tablespoons of cornstarch, and ¼ teaspoon of salt. You’ll notice the fruit beginning to release its juices – that’s exactly what you want!
Give everything a gentle but thorough toss until the fruit pieces are evenly coated.
Don’t worry if your kitchen counter looks like a crime scene from those cherry juice splatters!
Add ½ teaspoon of pure almond extract and 1 tablespoon of fresh lemon juice to brighten the flavors. The mixture should look glossy and slightly thick, ready to pour into your prepared pie crust.
step 3. Pour Sugary Filling Mixture
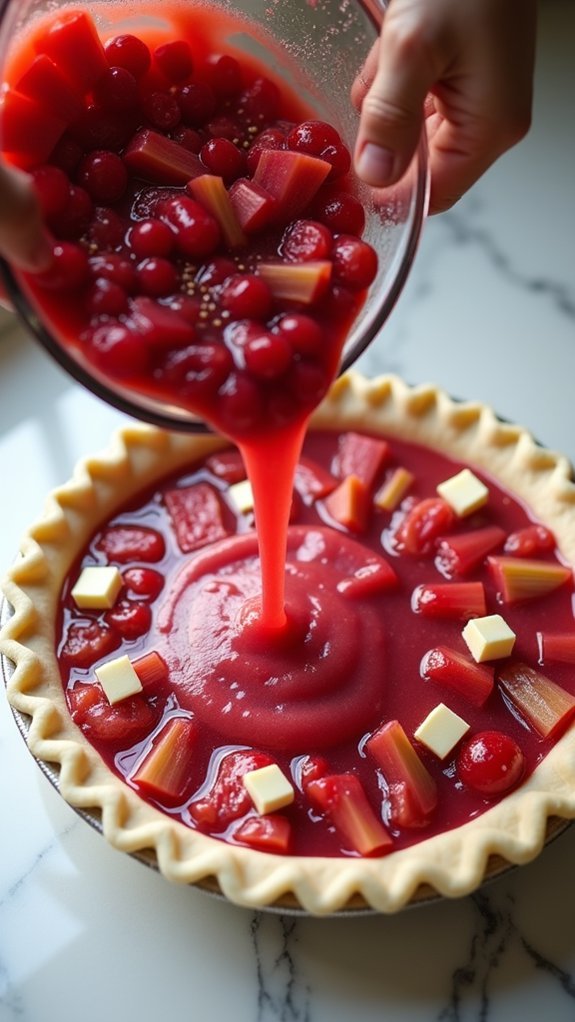
Now that your filling is perfectly mixed, pour the sugary cherry-rhubarb mixture into the bottom pie crust, making sure to scrape every last bit from the bowl.
You’ll want to create an even layer that reaches about ½ inch from the crust’s edge to prevent overflow during baking.
Using a rubber spatula, gently spread the filling to distribute the fruit pieces uniformly – nobody wants a pie slice that’s all cherries and no rhubarb!
If you notice any dry spots where the sugar mixture has settled at the bottom, give it a quick stir before final spreading.
The filling should look glossy and slightly mounded in the center, which will settle as it bakes.
Don’t worry if a few fruit pieces are sticking up; they’ll soften and sink into place during baking.
step 4. Crimp Edges With Fork
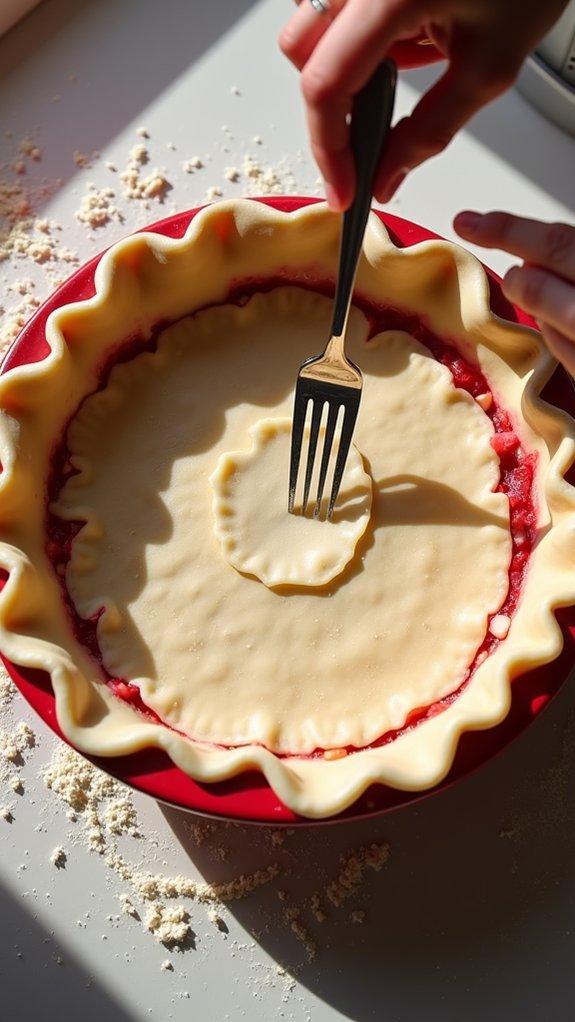
The delicate art of crimping your pie’s edges creates that classic homestyle finish while sealing in all the sweet-tart goodness.
Here’s how to achieve those picture-perfect edges:
- Trim the overhanging dough to about 1/2 inch beyond the pie plate’s rim.
- Tuck the excess dough underneath itself to create a thick border that rests on the plate’s lip.
- Press the tines of a clean fork firmly into the dough at 1/4-inch intervals around the entire perimeter.
- Make sure you’re pressing firmly enough to seal but not so hard you puncture through – you’re aiming for those Instagram-worthy ridges!
For extra flair, dip your fork in flour between crimps to prevent sticking.
Don’t worry if some marks aren’t perfectly uniform – that’s what gives your pie that charming, made-with-love look.
step 5. Bake at 375 Degrees
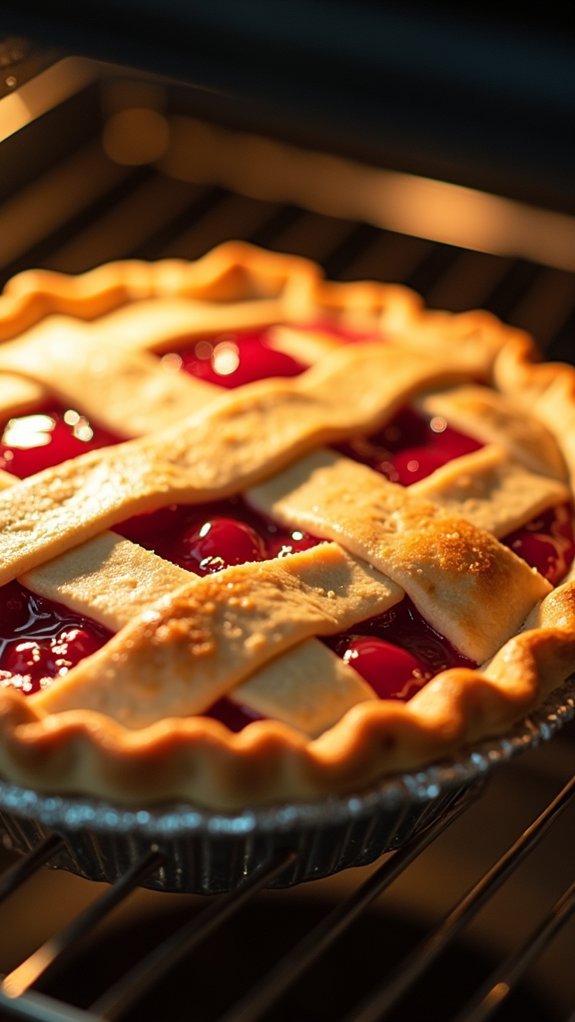
Sliding your perfectly crimped cherry rhubarb pie into a preheated 375°F oven marks the start of the final – and most aromatic – phase of your baking journey!
Set your timer for 45 minutes, and you’ll want to keep an eye on that gorgeous creation through your oven window. The filling should be actively bubbling, and the crust needs to reach a perfect golden-brown color.
If you notice the edges browning too quickly, don’t panic – simply cover them with aluminum foil to prevent over-darkening.
You’ll realize your pie is ready when you can see thick juice bubbling through the vents and the crust has that Instagram-worthy golden hue.
Insert a knife near the center – if it meets little resistance, you’ve nailed it!
Let the pie cool for at least 3 hours before slicing, though it’s understood that’ll test your patience!
Final Thoughts
After mastering this delightful cherry rhubarb pie recipe, you’ll have a show-stopping dessert that perfectly balances sweet and tart flavors.
You’ll find it’s an excellent addition to your baking repertoire, especially during spring and summer gatherings.
Don’t worry if your first attempt isn’t picture-perfect – even slightly messy pies taste amazing!
You can store leftover pie covered at room temperature for up to 2 days, or in the refrigerator for up to 5 days.
For the best results, warm each slice for 15-20 seconds in the microwave before serving.
[DIRECTIONS]: