You might be surprised to learn that the humble crumble was born from wartime rationing, when British bakers needed a pie alternative that used less flour. Now we have Apple and Cherry Crumble and you are going to love this. Today’s apple and cherry crumble transforms those modest beginnings into something spectacular, combining tart Granny Smiths with sweet-sour cherries under a golden, buttery topping. If you’re wondering how to achieve that perfect balance of fruit and crunch, there’s a technique that makes all the difference.
History of Apple and Cherry Crumble
While fruit crumbles have existed for centuries, the apple and cherry combination gained popularity during World War II in Britain. You’ll find that wartime rationing made traditional pies difficult to create, as butter and flour were scarce. The simple crumble topping became a practical solution!
During the 1940s, you’d often see British home cooks mixing apples from their Victory Gardens with preserved cherries. They’d top these fruits with whatever ingredients they could find – often using crushed crackers or stale bread when flour wasn’t available.
Today, you’re probably using traditional flour-based crumble toppings, but this wartime innovation showed incredible creativity. The apple-cherry pairing proved so delicious that it’s remained a beloved dessert combination long after rationing ended.
Apple and Cherry Crumble Recipe
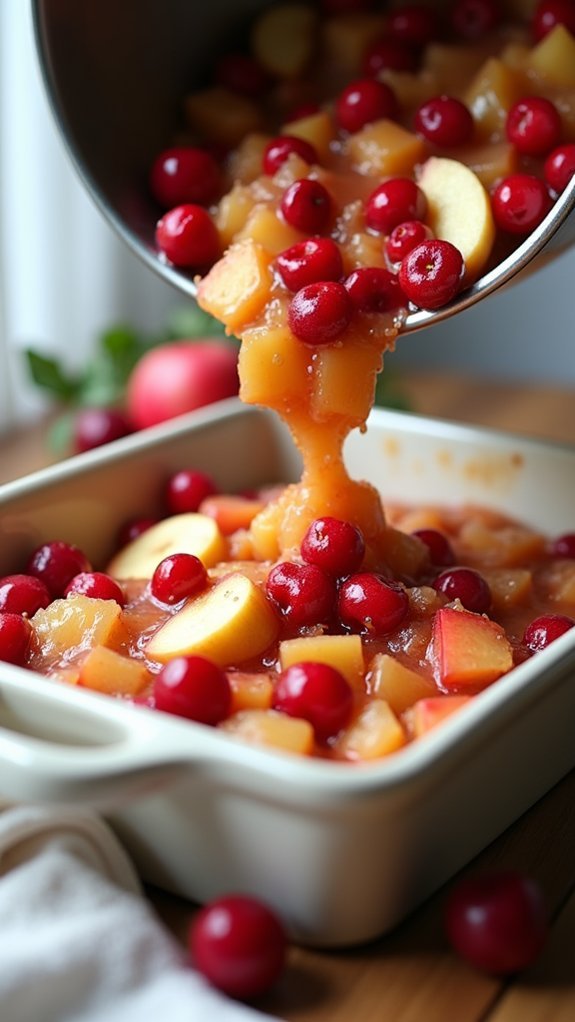
A classic apple and cherry crumble combines the tartness of fresh apples with the sweet-sour punch of cherries, all topped with a buttery, crisp crumble topping. This comforting dessert originated in Britain during World War II as a more economical alternative to pies, using less flour and butter while maintaining the satisfying taste of fresh fruit desserts.
The key to a perfect crumble lies in the balance between the fruit filling and topping. The apples should be firm enough to hold their shape while cooking, while the cherries add bursts of flavor throughout. The crumble topping should be golden brown and crispy, providing a delightful textural contrast to the soft, warm fruit beneath.
Ingredients:
- 4 large Granny Smith apples, peeled and sliced
- 2 cups fresh or frozen cherries, pitted
- 3/4 cup granulated sugar
- 1 cup all-purpose flour
- 1/2 cup rolled oats
- 1/2 cup cold butter, cubed
- 1/2 cup brown sugar
- 1 teaspoon ground cinnamon
- 1/4 teaspoon salt
- 2 tablespoons lemon juice
- 2 tablespoons cornstarch
Preheat oven to 375°F (190°C). Toss sliced apples and cherries with granulated sugar, lemon juice, and cornstarch in a large bowl. Transfer to a 9×13 inch baking dish.
In a separate bowl, combine flour, oats, brown sugar, cinnamon, and salt. Cut in cold butter using fingers or a pastry cutter until mixture resembles coarse crumbs. Sprinkle evenly over fruit mixture. Bake for 45-50 minutes until topping is golden brown and fruit is bubbling around edges.
For best results, let the crumble rest for 15-20 minutes after baking to allow the fruit juices to thicken. If using frozen cherries, don’t thaw them first as this will prevent excess liquid in the filling.
The crumble topping can be made ahead and stored in the freezer for up to three months. To prevent a soggy bottom, avoid overripe apples and drain any excess liquid from the fruit mixture before adding to the baking dish.
Cooking Steps for the best Apple and Cherry Crumble
Let’s get started with this comforting crumble by preheating your oven to 375°F and mixing your peeled, chopped apples and pitted cherries with ½ cup of sugar.
While the fruit’s flavors mingle, you’ll prepare the crumbly topping by combining 1 cup flour, ½ cup brown sugar, and ½ cup cold butter until it resembles coarse breadcrumbs.
Once you’ve poured the fruit mixture into a greased 9×13 baking dish and scattered the crumble topping evenly, bake for 35-40 minutes until the top turns golden brown and you can see those telltale bubbles of fruit juice around the edges!
step 1. Preheat Oven to 375F
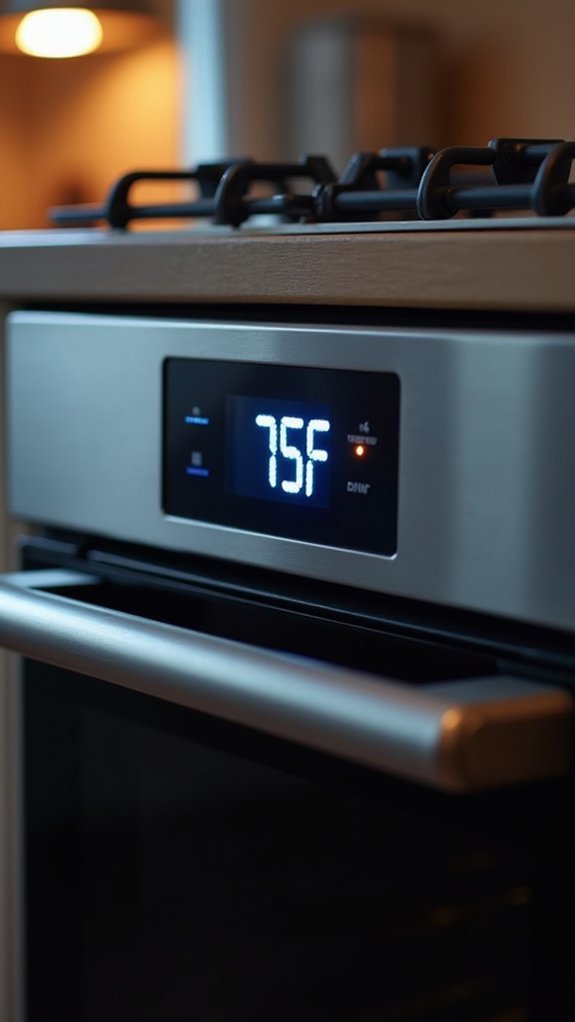
Before diving into the fruity filling, you’ll need to preheat your oven to 375°F (190°C) to make certain it reaches the perfect temperature.
Most home ovens take about 15-20 minutes to fully preheat, so use this time wisely to prep your ingredients. You’ll know your oven’s ready when the preheat indicator light turns off or you hear that familiar “beep.”
If you’re using an oven thermometer (and you should!), wait until it shows a steady 375°F reading.
For consistent results, position your oven rack in the middle position – this guarantees even heat distribution for that perfectly golden crumble topping.
Don’t forget to check if there are any forgotten pans lurking inside the oven. We’ve all been guilty of using it as bonus storage space!
step 2. Mix Fruits and Sugar
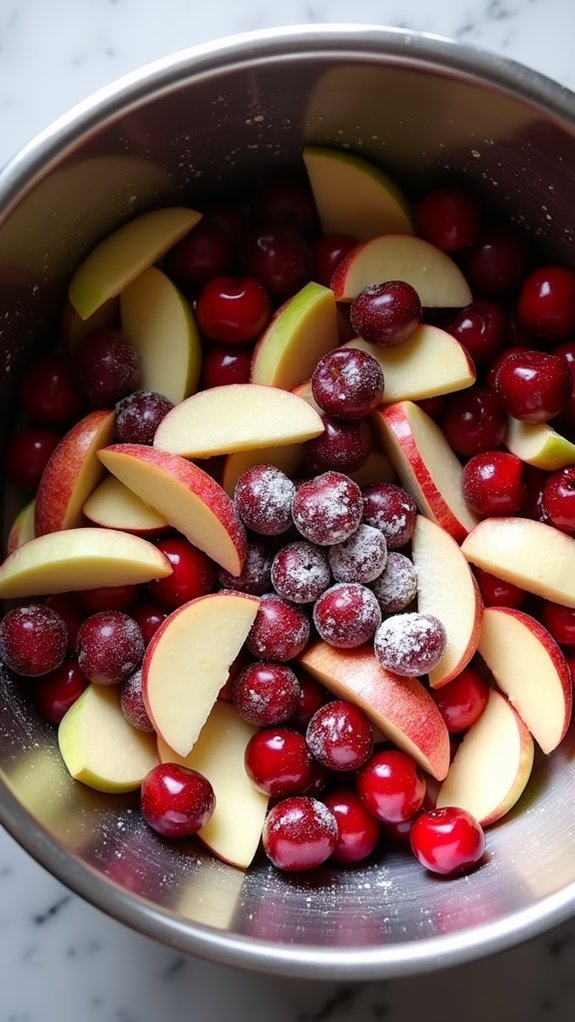
The star ingredients of this crumble – 3 crisp apples and 2 cups of fresh cherries – need proper preparation before they can shine.
Start by peeling and coring your apples, then cut them into 1/2-inch cubes. You’ll want roughly uniform pieces so they’ll cook evenly.
For the cherries, remove the pits (if you haven’t already) and slice them in half.
In a large mixing bowl, combine your fruit with 1/3 cup granulated sugar, 2 tablespoons brown sugar, and 1 teaspoon cinnamon.
Don’t forget 1 tablespoon of lemon juice – it’ll keep those apples from turning brown! Gently toss everything together until the fruit’s evenly coated.
You’ll notice the sugar starting to draw out some juices – that’s exactly what you want for a perfectly saucy crumble.
step 3. Make Crumbly Topping Mixture
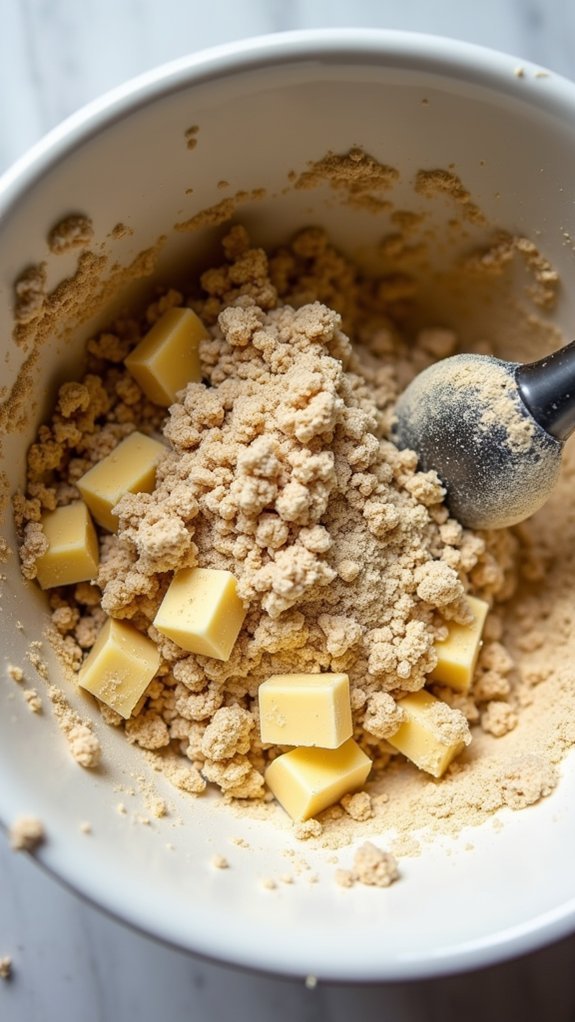
While your fruit mixture rests, you’ll create the signature topping that gives this crumble its irresistible crunch.
In a medium-sized bowl, combine 1½ cups all-purpose flour, ¾ cup packed brown sugar, and ½ teaspoon cinnamon until well mixed.
Next, cube 1 stick (½ cup) of cold butter into small, ½-inch pieces. Using your fingertips – yes, this is where you get to play with your food! – work the butter into the dry ingredients.
Keep pinching and rubbing until the mixture resembles coarse breadcrumbs with some pea-sized butter chunks remaining. Don’t overwork it, or you’ll lose that perfect crumbly texture.
For extra crunch, stir in ½ cup of rolled oats and ¼ cup chopped nuts of your choice.
Your topping’s ready when it clumps together when squeezed.
step 4. Pour Into Baking Dish
Now that your topping’s ready to go, grab a 9×13-inch baking dish and give it a quick coat of butter or cooking spray.
Transfer your prepared apple and cherry filling mixture into the greased baking dish, making sure to spread it evenly across the bottom.
Don’t worry if some juice pools at the edges – that’s perfectly normal! Using a rubber spatula, gently smooth the surface until it’s roughly level.
Next, sprinkle your crumbly topping over the fruit mixture. Work from the outside edges toward the center, creating an even layer that completely covers the filling.
For the best texture, avoid pressing the topping down too firmly – you want those lovely crumbly bits to create a crispy, golden crust as it bakes.
Make sure there aren’t any large gaps where the filling shows through.
step 5. Bake Until Golden Brown

Once your crumble is assembled, preheat your oven to 375°F (190°C) and place the baking dish on the center rack.
You’ll want to bake it for 45-50 minutes total, checking halfway through to verify even browning.
Keep an eye on the topping – it should turn a beautiful golden brown color, and you’ll notice the fruit filling starting to bubble around the edges.
If the top begins browning too quickly, loosely cover it with aluminum foil to prevent burning.
Don’t worry if some fruit juice bubbles over; that’s just your dessert getting extra caramelized!
You’ll know it’s done when the topping is crisp and evenly browned, and a knife inserted into the center meets little resistance through the fruit layer.
Let it cool for at least 15 minutes before serving – your taste buds will thank you for the patience!
Final Thoughts for Apple and Cherry Crumble
As you’ve mastered this apple and cherry crumble recipe, you’ll discover it’s one of those versatile desserts that’ll become a regular in your baking rotation.
You can easily swap out different fruits based on what’s in season, and the topping stays consistently delicious.
Don’t hesitate to experiment with your own variations! Try adding nuts to the crumble topping, or mix in some blackberries with the fruit filling.
You’ll find this dessert works perfectly for both casual family dinners and special occasions.
Remember to store any leftover crumble in an airtight container – though we doubt you’ll have much left!
It’ll keep for up to three days at room temperature, or five days in the fridge. Just warm it up for 15-20 seconds in the microwave before serving.