Like a warm hug on a chilly day, navy bean soup has been comforting hungry sailors and families for generations. You’ll find this humble dish brings together the creamy richness of navy beans with smoky ham and aromatic vegetables in perfect harmony. Whether you’re seeking a protein-packed meal or just craving something soul-warming, there’s more to this classic soup than meets the eye. Let’s explore how this maritime favorite, Navy Bean Soup, earned its place at America’s dinner table.
History
While navy bean soup has become a beloved American comfort food, its origins can be traced back to the U.S. Navy‘s need for practical, nutritious meals at sea.
You’ll find it interesting that the Navy chose these small white beans because they’re compact, long-lasting, and packed with protein.
In fact, this humble soup became such a staple aboard naval vessels that it’s been continuously served in the U.S. Senate‘s restaurant since the early 1900s!
You can thank Senator Fred Dubois of Idaho for making it a permanent menu fixture. He’s the one who passed a resolution requiring the soup’s daily presence in the Senate dining room.
Today, you’ll still find politicians and visitors alike enjoying this hearty dish, proving that some traditions really do stand the test of time.
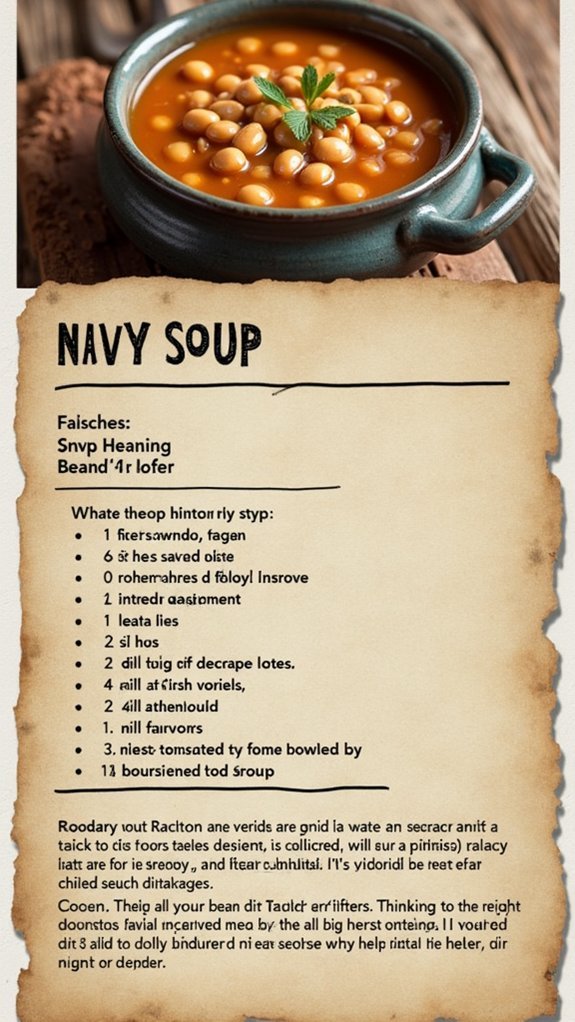
Recipe for Navy Bean Soup

Traditional Navy Bean Soup is a classic American comfort food that combines tender white beans with smoky ham in a rich, hearty broth. This warming dish has been cherished for generations, offering both substantial nutrition and satisfying flavor in every spoonful.
The beauty of this recipe lies in its simplicity and the natural transformation of humble ingredients into a creamy, flavorful soup. Through slow cooking, the beans gradually break down to create a naturally thick consistency, while the ham infuses the broth with its savory essence.
- 1 pound dried navy beans
- 1 pound ham hock or diced ham
- 1 large yellow onion, diced
- 8 cups water
- Salt to taste
Sort and rinse the navy beans, then soak them overnight in cold water. The next day, drain and rinse the beans again. In a large pot, combine the soaked beans, diced onion, ham, and 8 cups of fresh water. Bring the mixture to a boil over high heat, then reduce to a simmer and cook uncovered for 2-3 hours, stirring occasionally.
Add more water if needed to maintain desired consistency. Once the beans are tender, add salt to taste and continue cooking until some beans begin to break down, creating a naturally creamy texture. For additional thickness, mash some beans against the side of the pot with the back of a spoon.
For optimal results, resist the urge to add salt until the beans have fully softened, as early salting can prevent the beans from becoming tender. The soup will continue to thicken as it cools, so it’s best to keep it slightly thinner while cooking.
If the soup becomes too thick, simply thin it with hot water until reaching the desired consistency. This soup stores well in the refrigerator for up to five days, and many find the flavor improves after a day or two as the ingredients continue to meld together.
Cooking Steps

You’ll want to start by soaking your navy beans overnight in cold water until they’re plump and softened.
Once ready, combine the drained beans, ham, diced onion, and 8 cups of fresh water in a large pot, bringing the mixture to a rolling boil before reducing to a simmer.
After 2-3 hours of gentle cooking, you can season with salt and mash some beans against the pot’s side for that perfect, creamy texture – just like grandma used to make!
step 1. Soaking Beans Until Softened

Before starting the soup-making process, proper bean soaking is essential for achieving tender, fully-cooked results. You’ll want to sort through your dried navy beans first, removing any stones or damaged beans.
Place 1 pound of beans in a large bowl and cover them with cold water, making sure there’s at least 2 inches of water above the beans. You can’t rush this step – let them soak overnight or for at least 8 hours at room temperature.
If you’re pressed for time, try the quick-soak method: bring the beans to a boil for 2 minutes, then remove from heat and let them sit for 1 hour.
After soaking, drain and rinse the beans thoroughly. They should look plump and feel slightly tender when you press them.
step 2. Combine Ingredients in Pot

With your freshly soaked beans ready to go, it’s time to bring all the ingredients together in your soup pot.
Drain the soaked beans and give them a quick rinse under cold water to remove any residue. You’ll want to use your largest pot for this – trust me, these beans need room to party!
Add the rinsed beans, 8 cups of fresh water, your diced onion, and ham hock or diced ham to the pot.
Don’t add salt just yet – it’ll only make your beans tough and uncooperative.
Bring the mixture to a rolling boil over high heat, then reduce to a gentle simmer. You’ll see small bubbles breaking the surface, which is exactly what you want.
Cover the pot partially with a lid to allow some steam to escape.
step 3. Boil Then Reduce Heat

The initial boiling phase kickstarts the cooking process, bringing your ingredients up to the perfect temperature for bean softening and flavor melding.
Once you’ve added your soaked beans, ham, onion, and water to the pot, turn your heat to high and watch for those first bubbles to break the surface.
When you see a rolling boil (you’ll know it when those bubbles are really dancing!), it’s time to dial things back.
Reduce your heat to low or medium-low – you’re looking for a gentle simmer where small bubbles steadily rise to the surface.
Pop the lid on, leaving it slightly ajar to let some steam escape.
You’ll want to maintain this gentle simmer for the next 2-3 hours while the magic happens.
step 4. Season and Thicken Soup

After your soup has simmered to perfection, it’s time to add those finishing touches that transform good soup into great soup!
Start by tasting a spoonful and adding salt gradually – you’ll need less than you might think since the ham adds natural saltiness.
To achieve that classic, creamy consistency, press some of the cooked beans against the side of your pot with the back of a wooden spoon.
You’ll want to mash about 1/4 of the beans while leaving the rest whole for texture.
If your soup seems too thin, let it simmer uncovered for an additional 15-20 minutes.
The natural starches will continue to thicken the broth as it cools, so don’t worry if it’s not quite as thick as you’d like while it’s still hot!
step 5. Cool Before Storing

Once your navy bean soup has finished cooking, proper cooling is essential for food safety and storage success.
Let the soup cool at room temperature for no more than 2 hours before transferring it to storage containers.
To speed up the cooling process, divide the soup into smaller portions in shallow containers. You’ll want to leave about an inch of space at the top for expansion.
Keep an eye on the temperature – your goal is to get the soup below 70°F before refrigerating. You can place the containers in an ice bath if you’re in a hurry!
Once properly cooled, transfer the containers to your refrigerator.
Make sure to label them with the date – even though you might think you’ll remember when you made it. Trust me, you won’t!
Final Thoughts

Making this classic navy bean soup proves that simple ingredients can create incredibly satisfying results when given enough time and care.
You’ll find that the combination of tender beans, savory ham, and aromatic onions creates a bowl of comfort that’s greater than the sum of its parts.