Did you know that stuffed peppers originated in Spain during the 16th century as a way to preserve the harvest? Today, you’ll find countless variations of this dish across Mediterranean and Eastern European cuisines, each adding its own cultural twist. You’re about to discover how to create your own version of this adaptable comfort food – one that’ll transform ordinary bell peppers into vessels of flavor that’ll have your family requesting them weekly. And we have Easy Stuffed Peppers that you will love so lets cook people!
History of Easy Stuffed Peppers
While easy stuffed peppers are enjoyed worldwide today, their origins can be traced back to the ancient Mediterranean region, particularly Spain and Mexico.
You’ll find that Spanish colonists brought their peppers to the Americas in the 1500s, where the dish evolved through cultural fusion.
What you mightn’t know is that Native Americans were already stuffing squash and other vegetables long before European contact.
When you make stuffed peppers today, you’re actually participating in a culinary tradition that’s thousands of years old!
The ancient Romans had their own version too – they’d stuff peppers with meat, grains, and herbs, much like we do now.
Easy Stuffed Peppers Recipe
Stuffed peppers are a classic comfort food that combines the natural sweetness of bell peppers with a hearty, savory filling. The combination of ground beef, rice, and melted cheese creates a satisfying meal that’s both nutritious and delicious.
This recipe delivers a straightforward approach to making stuffed peppers, focusing on essential ingredients that work together to create a flavorful dish. The peppers become tender during baking while maintaining their shape, creating perfect vessels for the meat and rice filling topped with melted cheese.
- 6 large bell peppers
- 1 pound ground beef
- 2 cups cooked white rice
- 2 cups shredded mozzarella cheese
- 1 can (15 oz) tomato sauce
- Salt and pepper to taste
Preheat oven to 350°F. Cut the tops off the peppers and remove seeds, then place them upright in a baking dish. Brown the ground beef in a large skillet over medium heat, drain excess fat, and mix with cooked rice, half the cheese, and half the tomato sauce. Season with salt and pepper.
Fill each pepper with the mixture, pour remaining tomato sauce over the tops, and sprinkle with remaining cheese. Cover with foil and bake for 35 minutes, then uncover and bake an additional 10 minutes until cheese is golden brown and bubbly.
To ensure the best results, look for peppers that are similar in size and can stand on their own. If the peppers seem too firm after cooking, add a few tablespoons of water to the bottom of the baking dish before cooking.
The dish can be prepared up to 24 hours in advance and stored in the refrigerator until ready to bake, adding about 10 minutes to the cooking time if baking from cold.
Cooking Steps
You’ll want to start by selecting firm, evenly-sized bell peppers that can stand upright on their own.
Next, carefully cut off the pepper tops and remove the seeds before browning your ground beef until it’s no longer pink and draining off any excess fat.
Finally, you’ll combine the meat with cooked rice and cheese, stuff your peppers generously with the mixture, and let them bake covered at 350°F for 35 minutes – just wait until you see that golden-brown cheese on top when you remove the foil for the final 10 minutes!
step 1. Select Firm Bell Peppers
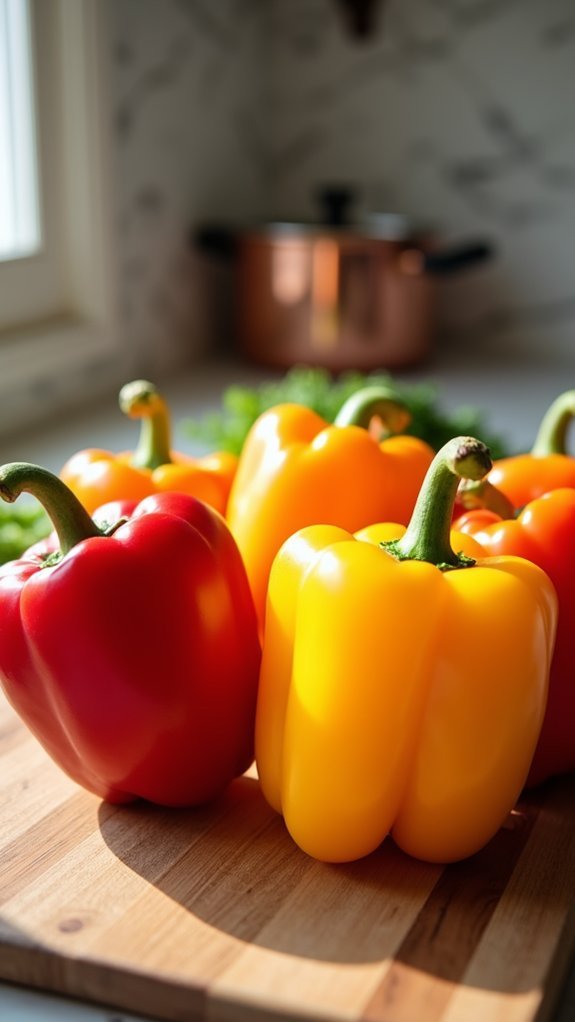
Selecting the right bell peppers makes a significant difference in the final presentation and taste of this classic dish.
You’ll want to choose peppers that are similar in size, about 4 inches tall, with flat bottoms that can stand upright without tipping over.
Look for peppers with firm, smooth skin that’s free from soft spots or blemishes. When you give them a gentle squeeze, they should feel solid and crisp.
Green peppers tend to be the most stable for stuffing, but red, yellow, or orange ones work beautifully too – they’re just a bit sweeter!
Before purchasing, check that each pepper has enough interior space to hold at least 3/4 cup of filling. If you’re serving guests, grab an extra pepper just in case one has hidden damage inside.
step 2. Prep Pepper Tops Carefully
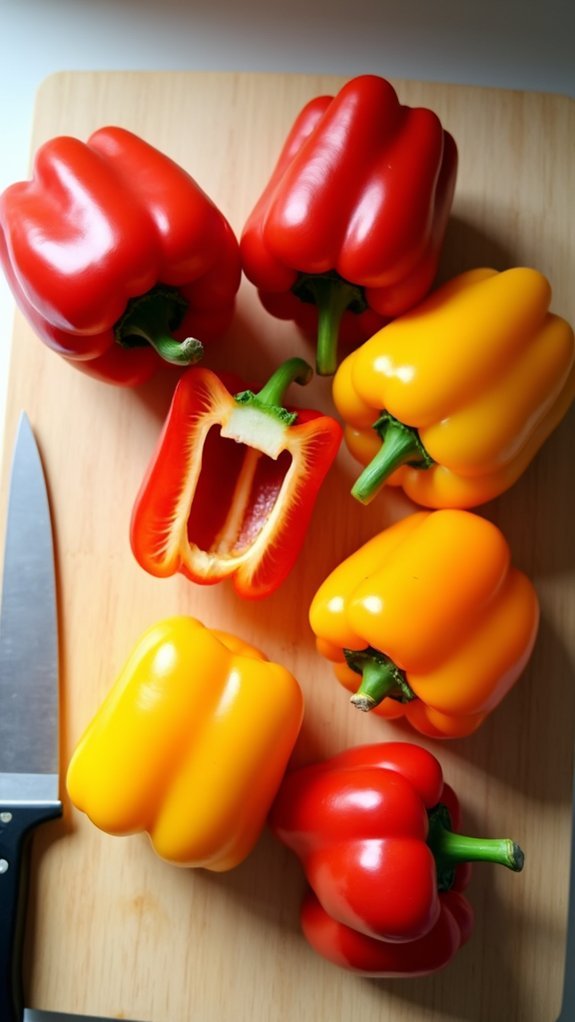
Now that you’ve chosen the perfect peppers, proper preparation of the tops is key to creating an attractive final presentation.
Using a sharp knife, cut about 1/2 inch below the stem in a smooth, circular motion to remove the top.
Don’t toss those pepper tops! You’ll want to finely chop the usable portions around the stem for extra flavor in your filling.
After removing the tops, carefully reach inside to remove the core and seeds – they’re usually connected in one piece, making this step surprisingly satisfying.
Give the inside a quick rinse to remove any stubborn seeds.
Check that your peppers can stand upright in your baking dish.
If they’re wobbly, slice a tiny bit off the bottom to create a flat surface, but be careful not to cut through!
step 3. Brown and Drain Meat
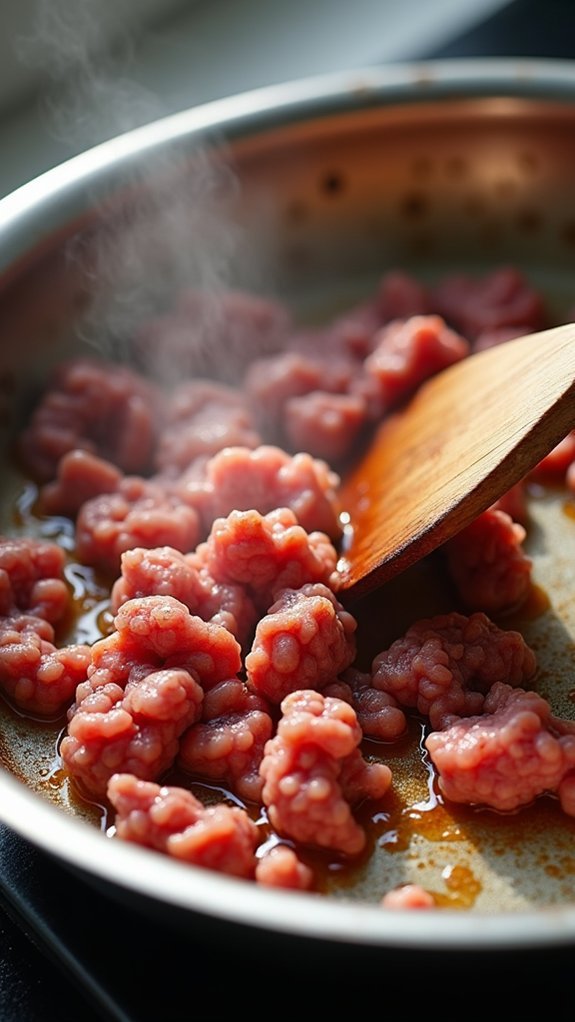
Sizzling in a large skillet, ground beef transforms from pink to perfectly browned when cooked over medium-high heat.
You’ll want to break up the meat into small, uniform pieces using a wooden spoon or spatula as it cooks.
Keep an eye on the browning process – it’ll take about 8-10 minutes until you’ve got that beautiful caramelized color.
Don’t forget to season with a pinch of salt and pepper while cooking!
Once the meat’s no longer pink and has developed a rich brown color, it’s time for the crucial draining step.
Tip the skillet slightly and use your spatula to push the meat to one side.
Let the excess fat pool at the bottom, then carefully drain it into a heat-safe container (not down your sink!).
Your perfectly browned and drained meat is now ready for mixing with other ingredients.
step 4. Combine Rice Cheese Filling
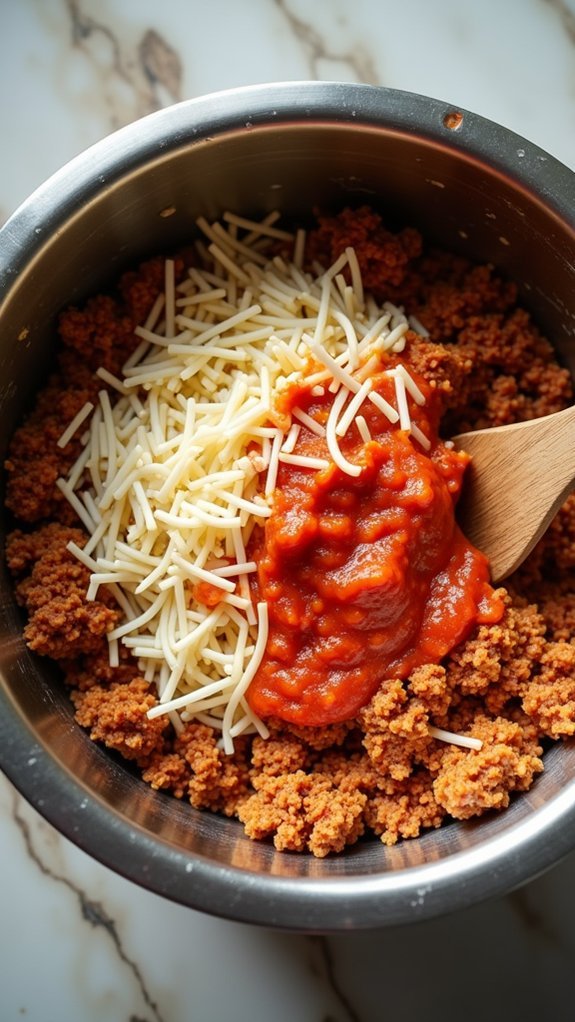
Mixing the filling brings together all the star players of this comfort food classic – your browned ground beef, fluffy rice, and gooey cheese! Now’s when the magic happens in your mixing bowl.
Transfer your drained ground beef to a large bowl, then add 2 cups of cooked white rice and 1 cup of shredded mozzarella. Pour in half the can of tomato sauce (about 7-8 ounces) – this’ll keep everything moist and flavorful.
Mix these ingredients until they’re well combined, but don’t overwork the mixture. You’ll want everything evenly distributed without turning it into mush!
The filling should be slightly wet but hold together when scooped. If it seems dry, add a splash more tomato sauce. You’re looking for a consistency that’ll stay put when you stuff those peppers!
step 5. Cover and Bake Peppers
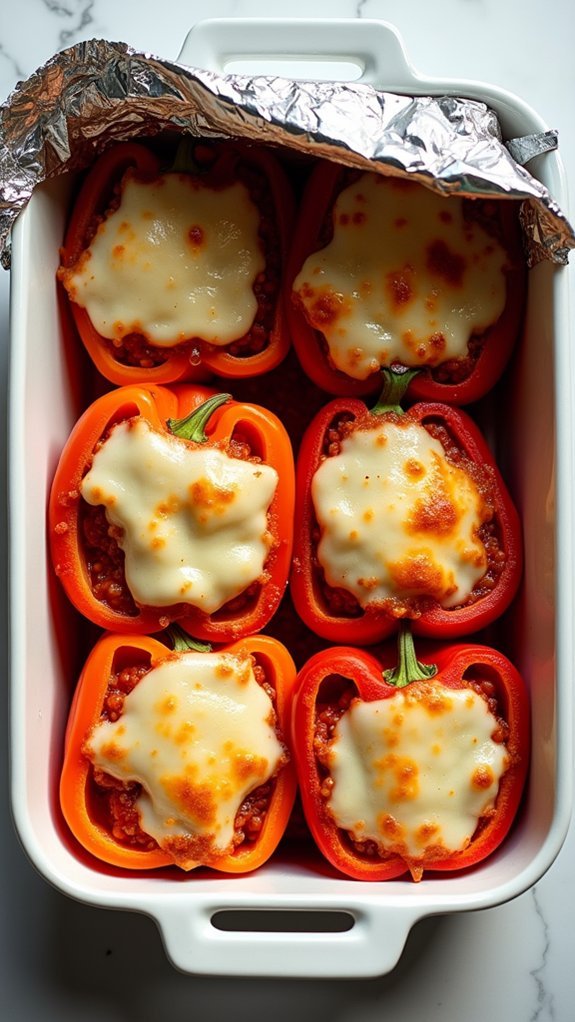
With your filling perfectly mixed, it’s time to transform those hollow peppers into a bubbling masterpiece!
Spoon your beef, rice, and cheese mixture generously into each pepper cavity, making sure to pack it down gently.
Pour the remaining tomato sauce over your stuffed peppers, creating a lovely blanket of flavor.
Sprinkle the rest of your mozzarella cheese on top – don’t be shy here!
Cover the baking dish tightly with aluminum foil, which helps the peppers steam and become tender.
Place your creation in a preheated 350°F oven for 35 minutes.
Then comes the magical part – remove the foil and bake for 10 more minutes until that cheese turns gorgeously golden brown and bubbly.
You’ll know they’re done when the peppers are tender and your kitchen smells amazing!
Final Thoughts on Easy Stuffed Peppers
Once you’ve mastered this classic stuffed peppers recipe, you’ll have a reliable crowd-pleaser in your cooking arsenal.
You’ll find that these peppers are perfect for meal prep and can easily feed a family of six with generous portions.
Don’t be afraid to experiment with different cheese varieties or even swap ground beef for turkey or Italian sausage.
The beauty of stuffed peppers is their versatility! For a vegetarian version, you can replace the meat with mushrooms, lentils, or quinoa while keeping the same delicious flavor profile.
Remember to let the peppers rest for about 5 minutes after baking – nobody enjoys burning their tongue on molten cheese.
Your stuffed peppers will stay fresh in an airtight container for up to 4 days, making them perfect for weekday lunches.