Did you know that over 60% of Chinese restaurants in America feature shrimp fried rice as their most-ordered dish? You’ll find this classic comfort food has a perfect balance of protein, carbs, and vegetables – making it an ideal choice for any meal. If you’ve been ordering takeout, you’re about to discover how creating restaurant-quality shrimp fried rice at home isn’t just easier than you think – it’s also more cost-effective and customizable to your taste preferences. And remember that when you make your own Shrimp Fried Rice you can add extra of anything.
History of Shrimp Fried Rice
While the exact origins of shrimp fried rice remain debated, this beloved dish emerged in China during the Sui Dynasty (589-618 CE) as a practical solution for using leftover rice.
You’ll find that Chinese households developed this resourceful cooking method to avoid food waste, as throwing away rice was considered disrespectful to the gods.
As trade routes expanded throughout Asia, you’d see this dish evolving with regional variations. In coastal areas, cooks naturally incorporated fresh shrimp, while inland regions might’ve used dried shrimp instead.
When Chinese immigrants brought fried rice to other countries, they’d adapt the recipe using local ingredients. And Shrimp Fried Rice is one of those that was adapted and you can make your own changes.
Today, you’ll discover countless variations across Asia and beyond, but the basic technique – using day-old rice and quick, high-heat cooking – remains unchanged from those ancient origins.
Recipe for Shrimp Fried Rice
Shrimp fried rice is a versatile and satisfying dish that transforms simple ingredients into a flavorful meal. This classic Asian preparation combines succulent shrimp with fluffy rice, creating a perfect balance of textures and tastes that can be enjoyed any time of day.
The key to exceptional shrimp fried rice lies in using day-old rice and maintaining high heat throughout the cooking process. This recipe streamlines the traditional version while maintaining all the essential elements that make this dish a beloved staple in Asian cuisine.
Ingredients:
- 3 cups day-old cooked white rice
- 1 pound raw shrimp, peeled and deveined
- 1 cup frozen mixed vegetables
- 2 large eggs
- 3 tablespoons soy sauce
- 2 tablespoons vegetable oil
- Salt and pepper to taste
Heat oil in a large wok or skillet over high heat. Scramble eggs until just set and remove from pan. Cook shrimp until pink (2-3 minutes) and set aside.
Add frozen vegetables and stir-fry until heated through. Add rice to the pan, breaking up any clumps, and stir-fry for 3-4 minutes. Return shrimp and eggs to the pan, add soy sauce, and stir-fry everything together for 2-3 minutes until well combined and heated through. Season with salt and pepper to taste.
For best results, verify the rice has been refrigerated overnight to reduce moisture content. Keep the wok or skillet very hot throughout cooking, and avoid overcrowding the pan when cooking shrimp. If ingredients start sticking, add a small amount of oil.
Work quickly and keep ingredients moving to prevent burning. The entire dish should come together in about 15 minutes once all ingredients are prepped.
Cooking Steps for Shrimp Fried Rice
You’ll want to start with a smoking-hot wok before scrambling your eggs and cooking those shrimp until they’re perfectly pink!
Next, toss in your frozen vegetables until they’re heated through, breaking up any stubborn rice clumps as you add the cold grains to the pan.
Finally, bring everything together with a generous splash of soy sauce, giving it all a good stir until it’s evenly combined and steaming hot.
step 1. Heat Wok Until Smoking
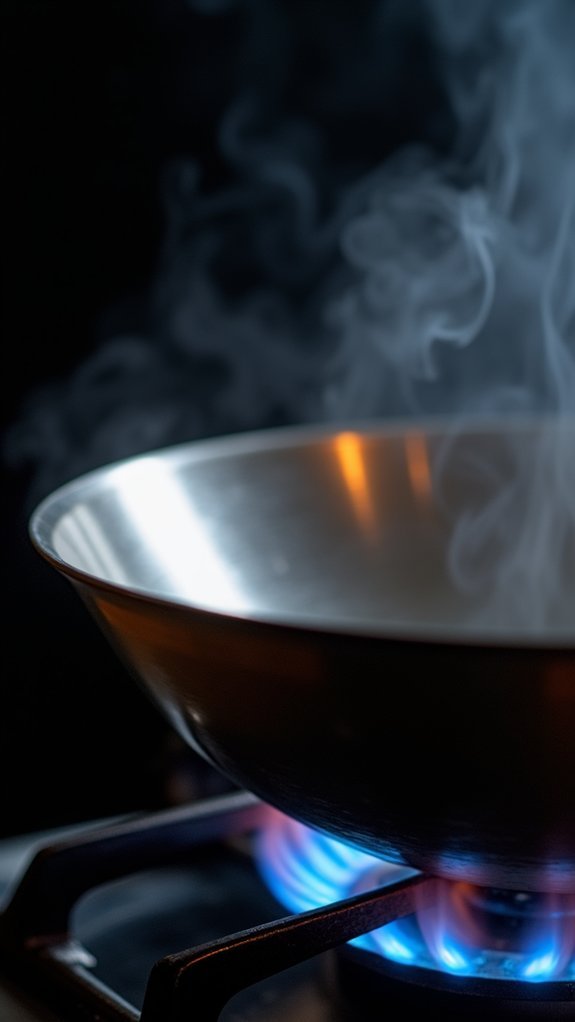
Before diving into the main cooking process, properly heating your wok or large skillet creates the essential foundation for perfect fried rice.
Place your wok over high heat and let it warm up for 3-4 minutes until you see wisps of smoke rising from the surface. You’ll know it’s ready when a drop of water instantly vaporizes with a sizzle! At this stage, the wok’s temperature should be around 400°F – hot enough to sear your ingredients but not so hot that they’ll burn.
If you’re using a non-stick skillet instead of a wok, heat it until it’s very hot but not smoking. Watch for that subtle shimmer across the pan’s surface – that’s your signal to start cooking.
step 2. Scramble Eggs Until Firm
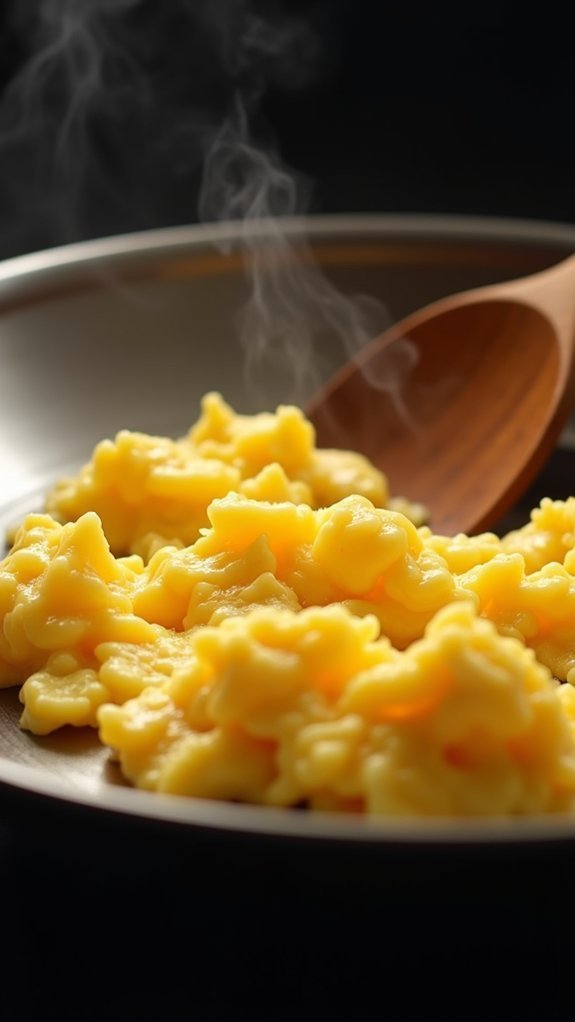
Pour the beaten eggs into your sizzling hot wok, where they’ll immediately start to bubble and set around the edges.
Using your spatula, quickly push the edges toward the center while tilting the pan to let raw egg flow outward. You’ll want to keep the eggs moving constantly to prevent browning.
Once the eggs are about 80% set but still look slightly wet on top, start breaking them into small, bite-sized pieces with your spatula. They should be fluffy and just cooked through – no wet spots, but not dry either!
Transfer them to a clean plate and set aside. Don’t worry if they’re not perfect little pieces; they’ll break up more when you combine everything later. The whole process shouldn’t take more than 60-90 seconds if your wok is properly heated.
step 3. Cook Shrimp Until Pink
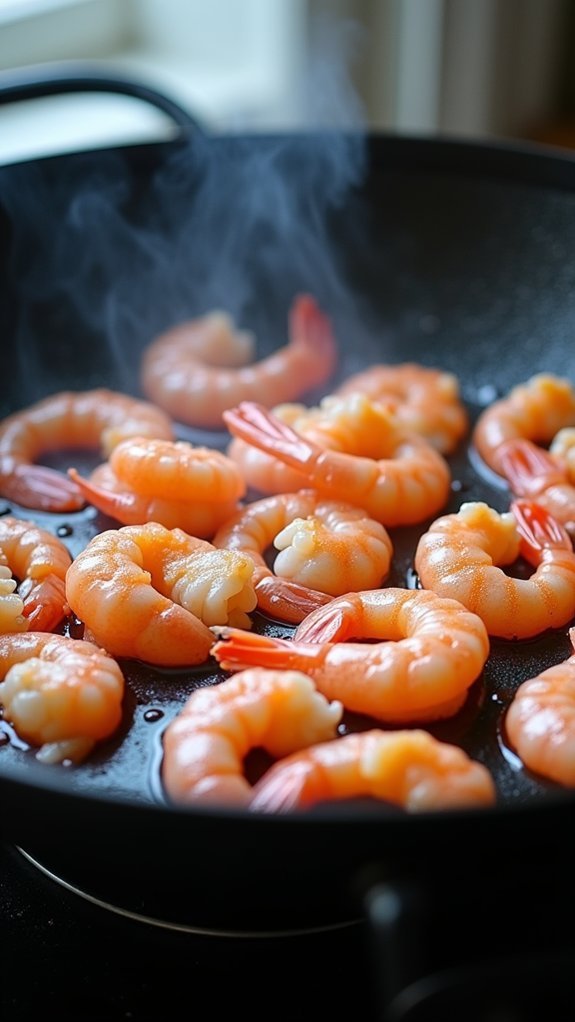
After removing the scrambled eggs, add the peeled and deveined shrimp to your still-blazing hot wok in a single layer.
You’ll want to cook about 1 pound of shrimp, making sure not to overcrowd the pan – work in batches if needed!
Watch as your shrimp transform from their translucent gray color to a beautiful pink hue. This usually takes about 2-3 minutes per side.
You’ll know they’re perfectly cooked when they form a gentle “C” shape. If they curl into a tight “O,” they’re overcooked.
Remove the shrimp from the wok as soon as they’re pink and opaque throughout.
Don’t worry if they’re slightly undercooked – they’ll finish cooking when you add them back to the dish later.
Place them on a clean plate and set aside.
step 4. Add Vegetables and Heat
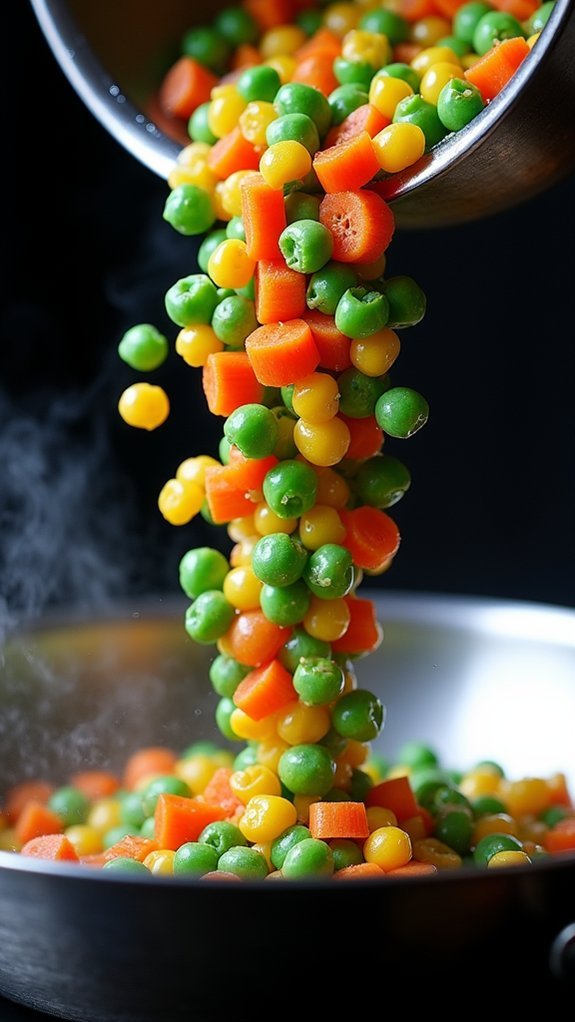
Now that your shrimp is safely set aside, keeping the wok at high heat, add the cup of frozen mixed vegetables directly to the hot surface.
You’ll hear a satisfying sizzle as they hit the pan – that’s exactly what you want! Stir-fry the vegetables continuously for about 3-4 minutes until they’re heated through.
The vegetables should start to take on a vibrant color, and you’ll notice any frost has completely disappeared.
Don’t worry if there’s a bit of moisture in the pan; it’ll evaporate quickly with the high heat. Keep stirring to prevent any vegetables from sticking to the bottom.
When they’re tender-crisp and steaming, you’re ready for the next step. Trust your instincts – if the veggies look ready to eat, they probably are!
step 5. Stir Rice With Soy Sauce
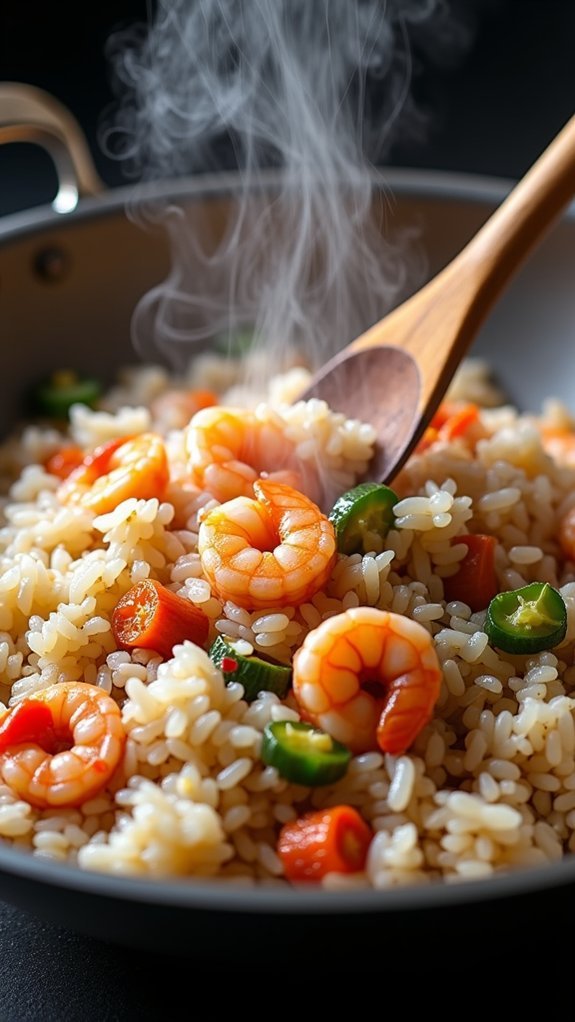
Returning the cooked rice to your sizzling wok kicks off the final and most essential phase of your shrimp fried rice journey! Break up any stubborn rice clumps with your spatula while stirring continuously over high heat (around 400°F).
Now’s the time to master the art of the sauce! Drizzle 3 tablespoons of soy sauce around the outer edge of your wok – this helps it caramelize slightly before hitting the rice.
You’ll know you’re on the right track when you hear that satisfying sizzle! Keep stirring for 2-3 minutes until every grain is coated and has taken on a beautiful golden-brown color.
Watch for the telltale steam wisps rising from perfectly heated rice, and don’t worry if a few grains stick to your spatula – that’s just part of the authentic experience!
Final Thoughts on Shrimp Fried Rice
Mastering shrimp fried rice opens the door to endless meal possibilities in your kitchen!
You’ll find yourself reaching for this recipe whenever you’ve got leftover rice and need a quick, satisfying dinner solution.
Remember, the key to success lies in those five simple ingredients and proper timing.
Don’t be afraid to make this recipe your own – you can adjust the amount of soy sauce or swap in different vegetables based on what’s in your fridge. Or you can even use more Shrimp.
If you’re watching your sodium intake, try low-sodium soy sauce instead.
Keep in mind that practice makes perfect with this dish.
Your first attempt mightn’t look restaurant-worthy, but you’ll quickly develop a feel for the right heat level and timing.
Soon, you’ll be whipping up this takeout favorite like a pro!