Have you ever tried Chocolate Turtle Cake? Trust me. This one is a must if you like chocolate.
Did you know that the original chocolate turtle candies were created in 1918 by DeMet’s Candy Company, when a salesman noticed their shape resembled turtles? Today, you’ll find this beloved flavor combination transformed into an irresistible cake that’s become a top 10 dessert choice for special occasions. You’re about to discover how to create this decadent masterpiece, combining three classic elements – chocolate, caramel, and pecans – into a dessert that’ll make everyone think you’re a professional baker! So let’s get started making some of the best ever Chocolate Turtle Cake from this recipe.
The History of Chocolate Turtle Cake
While the exact origin of the Chocolate Turtle Cake isn’t documented, it draws inspiration from the beloved turtle candy that DeMet’s Candy Company created in 1918.
You’ll find that this sweet innovation quickly became a hit in Chicago, where workers noticed the candies resembled tiny turtles.
The cake version of this confectionery classic emerged during America’s mid-century dessert revolution, when home bakers began transforming popular candies into creative cakes.
You’re looking at a dessert that’s followed the same delicious formula since then – chocolate, caramel, and pecans working together in perfect harmony.
The simplified five-ingredient version you know today developed during the 1970s when convenience baking became popular, making it easier for you to recreate this decadent dessert at home.
Top Recipe for Chocolate Turtle Cake
The Chocolate Turtle Cake transforms a simple boxed cake mix into an extraordinary dessert by incorporating the classic flavors of turtle candy – chocolate, caramel, and pecans. This easy-to-follow recipe creates a moist chocolate cake that’s enhanced with warm caramel sauce seeping through carefully placed holes, topped with crunchy pecans and finished with a decorative chocolate drizzle.
This version simplifies the traditional turtle cake while maintaining its decadent essence, making it accessible to bakers of all skill levels. The combination of store-bought ingredients cleverly comes together to create a dessert that tastes homemade and looks professionally crafted, perfect for special occasions or family gatherings.
- 1 box chocolate cake mix
- 3 eggs
- Water and oil (as directed on cake mix box) ( You can also use Butter )
- 1 jar (12 oz) caramel sauce
- 2 cups chopped pecans
- 1 can chocolate frosting
Preheat oven to temperature specified on cake mix box (typically 350°F). Prepare chocolate cake according to package directions using eggs, water, and oil in a 9×13 inch baking pan.
Once baked and completely cooled, use a fork or wooden spoon handle to poke holes throughout the entire cake. Warm the caramel sauce in the microwave until pourable and pour evenly over the cake, allowing it to fill the holes. Sprinkle the chopped pecans over the caramel layer.
Warm the chocolate frosting until it reaches a drizzling consistency and decoratively drizzle over the pecans.
For best results, warm both the caramel sauce and chocolate frosting in 15-second microwave intervals, stirring between each interval to prevent overheating. The cake should rest in the refrigerator for at least 2 hours before serving to allow the caramel to set properly.
When storing, cover the cake and keep refrigerated for up to 5 days, though the pecans may gradually soften. Allow the cake to come to room temperature before serving to guarantee the best flavor and texture experience.
Cooking Steps
You’ll start by preheating your oven to 350°F and mixing the cake batter according to the package directions.
Once your Chocolate Turtle Cake has baked and cooled completely, you’ll want to poke holes throughout and pour the warm caramel sauce over the top!
Finally, sprinkle on those crunchy pecans and drizzle with melted chocolate frosting for that classic turtle cake finish.
step 1. Preheat Oven to 350F
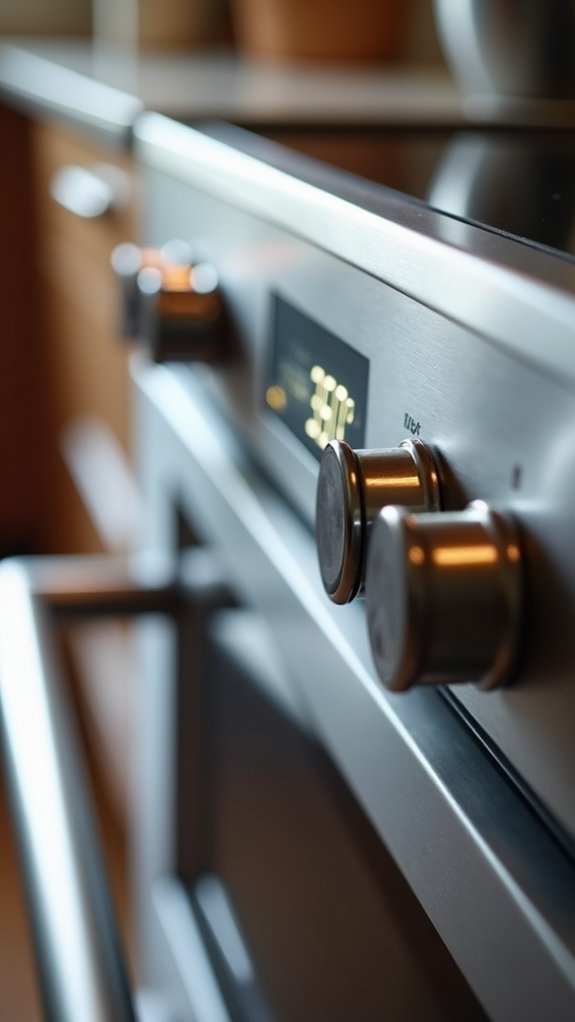
Starting your chocolate turtle cake journey requires preheating your oven to 350°F (175°C) – an essential first step that guarantees even baking and proper caramelization.
While you’re waiting for your oven to reach the right temperature (usually 10-15 minutes), you’ll have the perfect opportunity to gather your ingredients and prepare your baking pan.
Don’t rush this step! A properly preheated oven assures your cake will rise evenly and develop that perfect chocolate crumb structure.
If you’re using a dark or nonstick pan, you might want to reduce the temperature by 25 degrees to prevent over-browning.
You’ll know your oven is ready when the preheat indicator light turns off or it beeps – and yes, resisting the urge to open the door repeatedly is half the battle!
step 2. Mix Cake Batter Ingredients
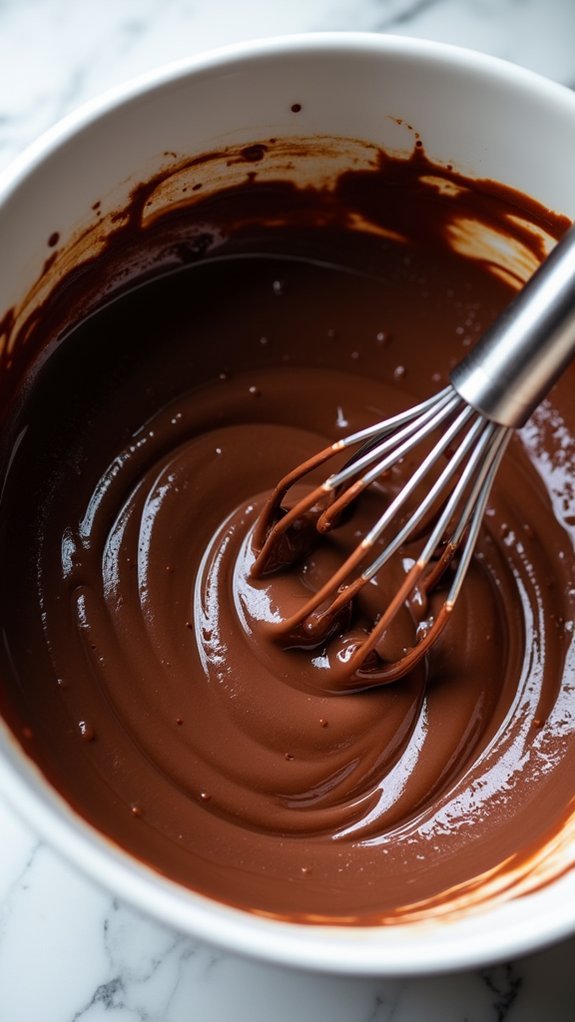
Grab your mixing bowl and combine the chocolate cake mix with 3 eggs, following the additional liquid measurements listed on your box mix package.
You’ll want to mix on medium speed for about 2 minutes until the batter is smooth and free of lumps.
Don’t worry if you see a few tiny lumps – they’ll bake out in the oven!
Scrape down the sides of the bowl with a rubber spatula to guarantee all the dry ingredients are fully incorporated.
The batter should have a rich, chocolate color and a consistency similar to thick pancake batter.
Give the bowl one final scrape from the bottom up – those sneaky dry patches love to hide down there.
Your batter is ready when it’s silky smooth and easily drops from the spoon in thick ribbons.
step 3. Bake Cake Until Done
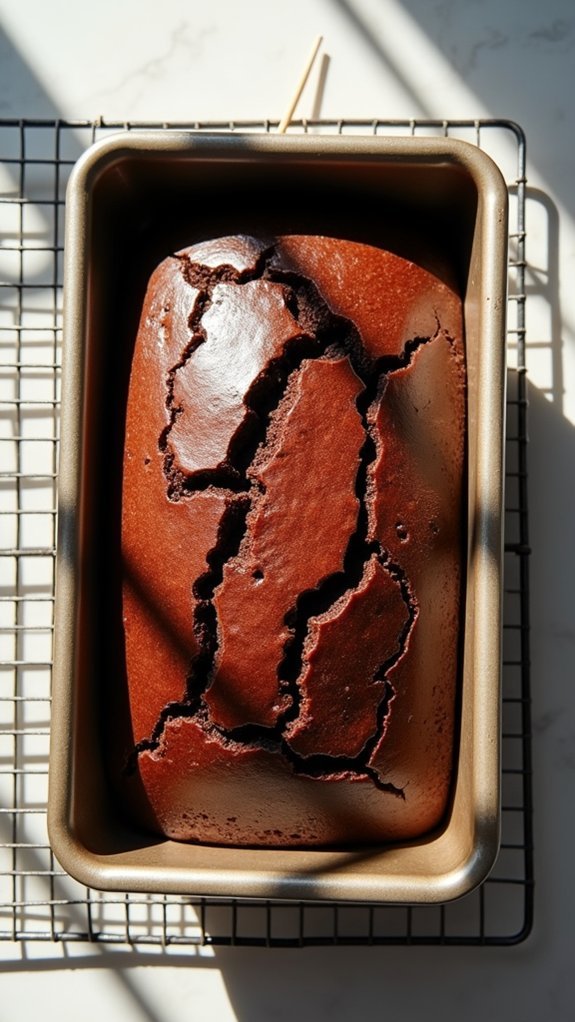
Pour the prepared chocolate cake batter into a greased 9×13 inch baking pan, making sure to spread it evenly into all corners.
Place the pan on the center rack of your preheated 350°F oven, where it’ll need to bake for 28-32 minutes.
You’ll know your cake is done when a toothpick inserted into the center comes out clean or with just a few moist crumbs. The cake’s surface should spring back when you gently press it with your finger.
Keep an eye on those edges – they’ll pull away slightly from the pan sides when ready.
Let the cake cool in the pan for 10 minutes before transferring it to a wire rack.
It needs to cool completely before you start the turtle toppings, so resist the temptation to rush this step!
step 4. Pour Warm Caramel Sauce

Once your cake has cooled completely, it’s time to give it that signature turtle treatment!
Using a fork or wooden spoon handle, poke holes across the entire surface of your cake, spacing them about 1 inch apart. These holes will help the caramel sauce seep deep into every bite.
Take your 12-ounce jar of caramel sauce and warm it in the microwave using 15-second intervals, stirring between each one. You’ll want it just warm enough to pour smoothly – not too hot!
Pour the warmed caramel sauce evenly over the cake’s surface, making sure to cover all areas. Watch as the sauce gradually disappears into those holes you created, infusing your cake with rich, buttery caramel flavor.
Don’t worry if some pools on top – that’s exactly what you want!
step 5. Top With Chocolate Frosting
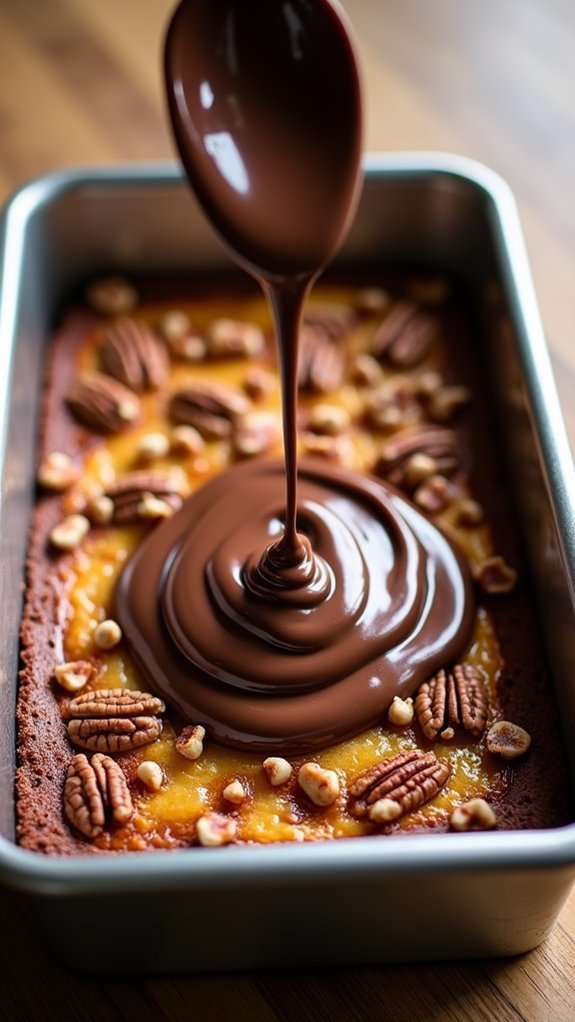
The final layer of this turtle masterpiece calls for warming your chocolate frosting to achieve the perfect drizzling consistency.
Heat the frosting in your microwave using 15-second intervals, stirring between each burst until it’s just fluid enough to pour – you’re aiming for the texture of warm honey.
Once you’ve got the right consistency, grab a spoon and create artistic drizzles across your pecan-covered cake.
You’ll want to work in a zigzag pattern, making sure you’re distributing the chocolate evenly across the surface.
Don’t worry if your lines aren’t perfect – that’s part of the cake’s homemade charm!
Let the frosting set for about 10 minutes at room temperature before transferring the cake to the refrigerator, where the layers will meld into pure turtle cake perfection.
Final Thoughts
Whether you’re celebrating a special occasion or simply craving something decadent, this simplified Chocolate Turtle Cake delivers impressive results with minimal effort.
You’ll find that the combination of warm caramel, crunchy pecans, and rich chocolate creates an irresistible dessert that’ll have everyone asking for seconds!
Remember to give your cake enough time to set in the refrigerator – those two hours make all the difference in texture and presentation.
Don’t worry if you have leftovers; this cake stays delicious for up to five days when properly stored. Just be sure to bring it to room temperature before serving to experience the full depth of flavors.
With just five ingredients and straightforward preparation, you’ve got a crowd-pleasing dessert that tastes like it came from a professional bakery. Let us know how your Chocolate Turtle Cake comes out. If you make changes let us know about them as well so we can give them a try.